Tab 01 • Burger
The Burger Guide
A complete visual starting point for understanding what is inside a classic burger, what each part does, how it is seasoned or prepared, and how the final stack is built.
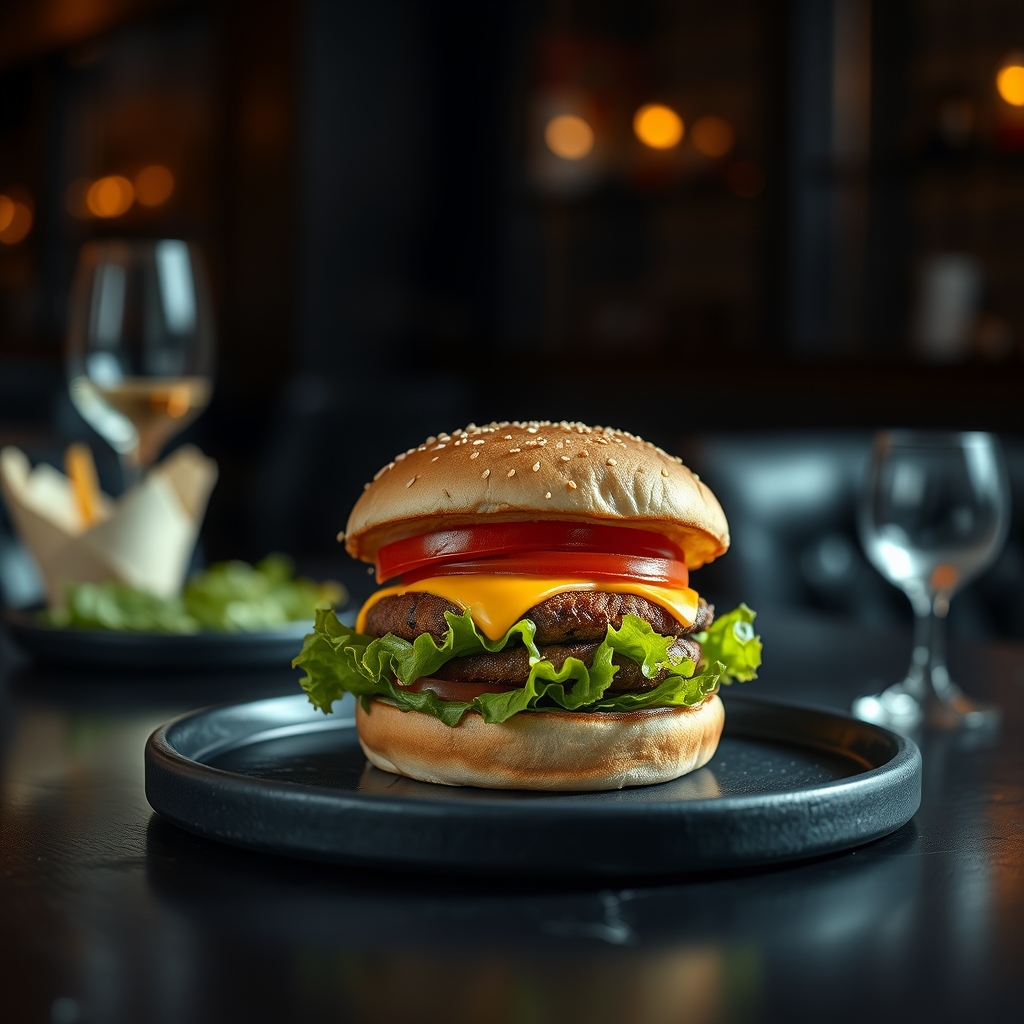
GTA6Test is built as a visual food guide: first identify the dish, then understand every ingredient, preparation, seasoning and assembly step.
A complete visual starting point for understanding what is inside a classic burger, what each part does, how it is seasoned or prepared, and how the final stack is built.
We will build each burger as a separate complete guide. No mixing recipes, no repeated hero photos and no copying one burger's method into another.
Each part gets its own explanation first. Detailed tests and methods can then sit directly under the ingredient they belong to.
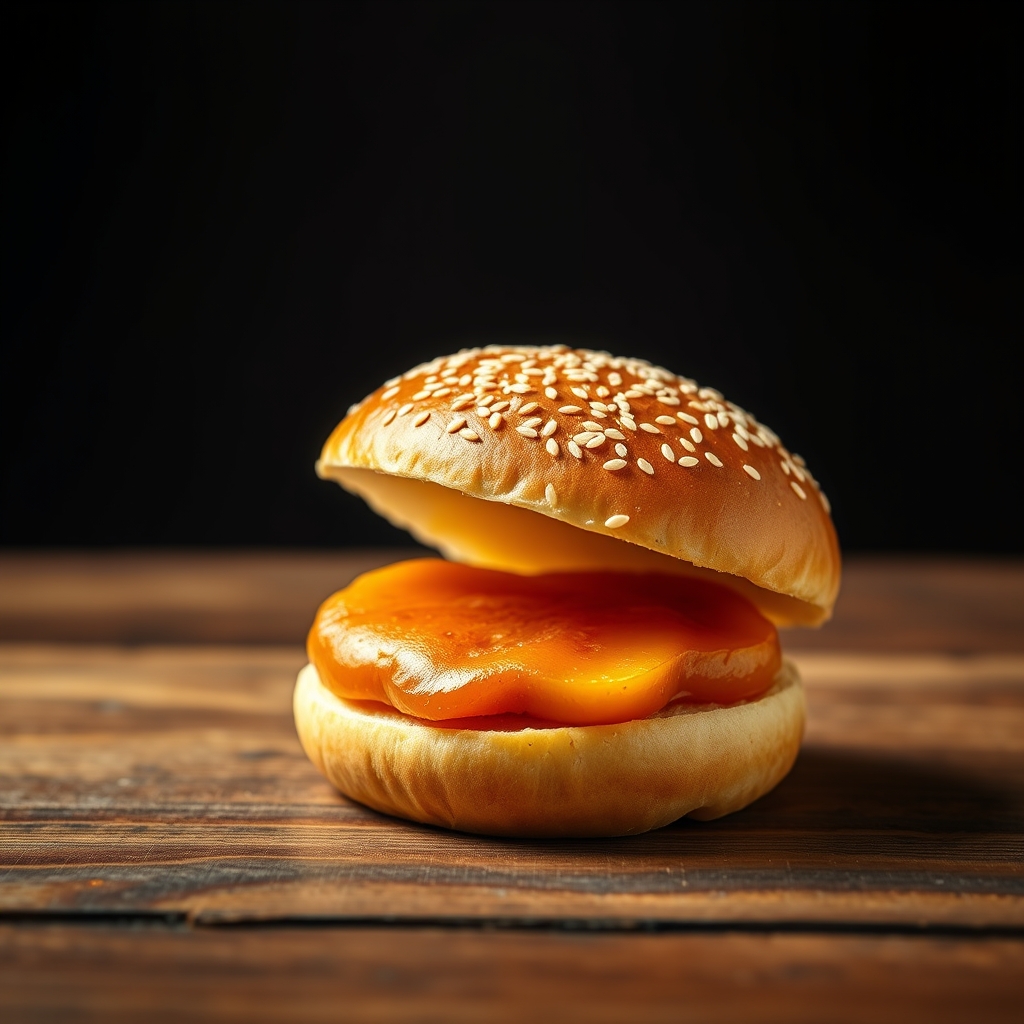
The bread structure: softness, toast level, sesame, moisture and how it supports the stack.
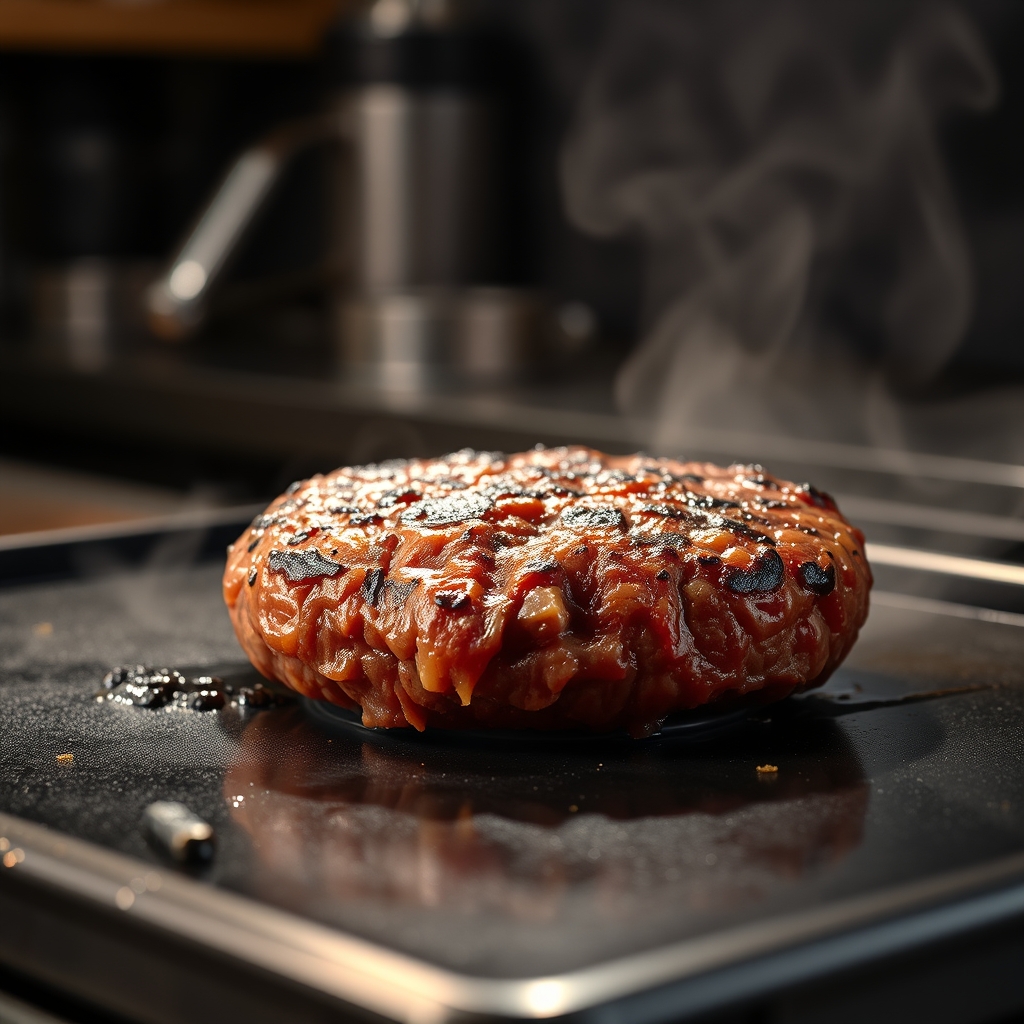
The core protein layer: meat choice, shaping, seasoning, heat, browning and safe doneness.
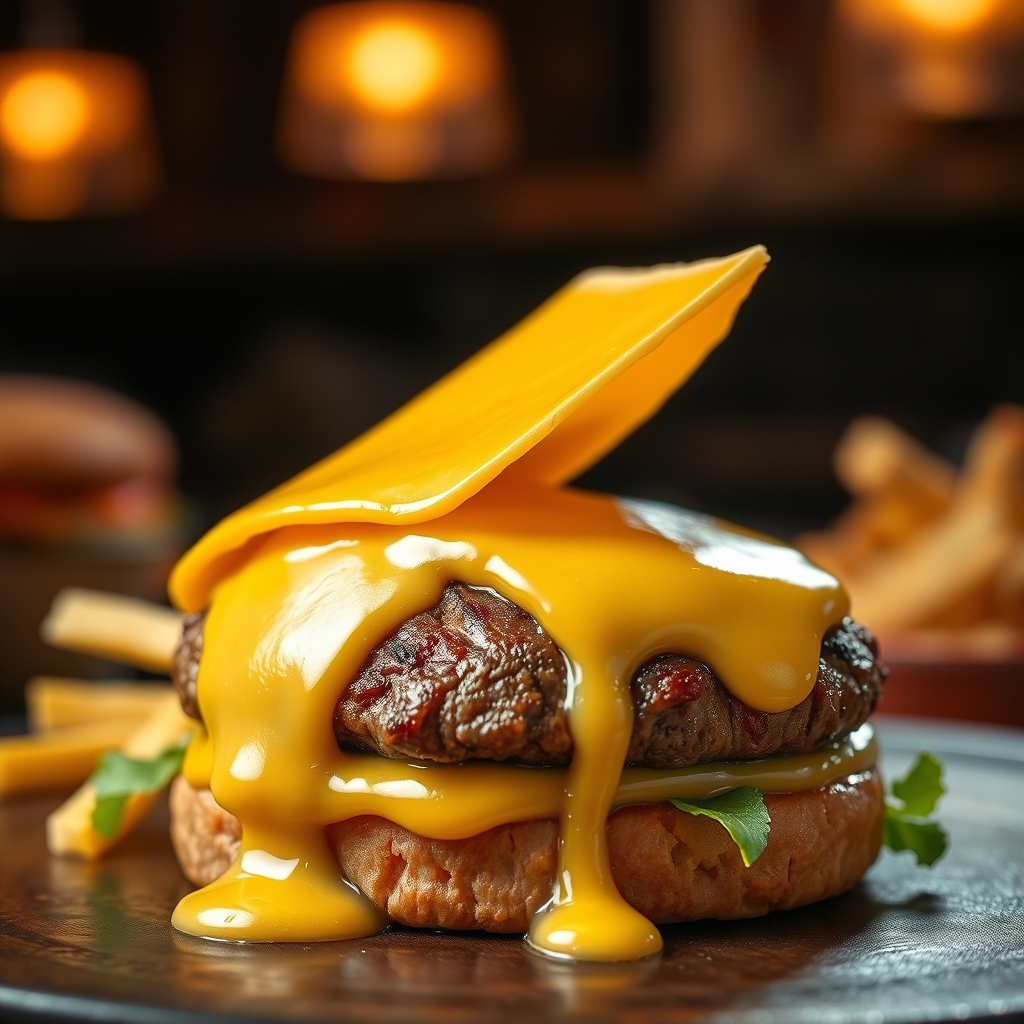
Fat, salt and melt. The guide explains type, thickness, timing and how it bonds to the hot patty.
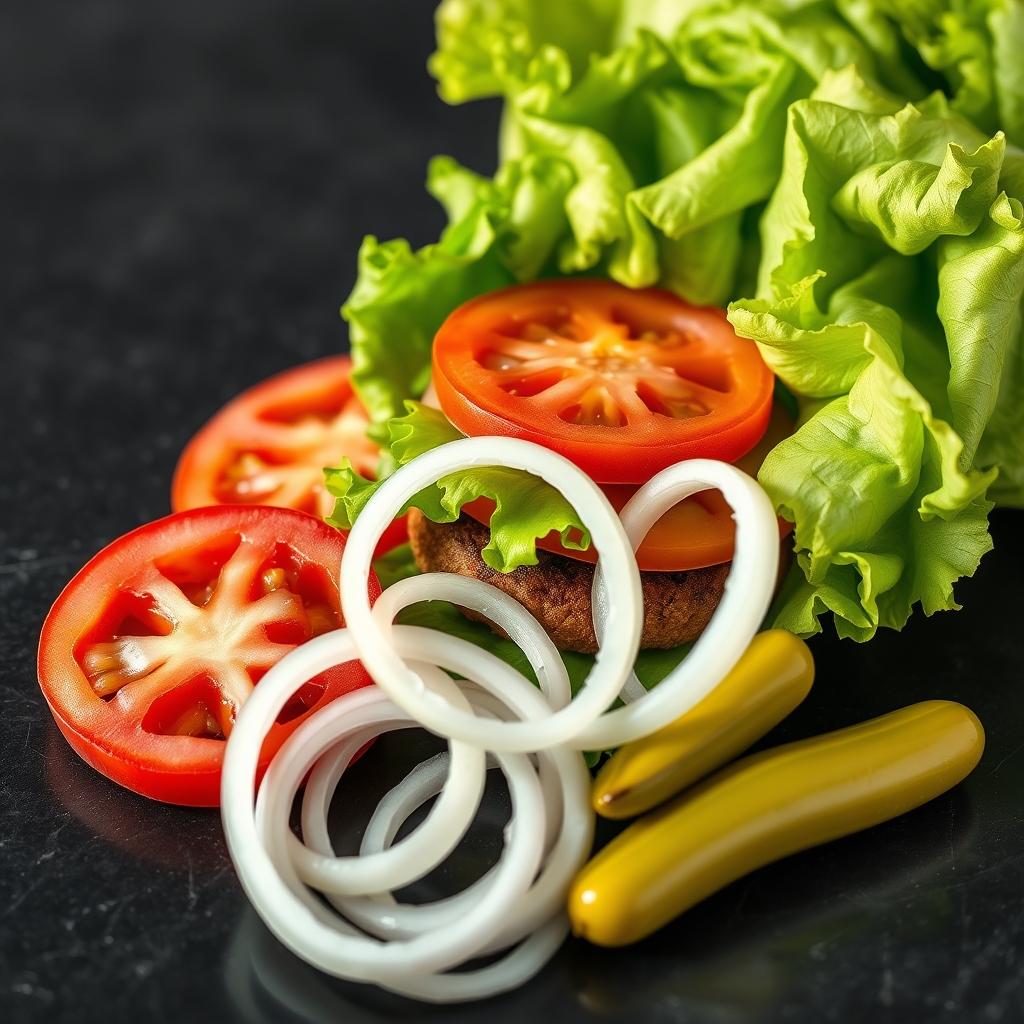
Lettuce, tomato, onion and other toppings bring crunch, freshness, acidity and contrast.
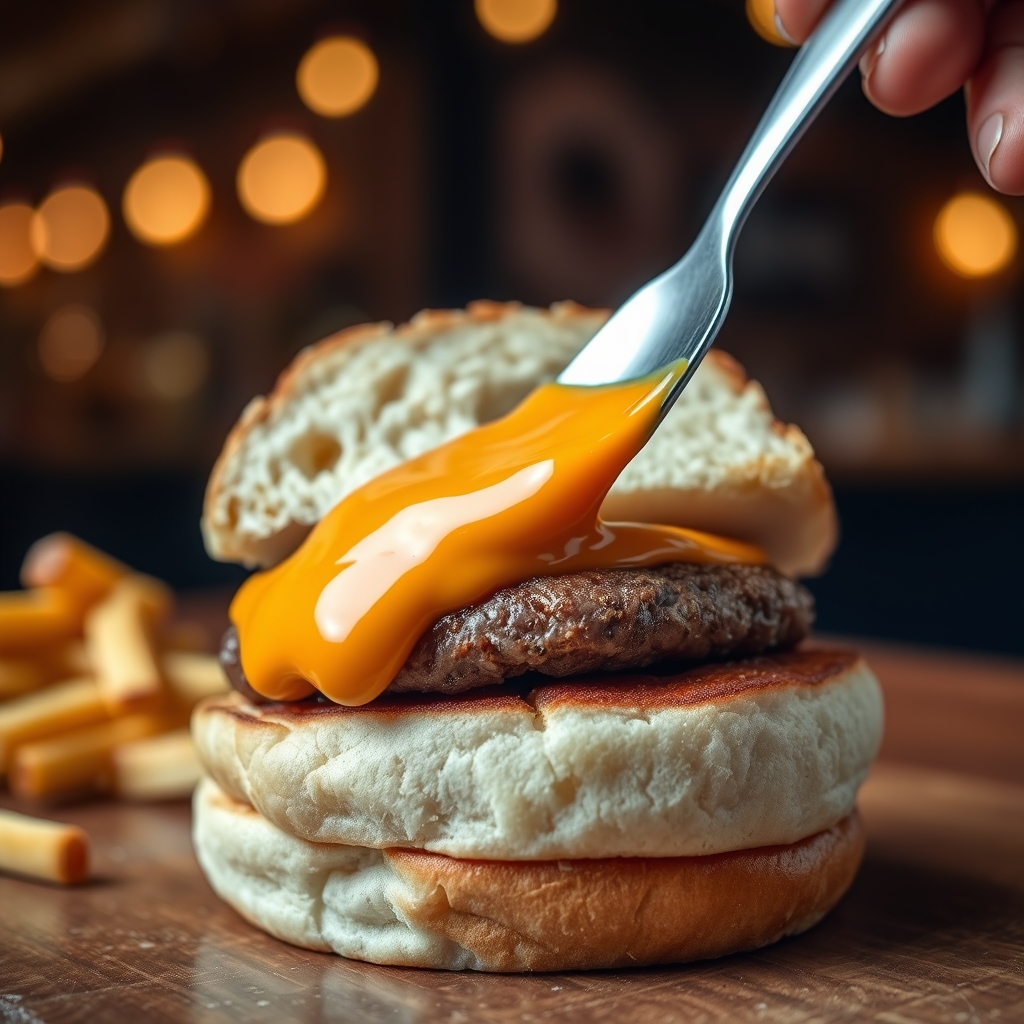
Ketchup, mustard, mayo and house sauces control moisture, richness, acidity and flavor balance.
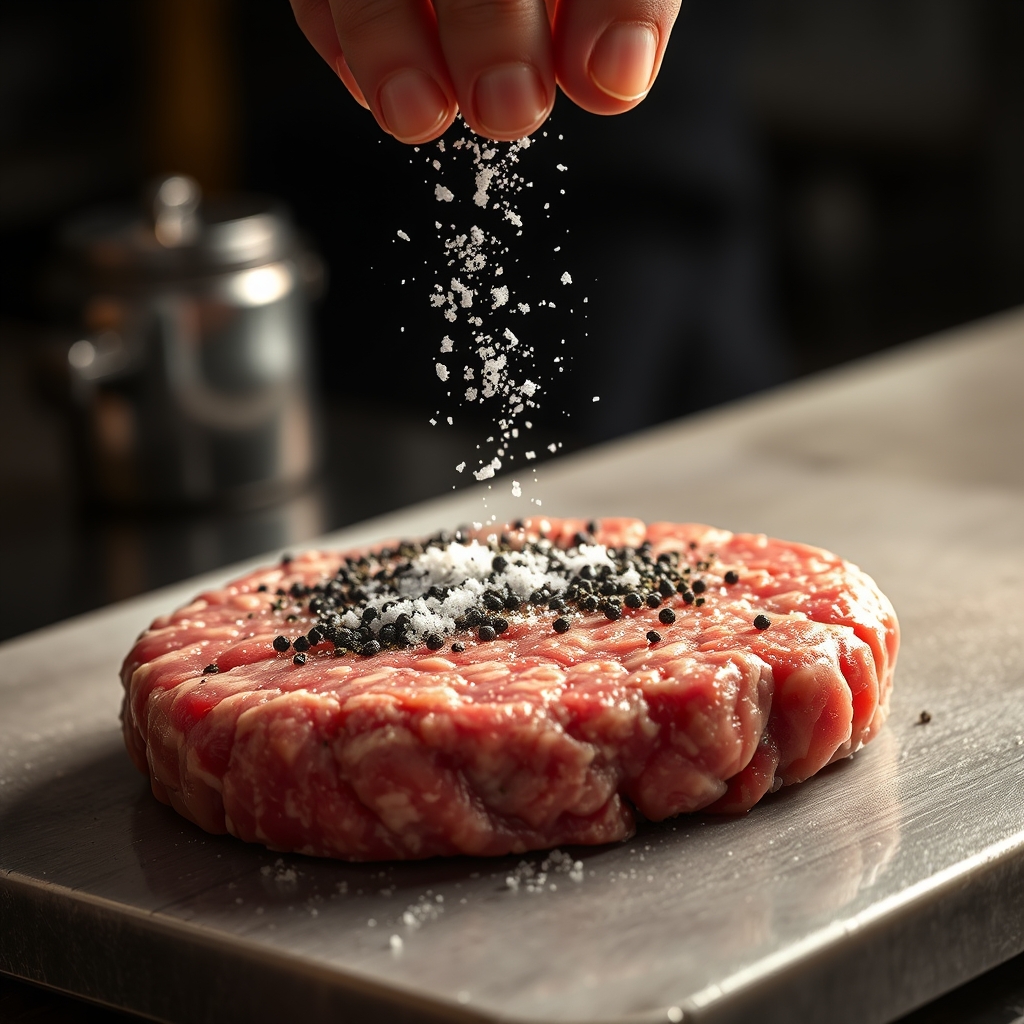
Salt, pepper and spice are explained by timing, quantity, surface coverage and cooking method.
Before assembly, each component is checked for its job, preparation, seasoning, texture and the most common mistakes.
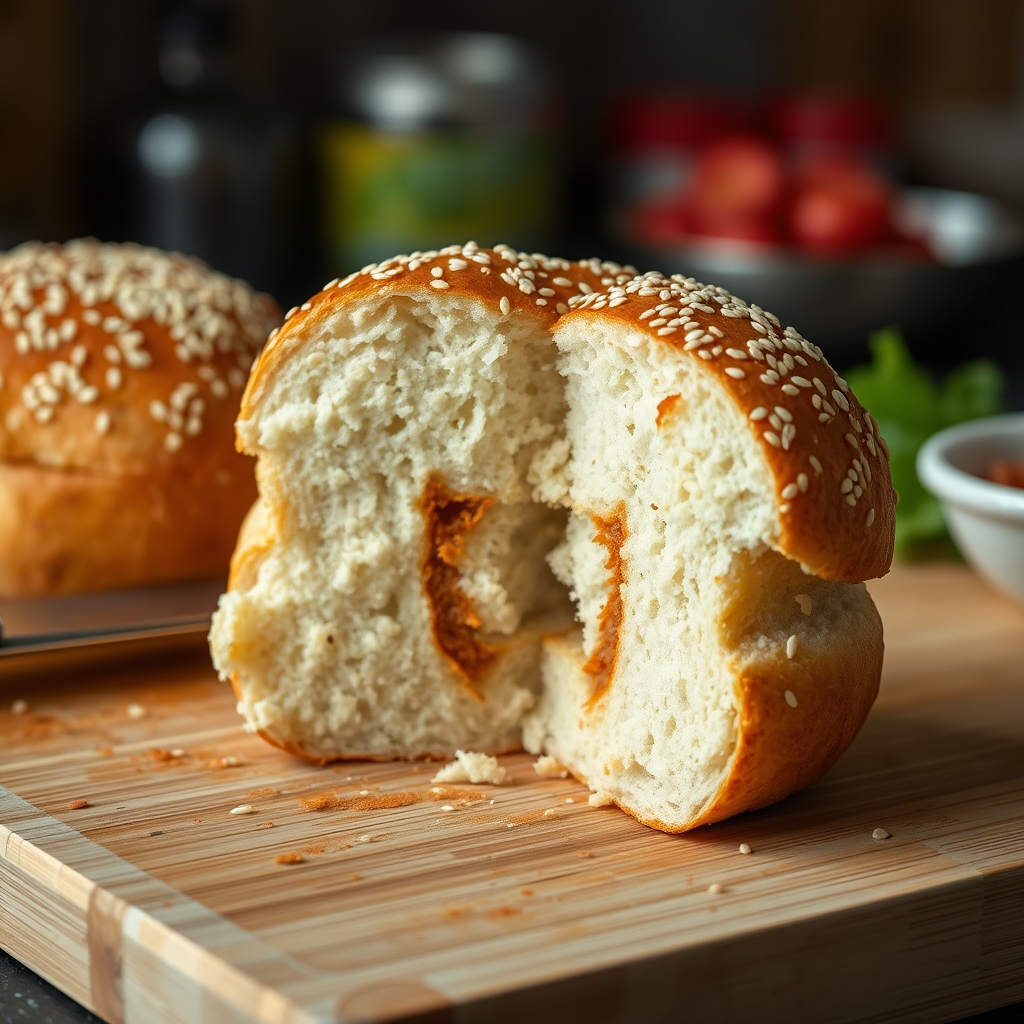
What it is: the bread shell that holds the burger together.
Prepare: slice evenly and toast the cut side lightly.
Check: crisp outside, soft centre, no tearing.
Common mistake: over-toasting until the bun becomes dry or hard.
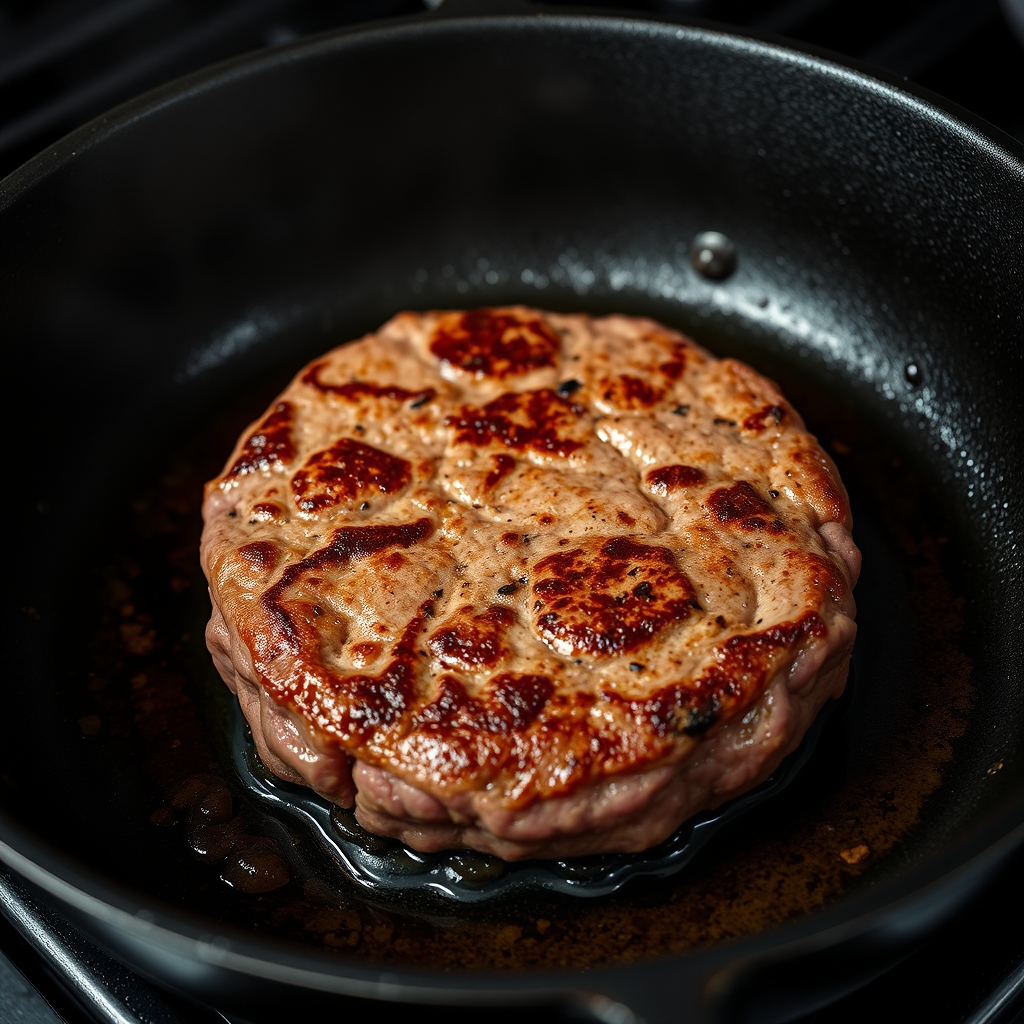
What it is: the main protein layer and primary savoury flavour.
Season: a simple starting point is salt and black pepper added close to cooking.
Check: even browning, stable shape and safe internal temperature.
Common mistake: pressing the patty repeatedly and losing juices.
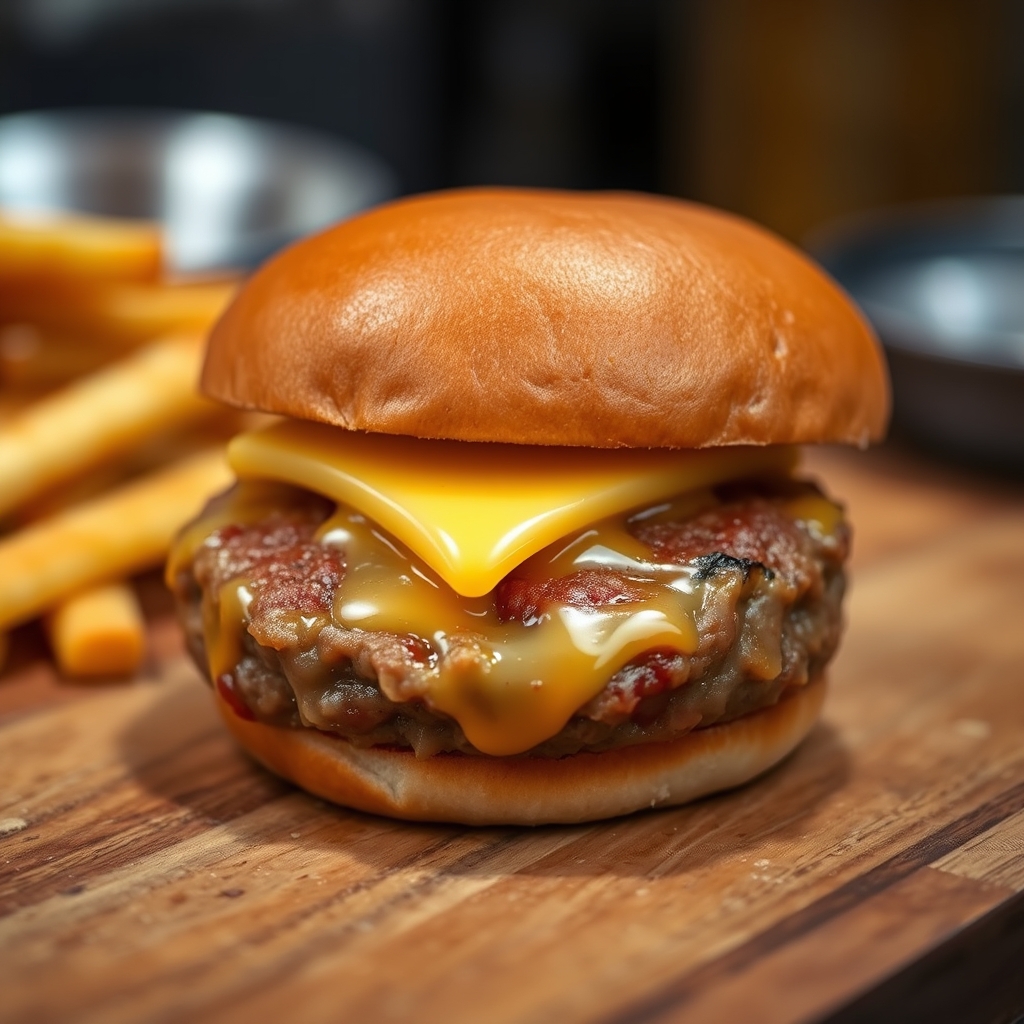
What it is: the rich, salty layer that connects the patty to the toppings.
Prepare: choose a slice that melts at a useful speed for the cooking method.
Check: softened edges and good coverage without burning.
Common mistake: adding it too early and drying the patty while waiting for the melt.
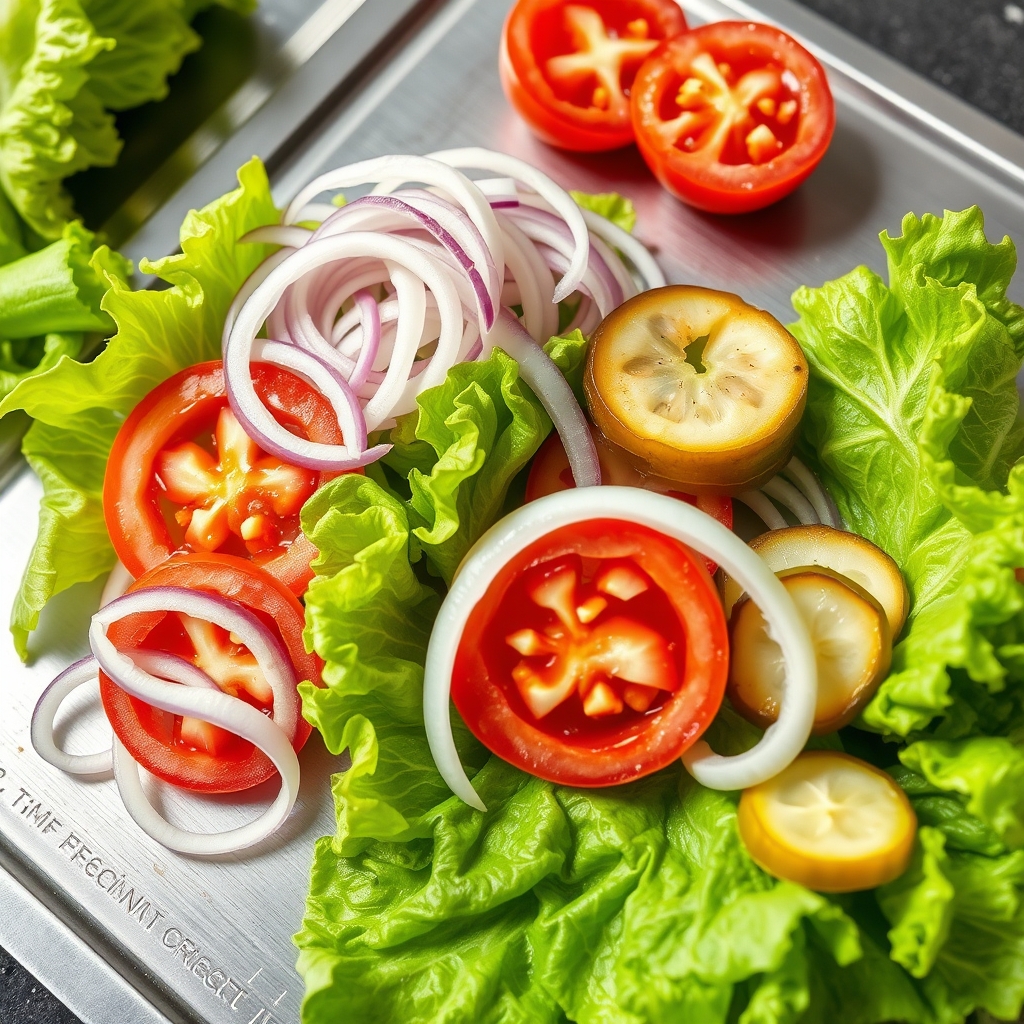
What they do: add freshness, water, crunch, colour and contrast.
Prepare: wash, dry and slice consistently so every bite is balanced.
Check: crisp lettuce, clean tomato slices and onion that is easy to bite through.
Common mistake: adding wet vegetables without draining them, which can make the bun soggy.
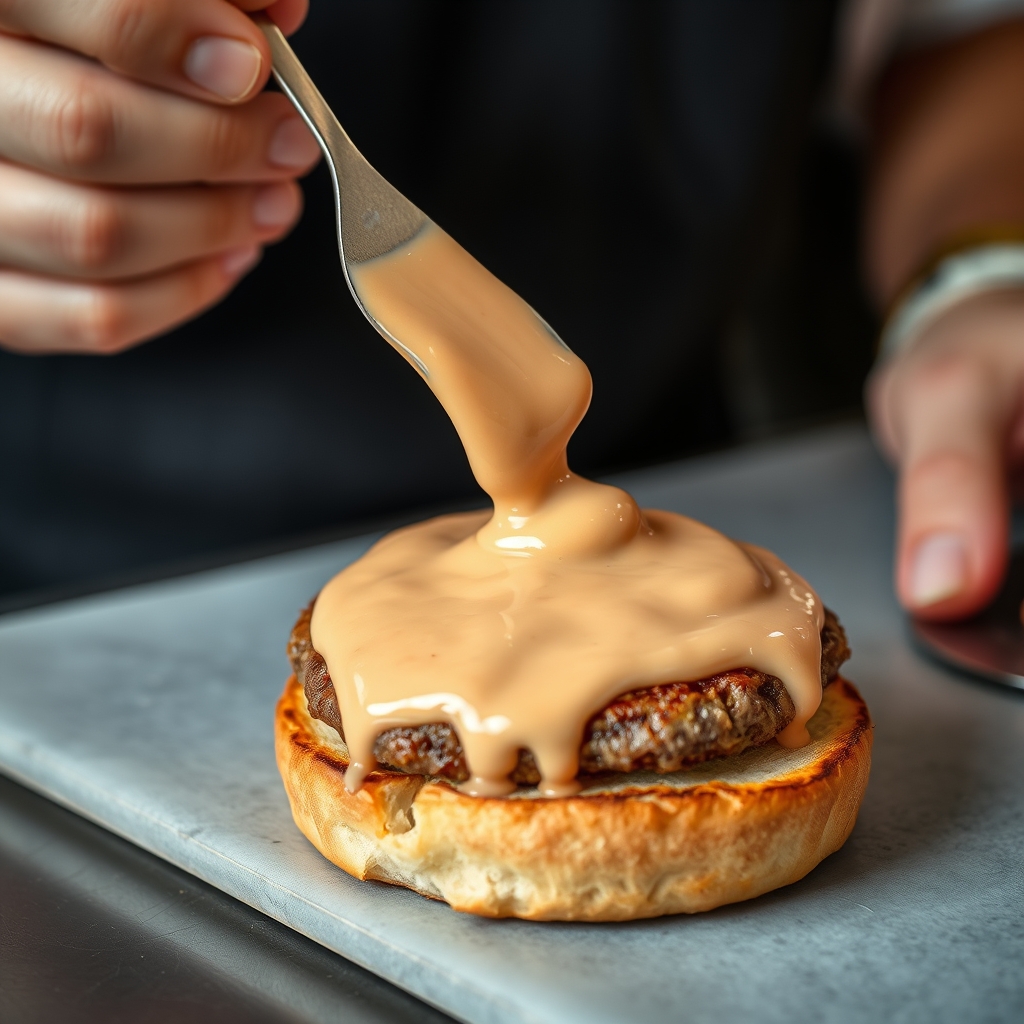
What it does: carries richness, acidity, sweetness or heat through the bite.
Prepare: spread a controlled, even layer rather than a heavy pool.
Check: enough flavour to notice, but not enough to overpower the patty.
Common mistake: placing too much sauce in one spot and making the stack slide.
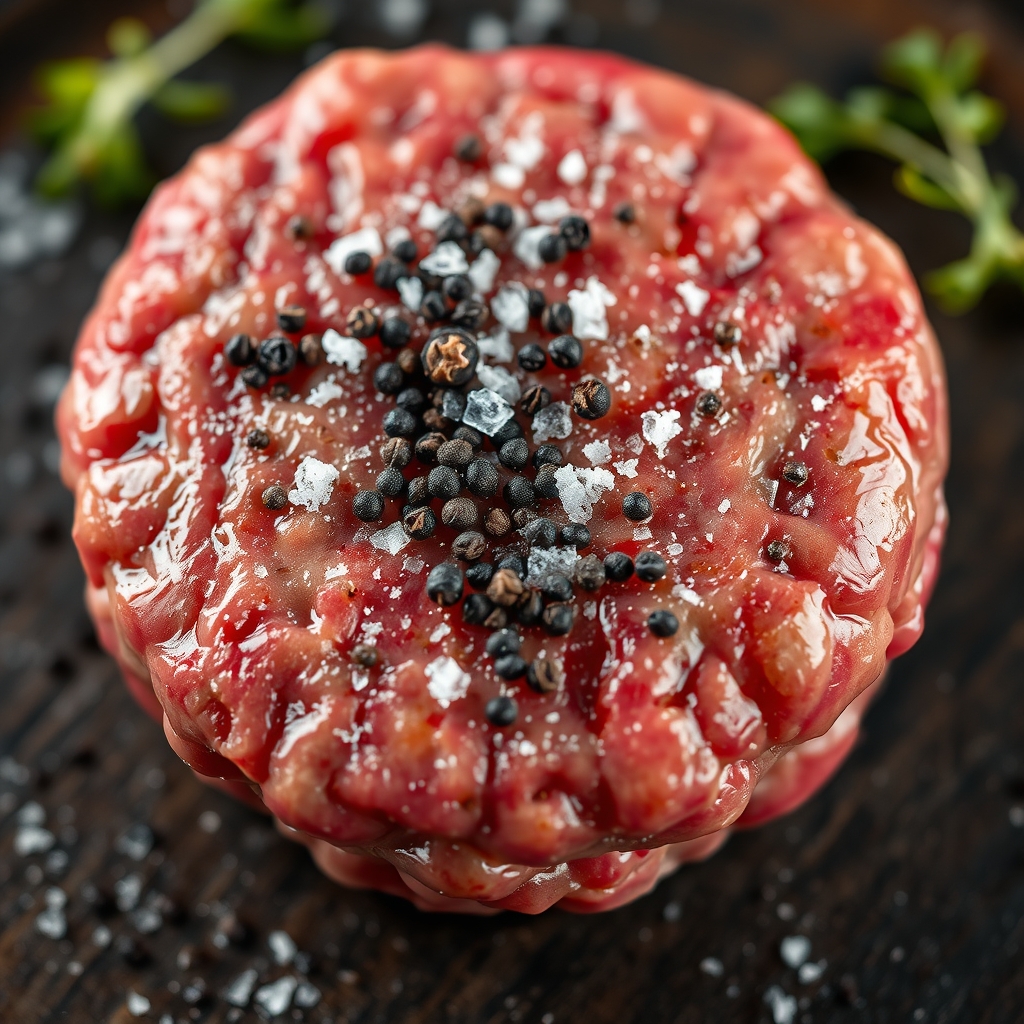
What it controls: the burger's basic savoury intensity and aromatic character.
Prepare: distribute seasoning evenly across the surface rather than concentrating it in one patch.
Check: no bite should be dramatically saltier than the next.
Common mistake: adding layers of salty sauce, cheese and seasoning without tasting the overall balance.
The left side shows the layer map. Every guide step on the right has its own supporting photograph.
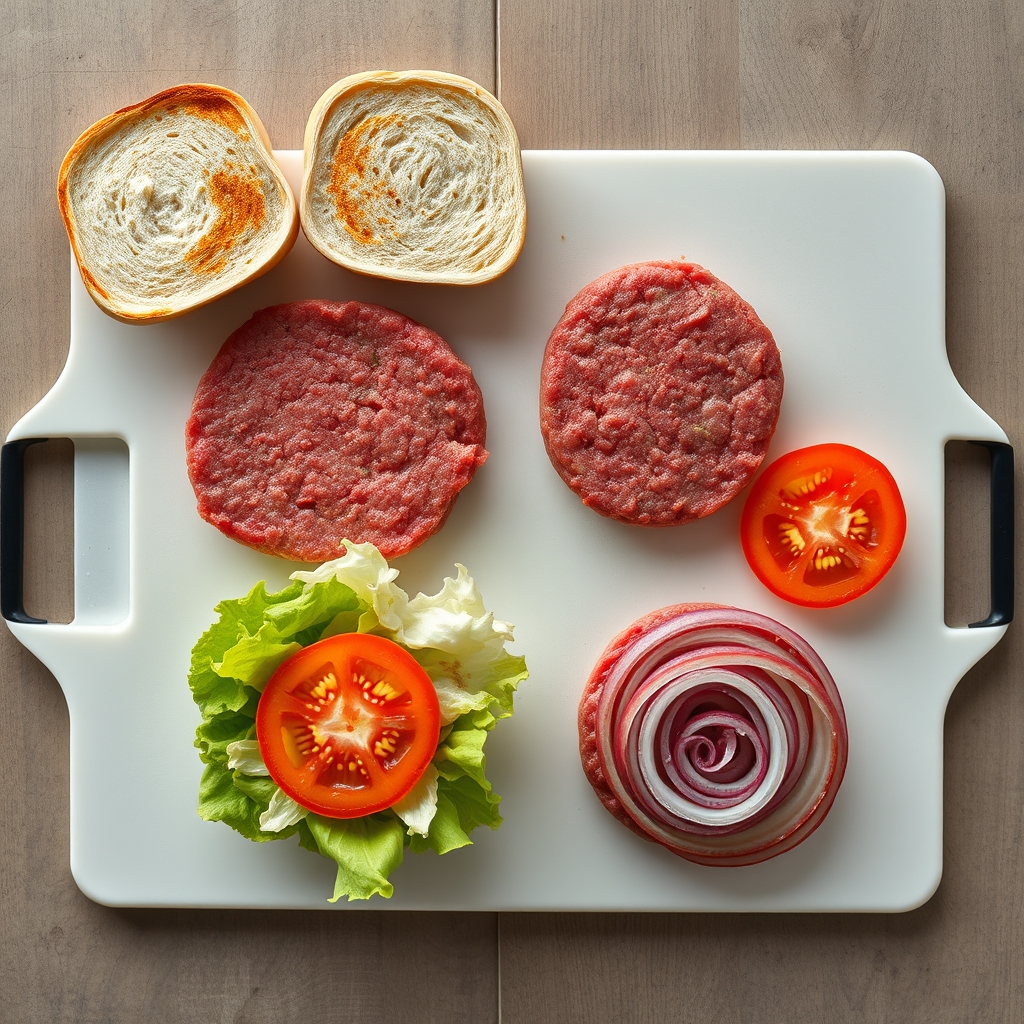
Start with the components shown in the photo: sesame bun, beef patty and fresh vegetables. Slice tomato evenly, keep lettuce crisp, and cut onion thin enough to bite through. Toast the cut side of the bun lightly when needed.
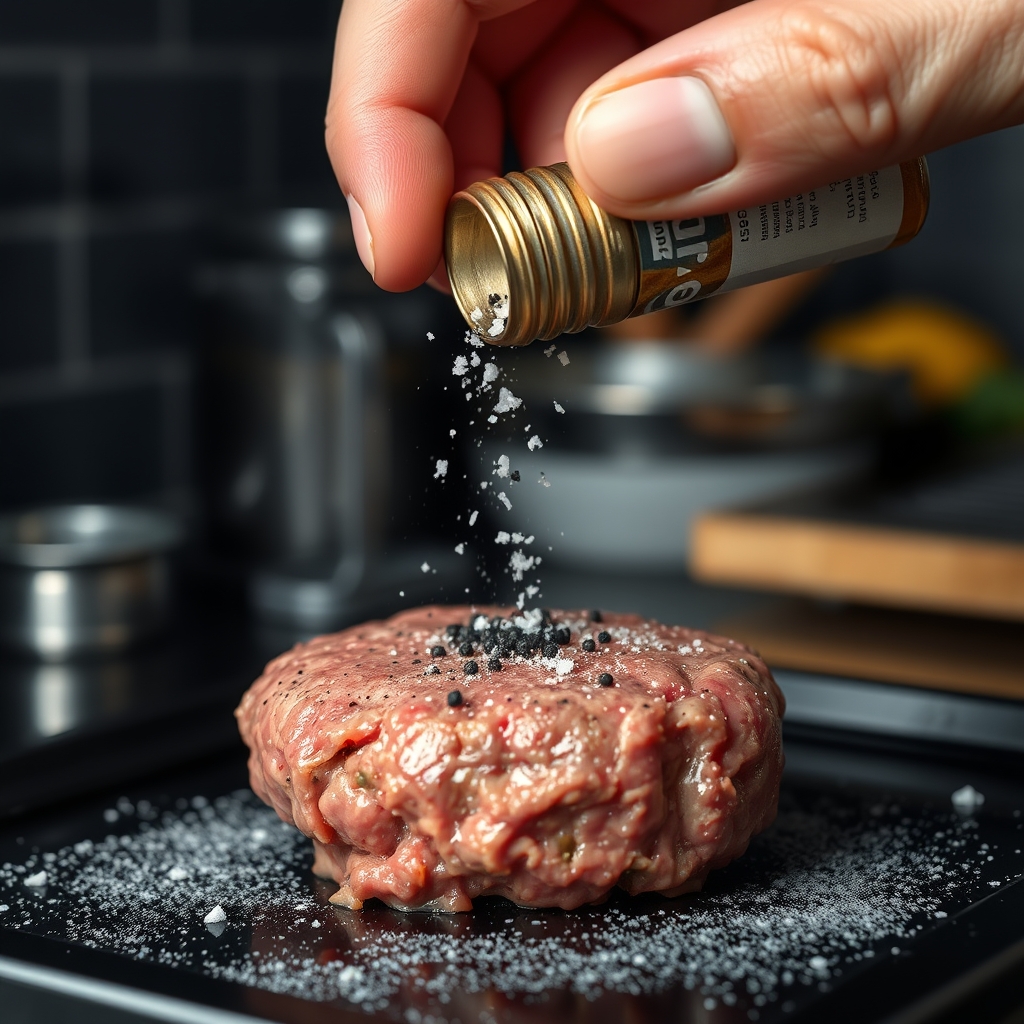
Season the exposed patty surface evenly with salt and black pepper just before it reaches the hot cooking surface. Keep the layer light and distributed rather than creating concentrated salty spots.
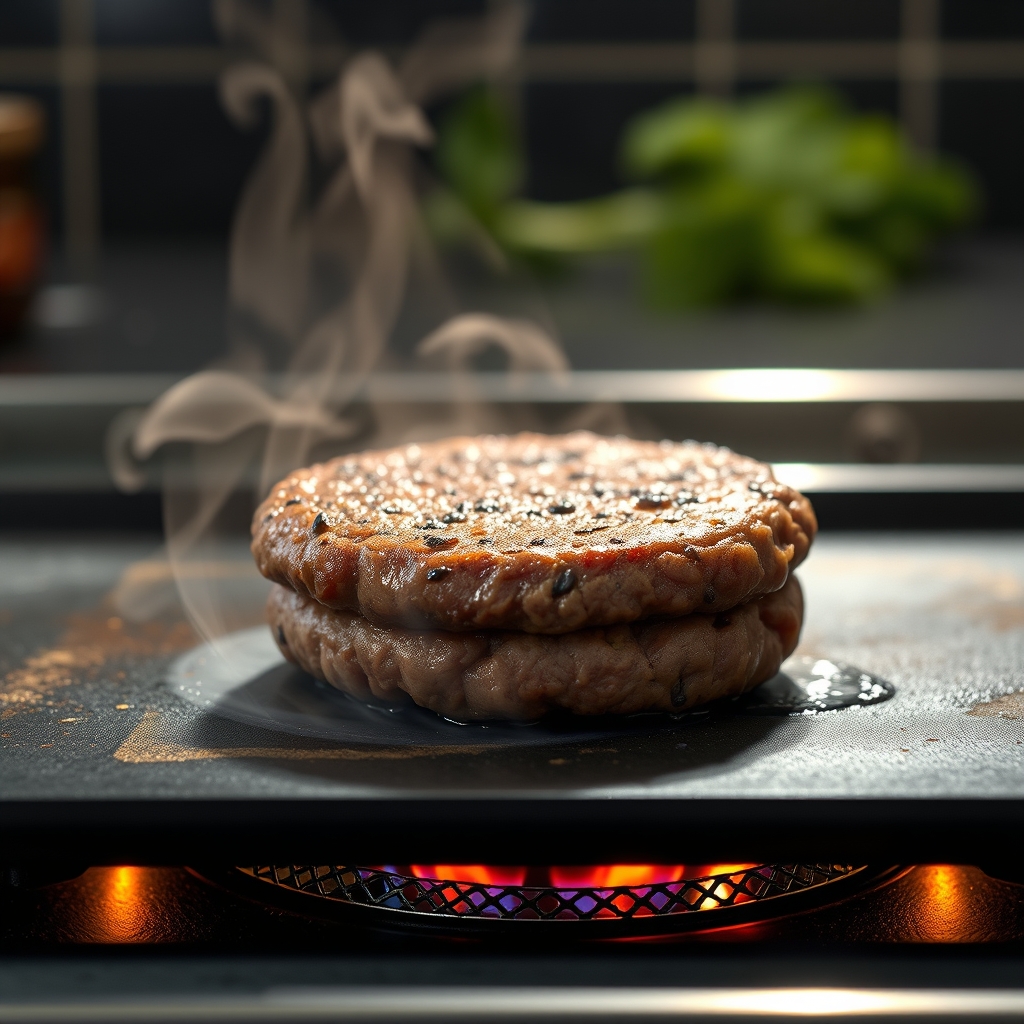
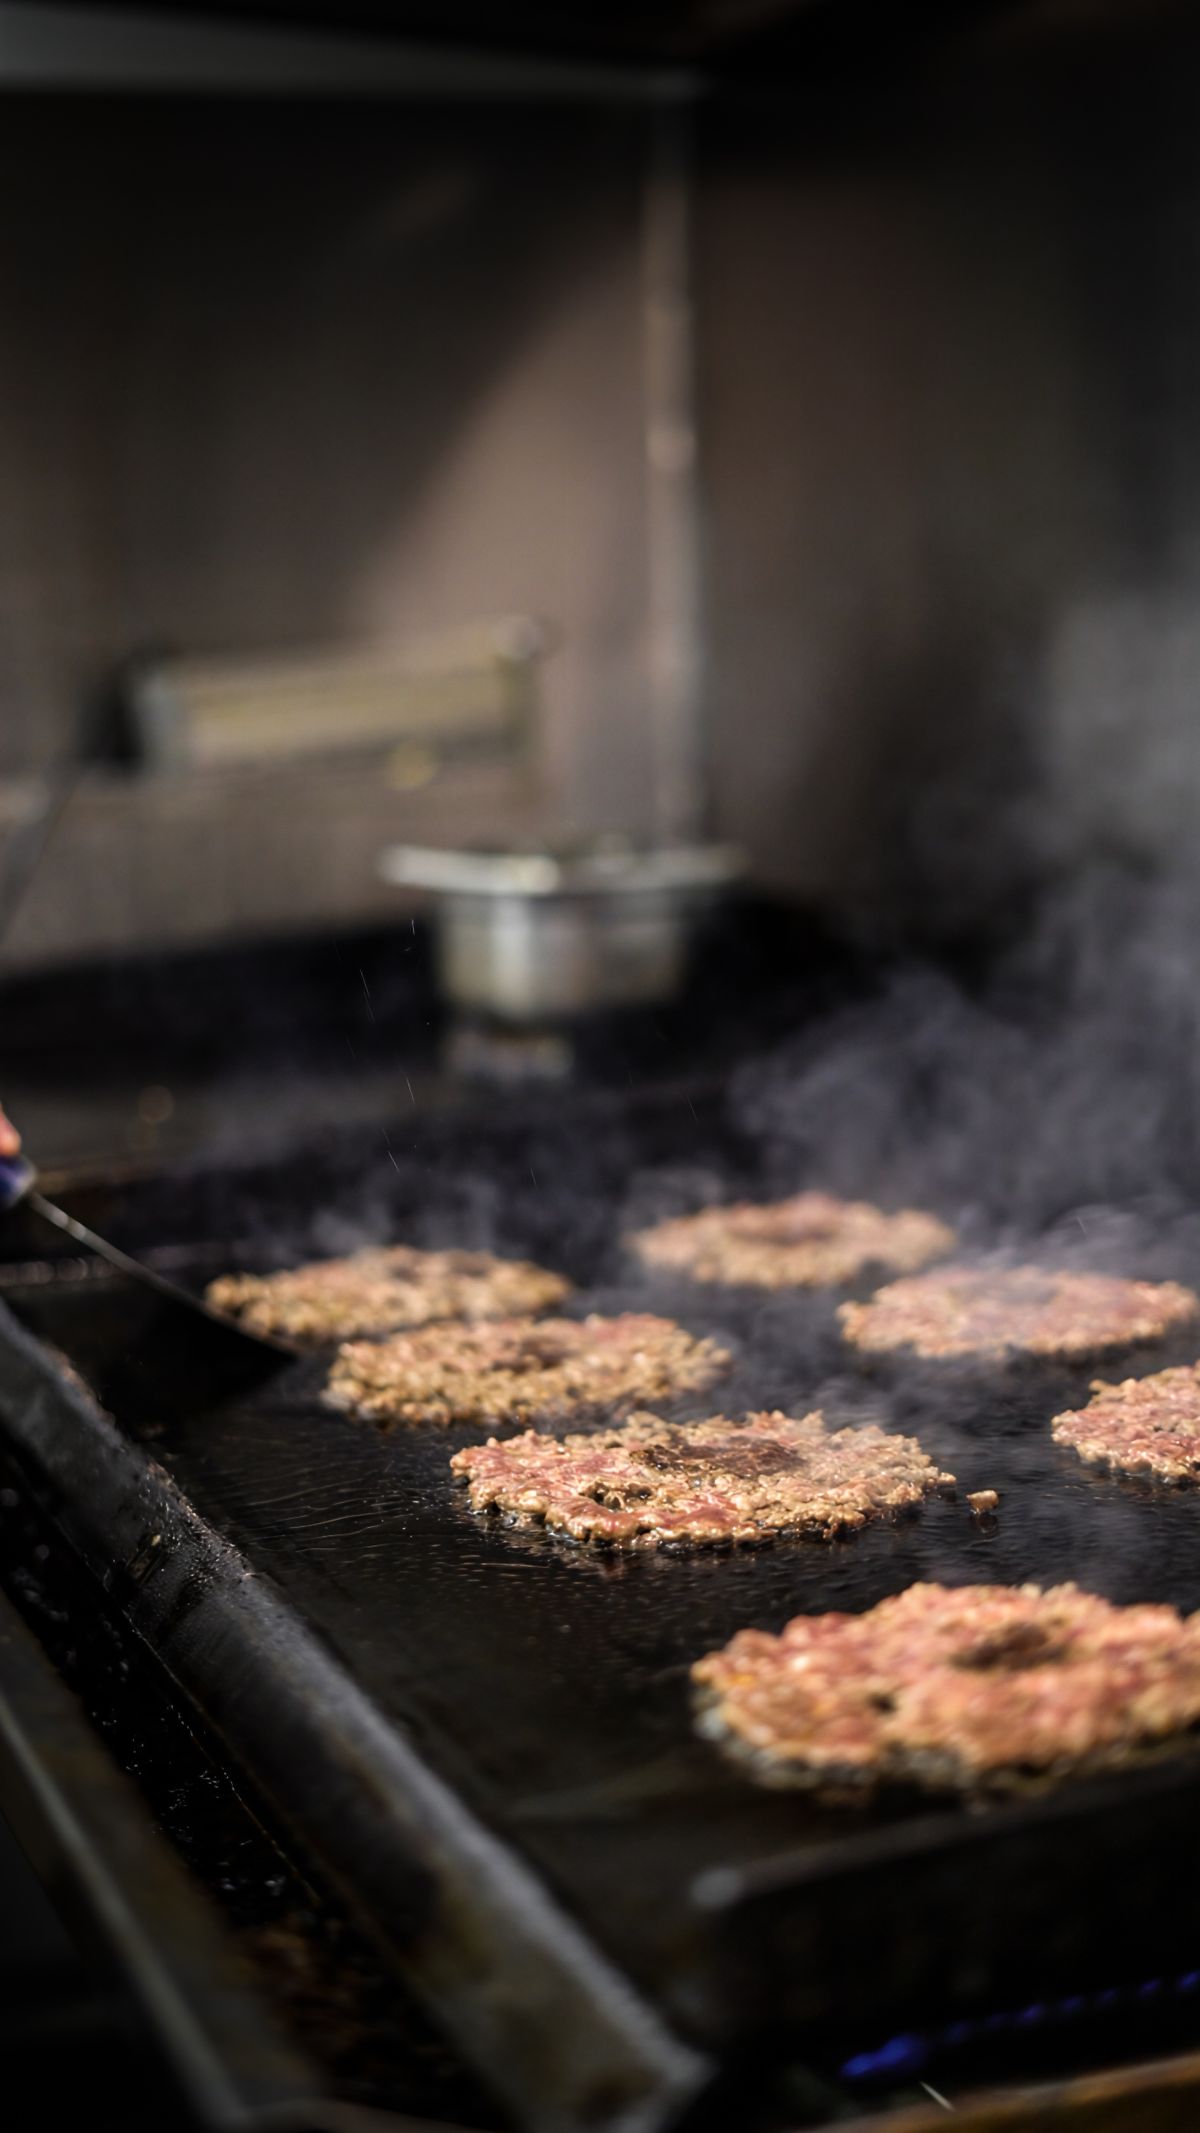
Place the seasoned patty on a preheated pan, griddle or grill. Let firm contact create browning and a crust. Avoid repeatedly moving the patty while the first side is developing.
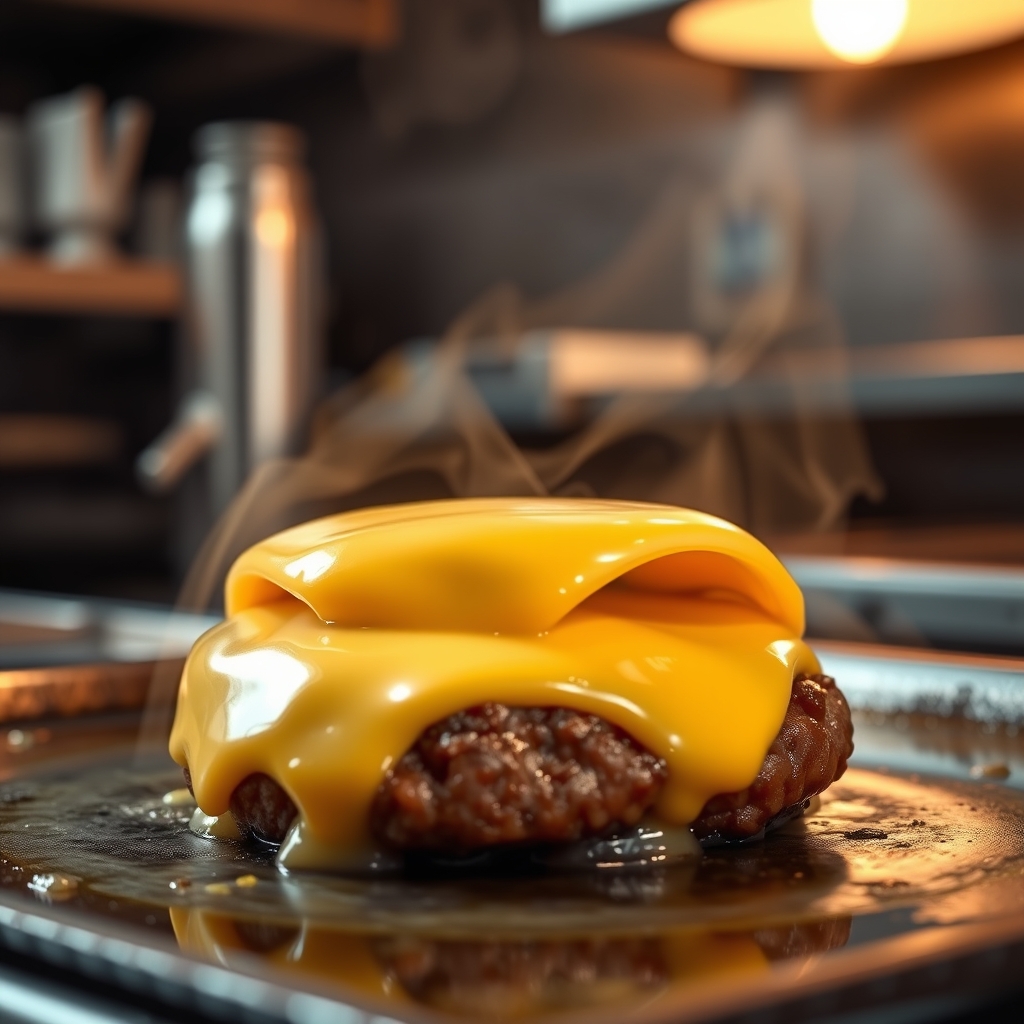
Once the patty is nearly finished, place the cheese directly on the hot surface of the patty. Wait for a soft, glossy melt that follows the shape of the meat without drying the patty.
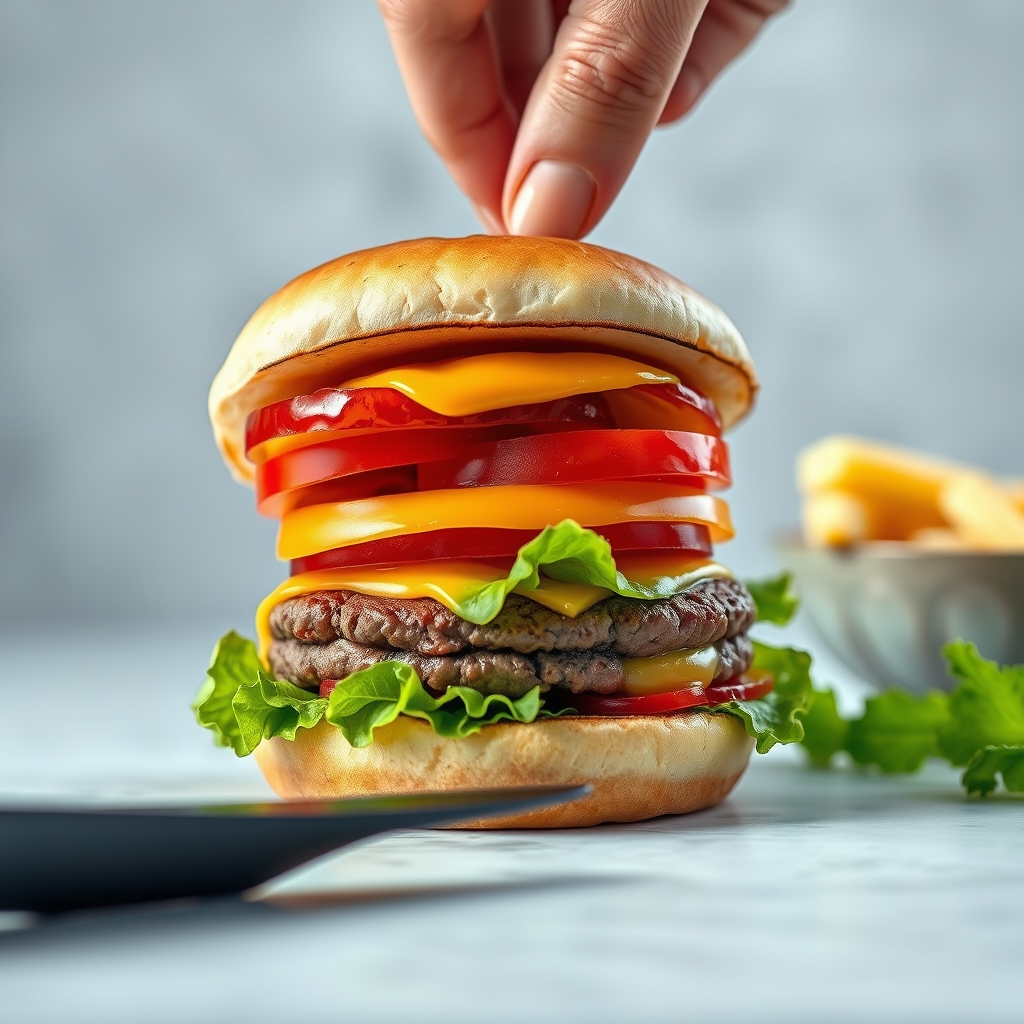
Spread a controlled amount of sauce, add the crisp and fresh toppings, place the cheese-covered patty, then close with the top bun. Keep wet ingredients controlled so the bun stays firm.
Follow the cooking sequence in order. Each stage shows what to do, what to watch for, and the visual result you are trying to achieve.
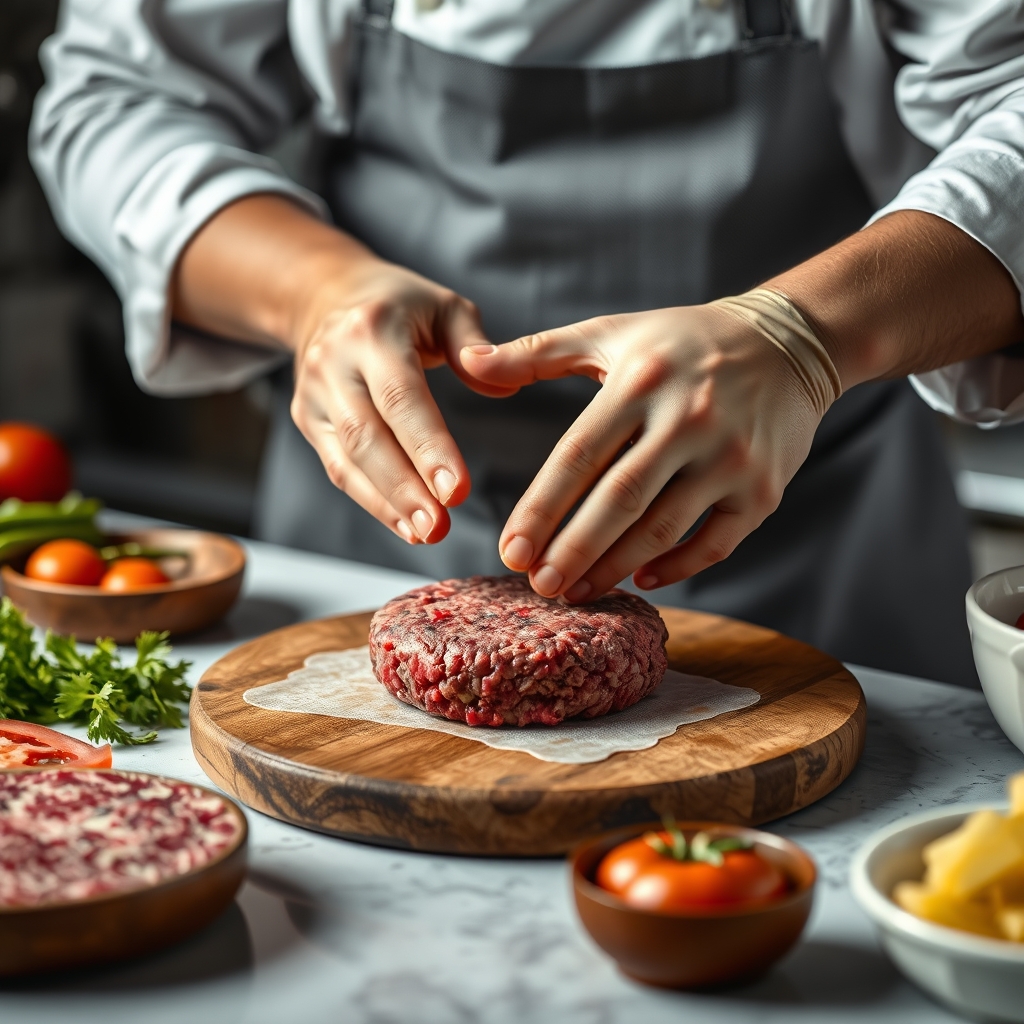
Keep the patty evenly shaped and slightly wider than the bun because it can shrink while cooking. Keep raw meat cold until it is ready for the hot cooking surface.
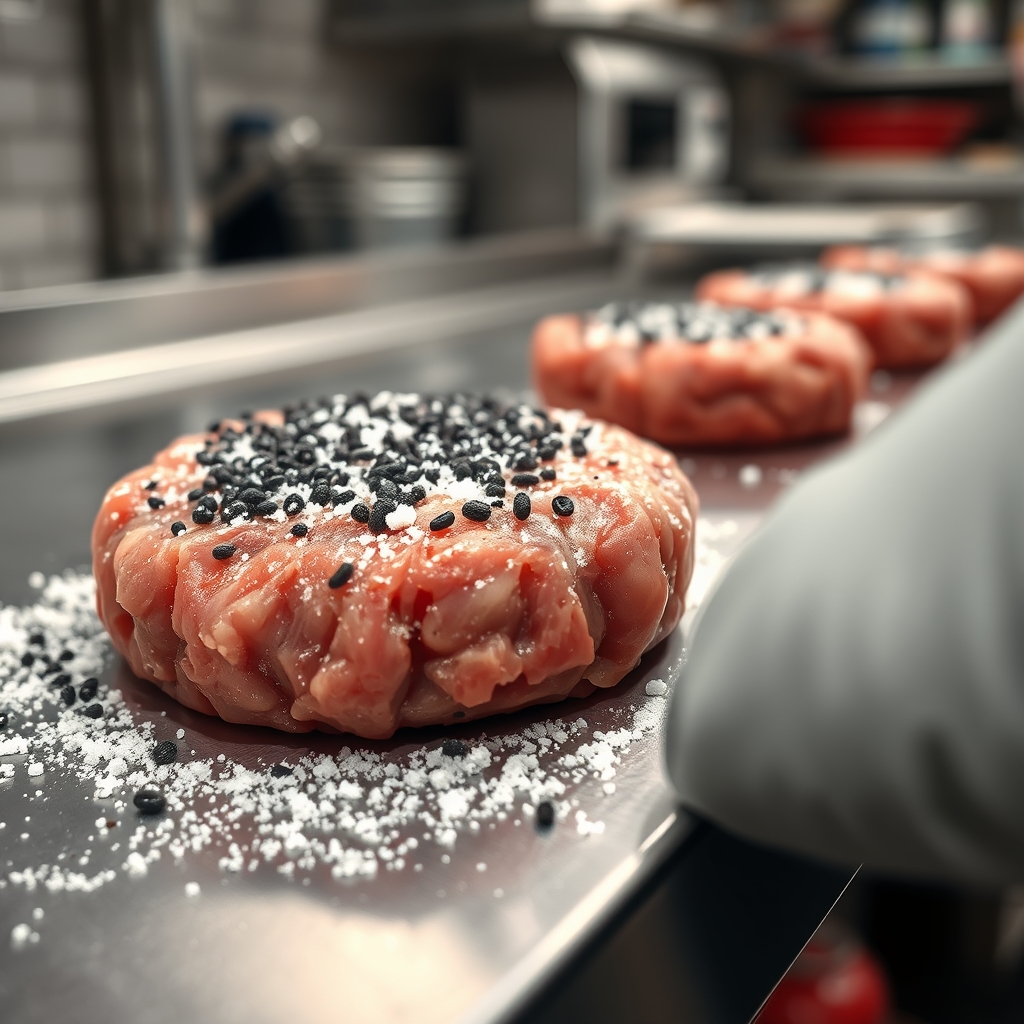
For a classic beef burger, season the exposed surface with salt and black pepper just before it hits the pan or griddle. Keep the seasoning distribution even.
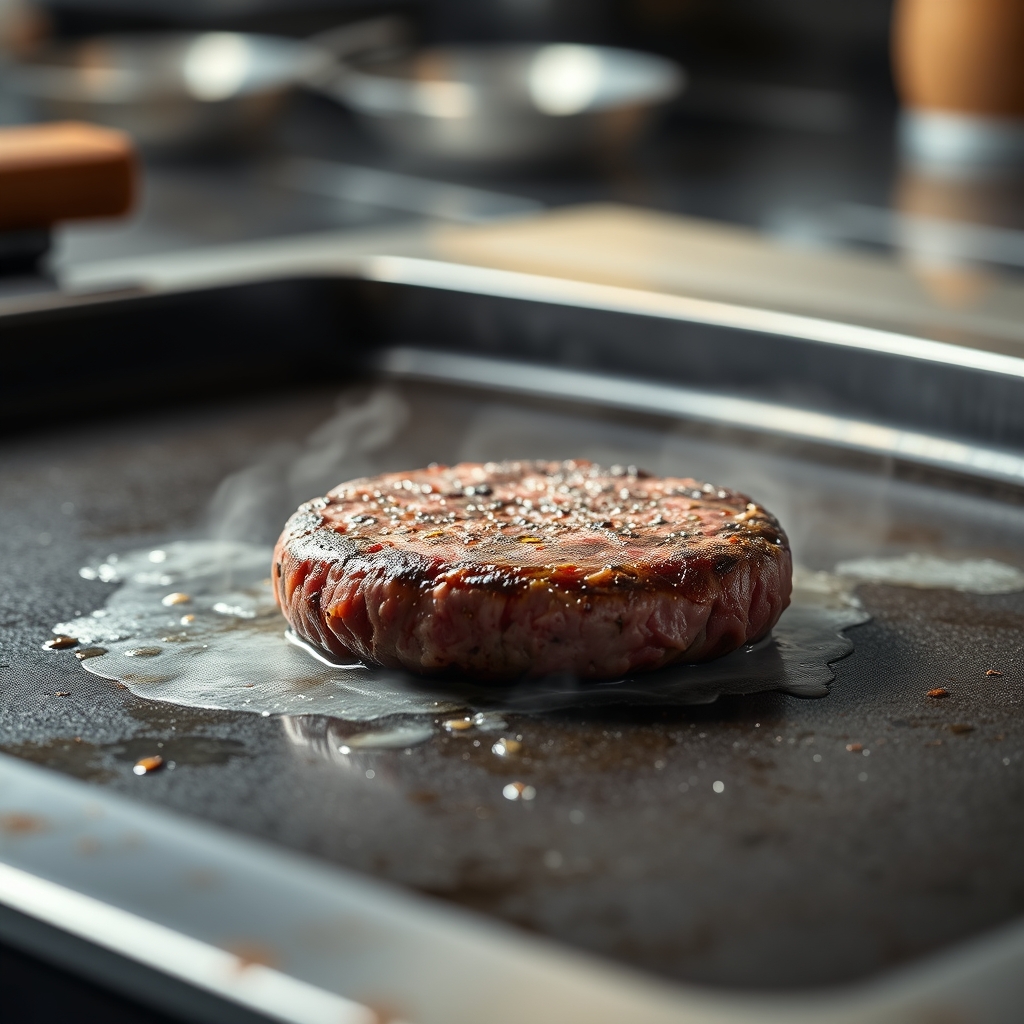
Place the patty onto a preheated pan, griddle or grill. The first goal is a strong contact sear that develops a browned crust rather than steaming the meat.
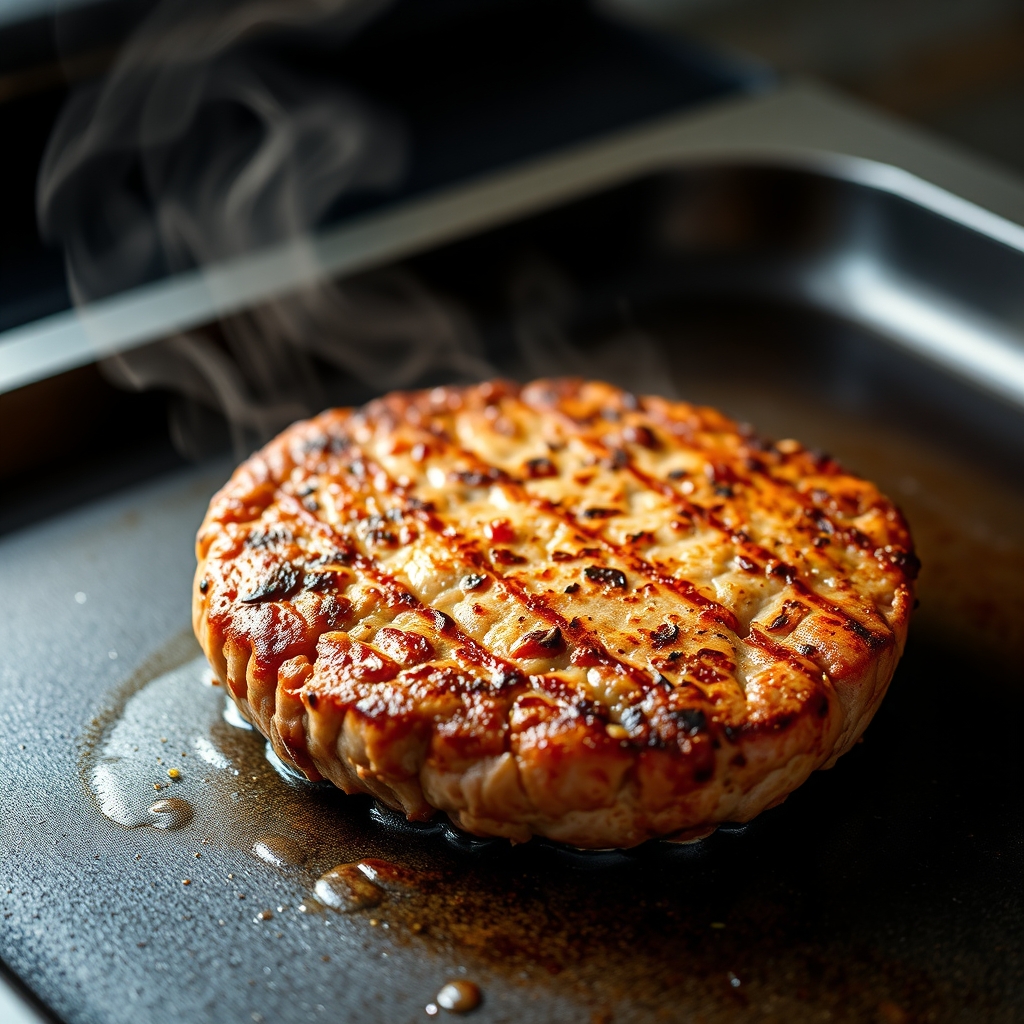
Turn the patty when the cooked side has a good browned crust and releases cleanly from the surface. Avoid repeatedly pressing or flipping, which can interfere with crust formation.
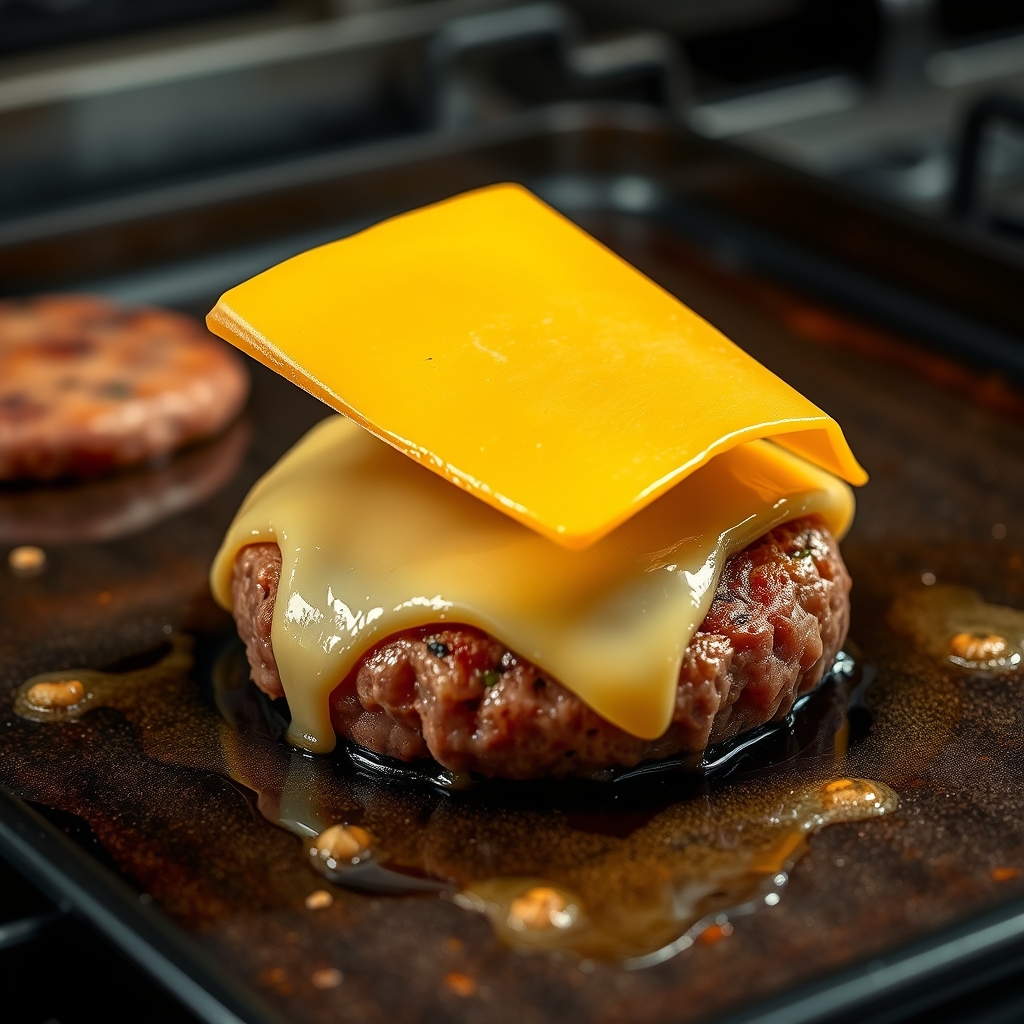
Place a slice over the hot patty during the final stage of cooking. Give it enough heat to soften and drape over the patty without letting the burger overcook.
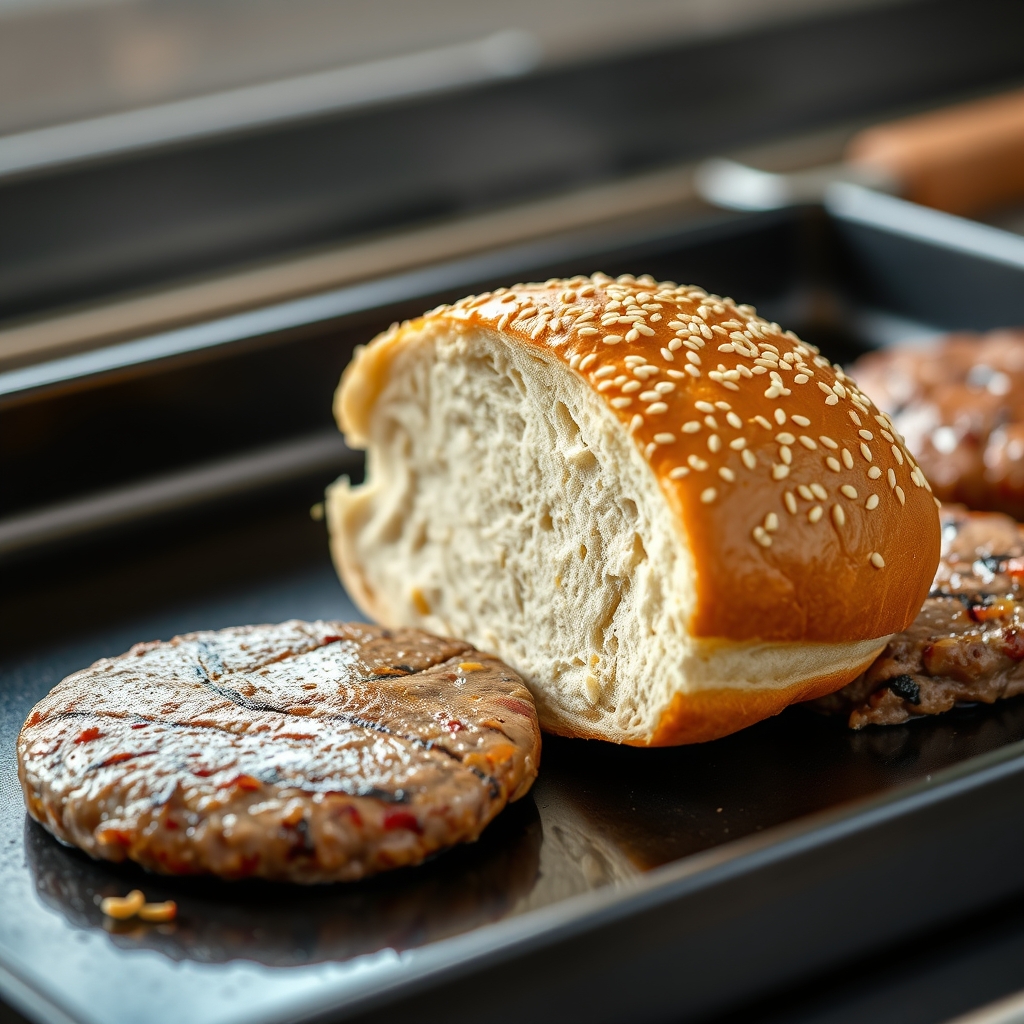
Lightly toast the inside faces of the bun for structure and a gentle crisp surface. Stop before the bread becomes hard or dry.
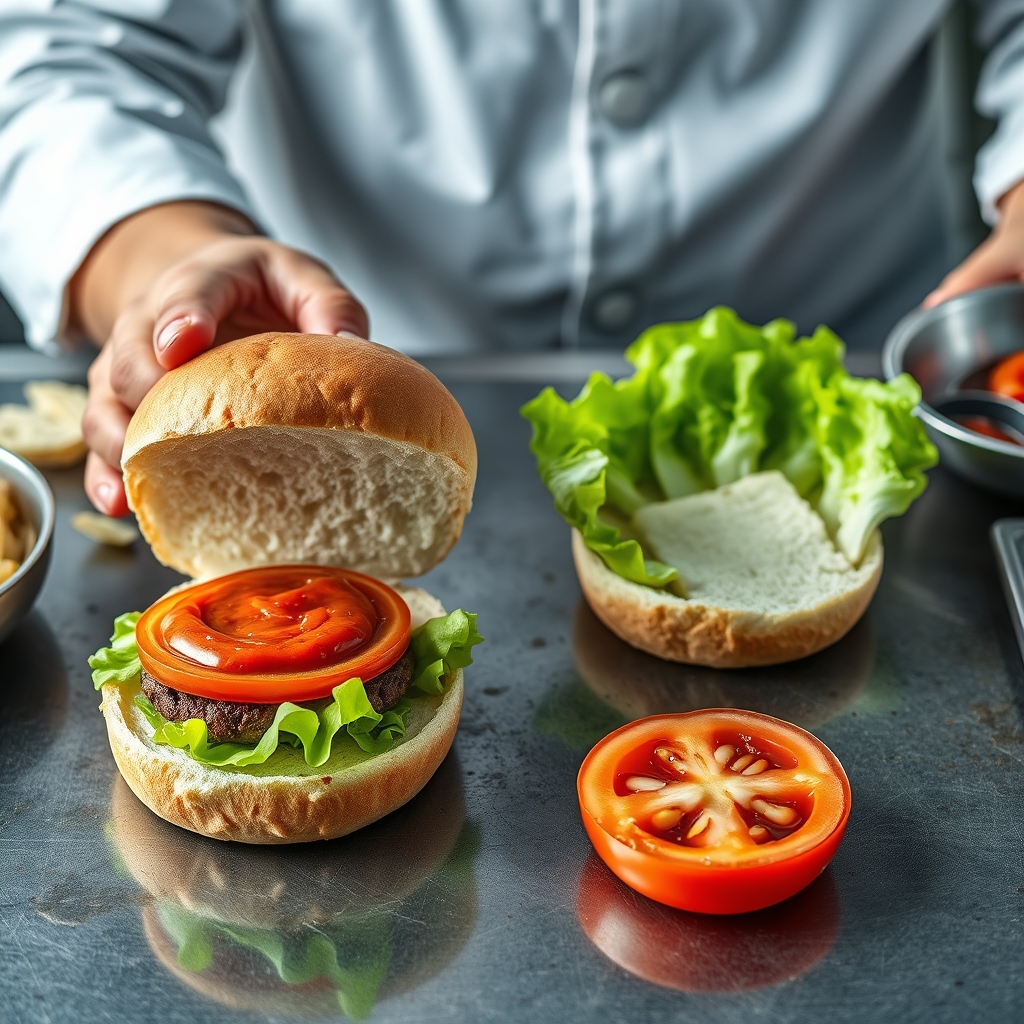
Add sauce in a controlled amount, then stack the crisp and fresh toppings around the patty. Keep wet ingredients from soaking the bun.
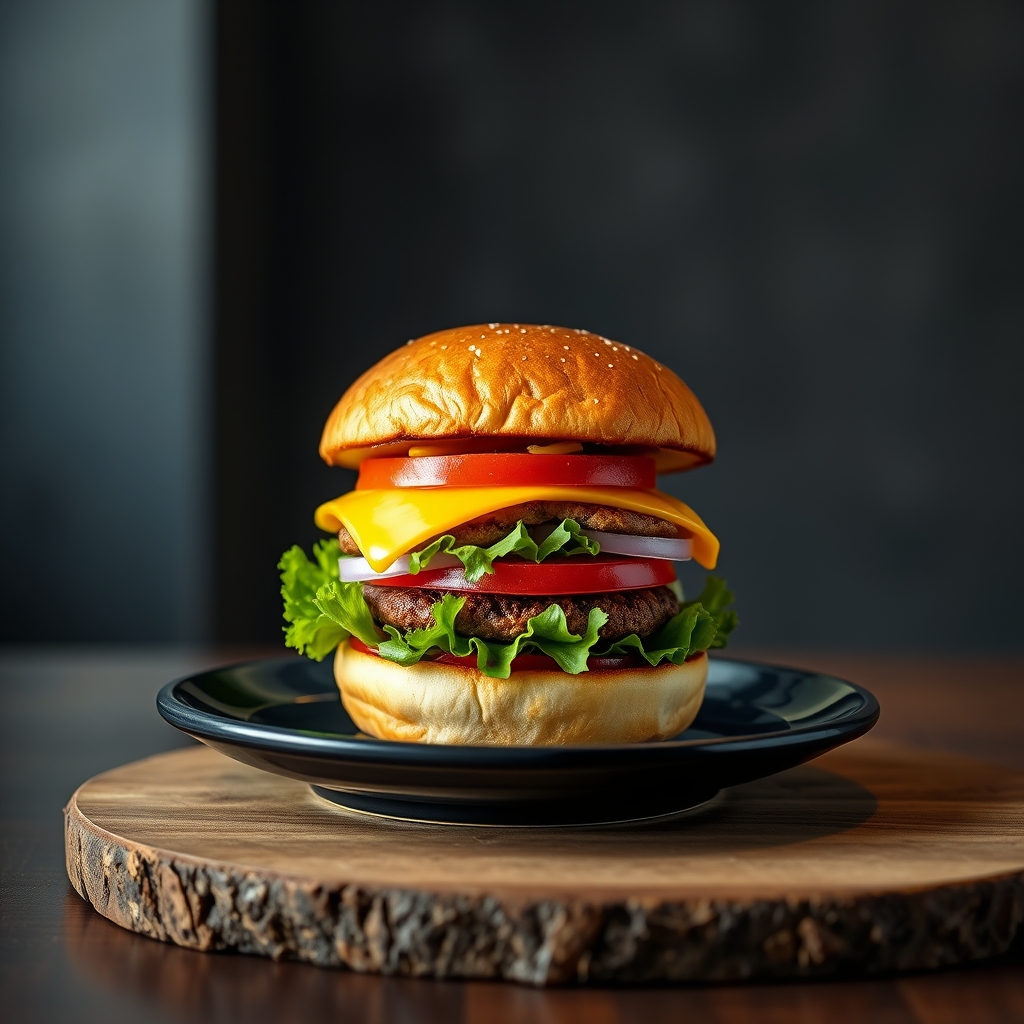
Look at the stack, bun integrity, cheese coverage, topping balance and overall appearance. For meat safety, use a food thermometer and follow the recommended safe internal temperature for the meat used.
A separate build from start to finish. The focus is the relationship between a browned beef patty, properly melted cheese, a toasted bun and fresh toppings. The guide uses dedicated food photographs for its major steps and ingredient sections.
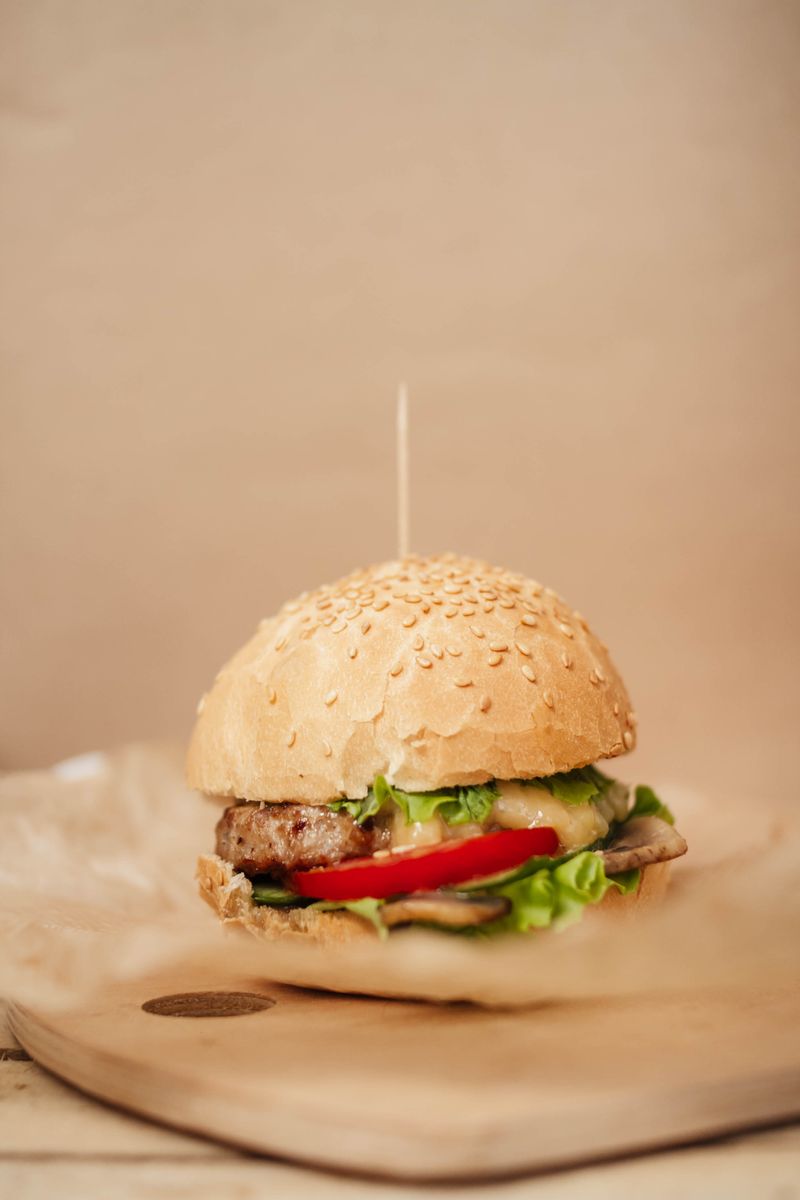
Each component has a specific job. Keep the cheese the star without letting it make the burger greasy, unstable or too salty.
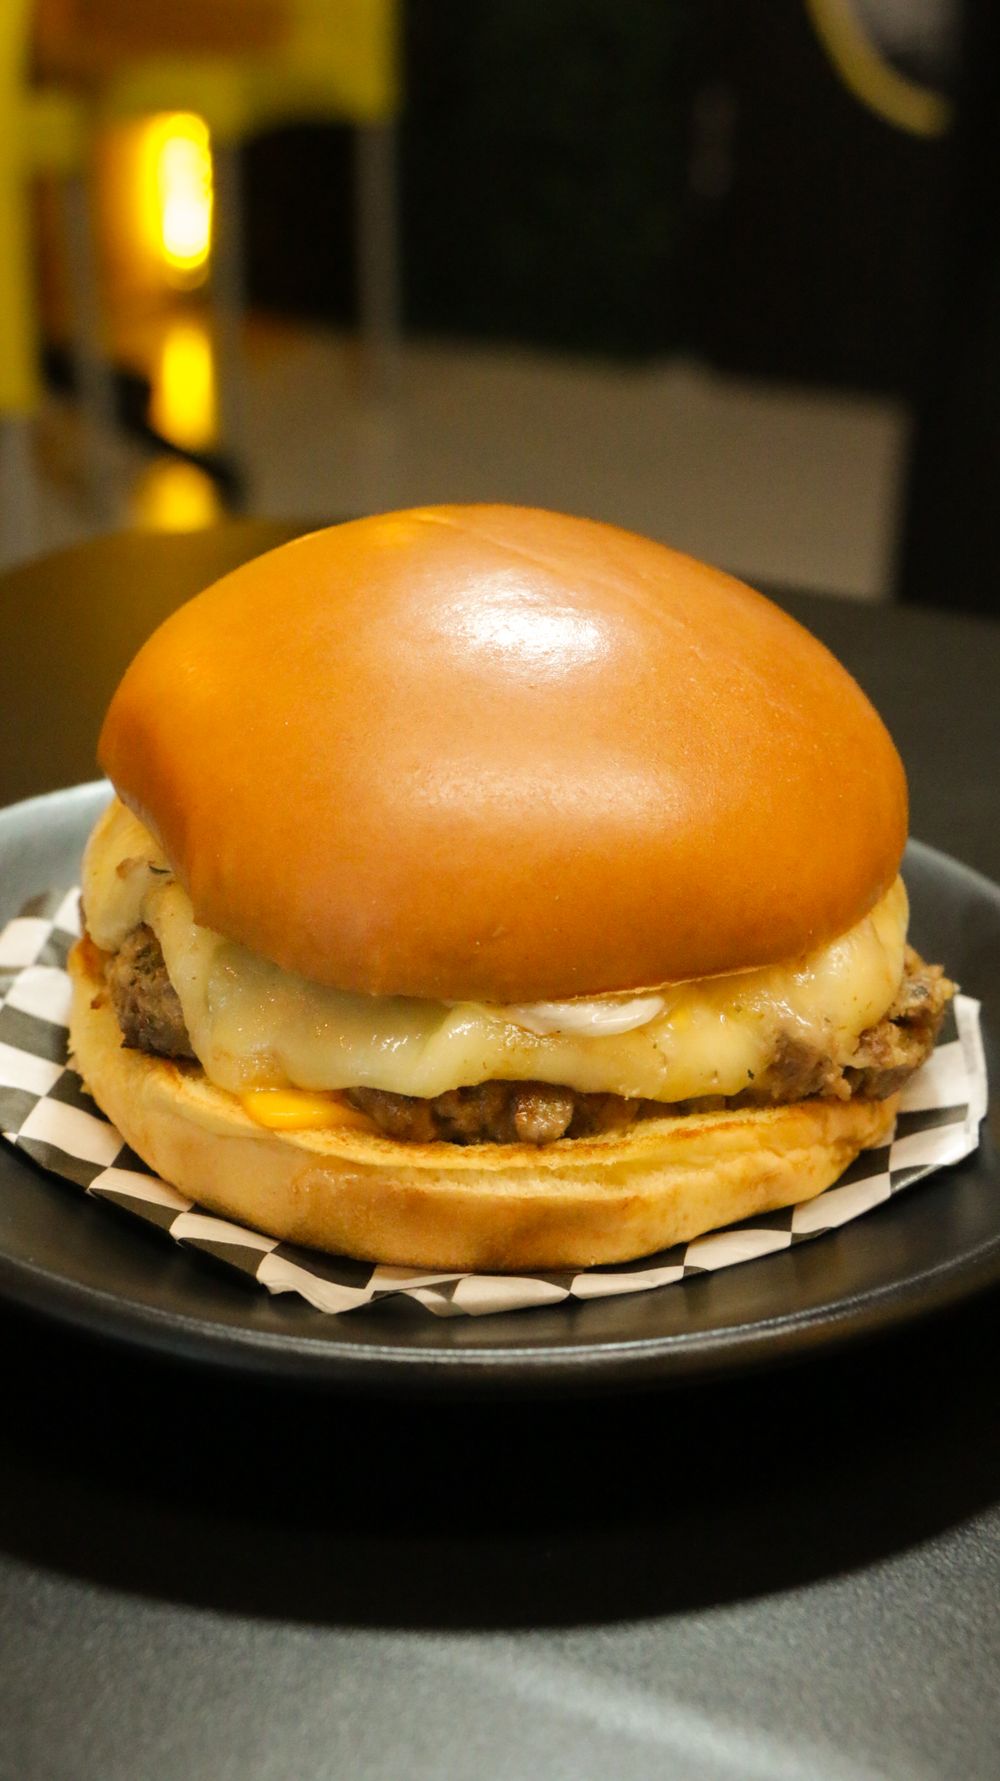
American-style slices melt quickly and evenly; cheddar brings a stronger flavour. Choose a slice thin enough to melt before the patty overcooks.
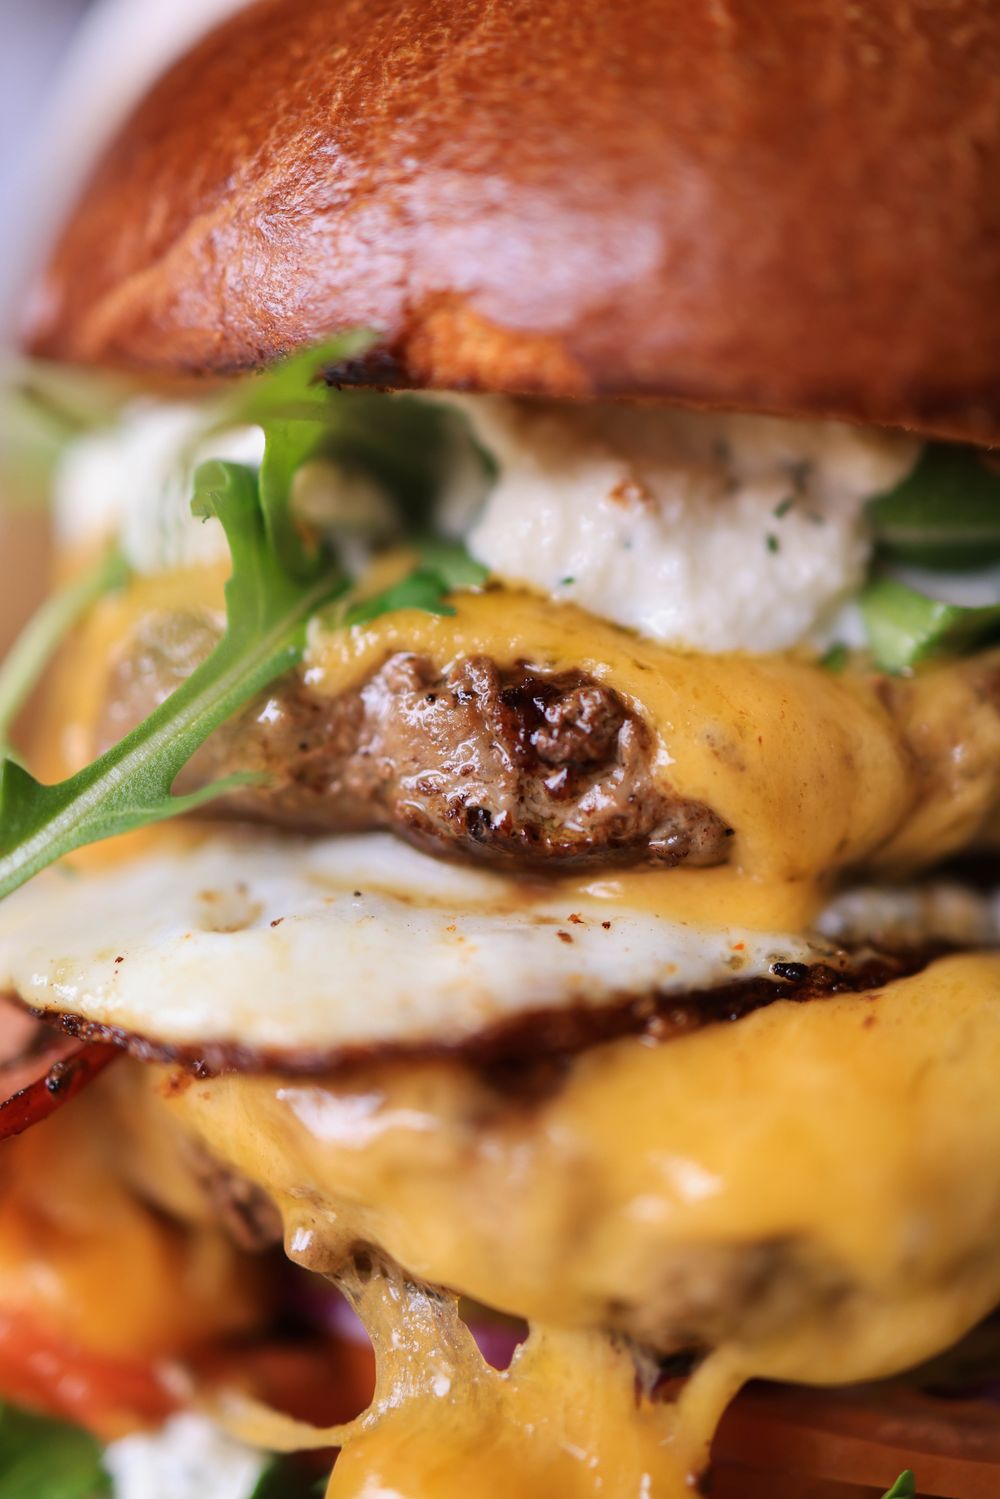
Use a consistent portion and shape it slightly wider than the bun. Avoid over-compressing so the cooked patty stays tender.
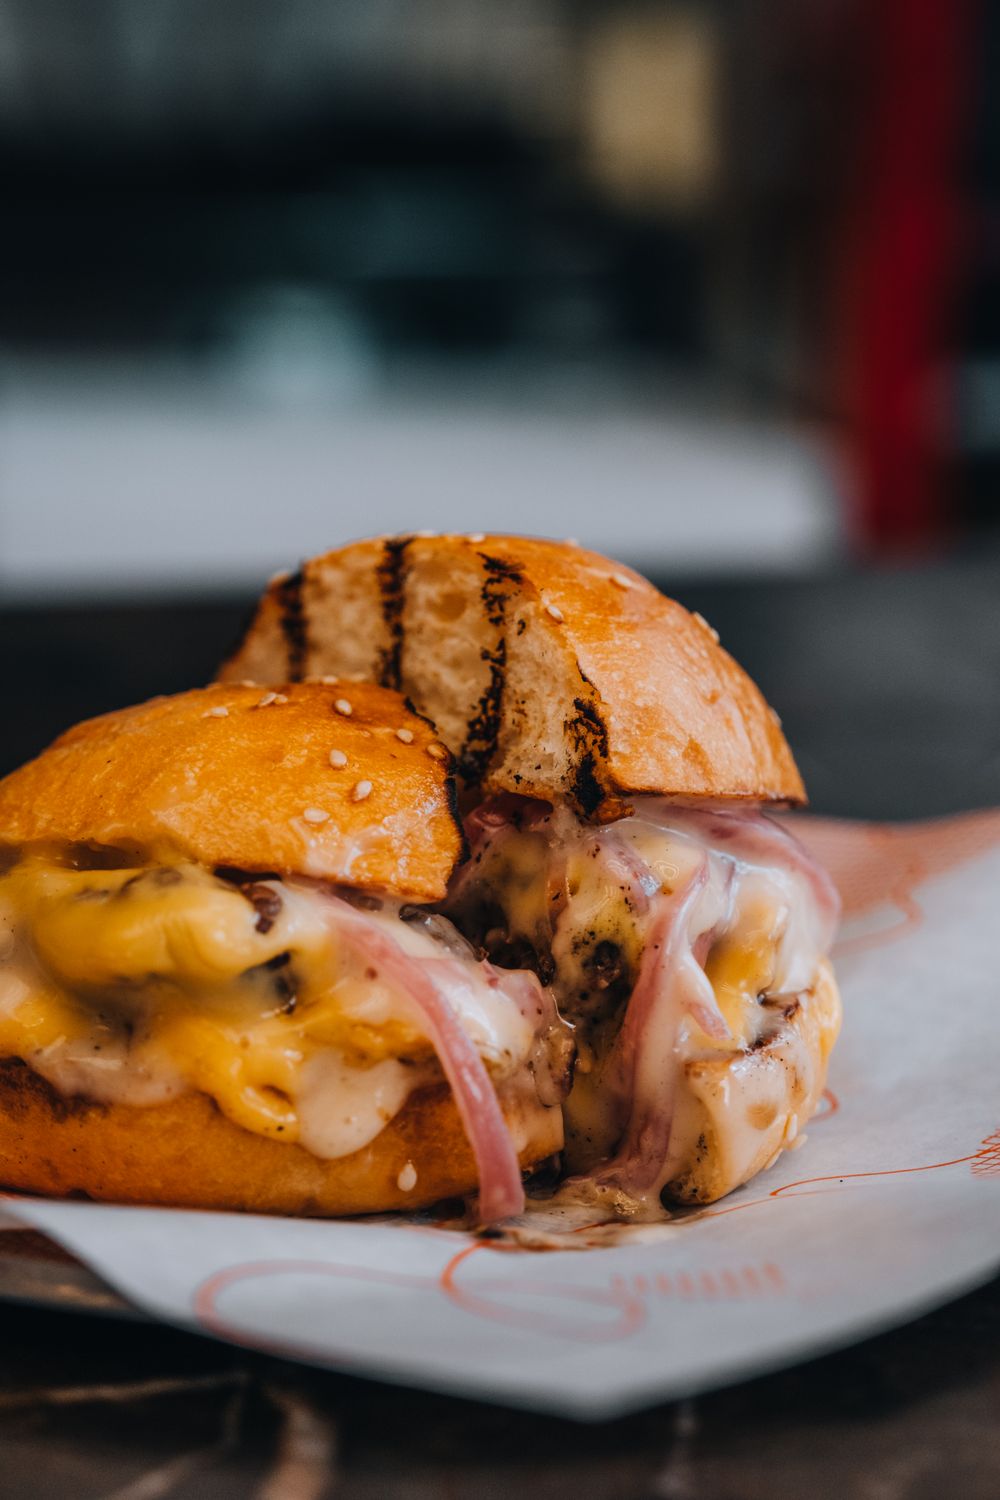
Toast the cut side until lightly golden. It should add structure and resist sauce without becoming hard.
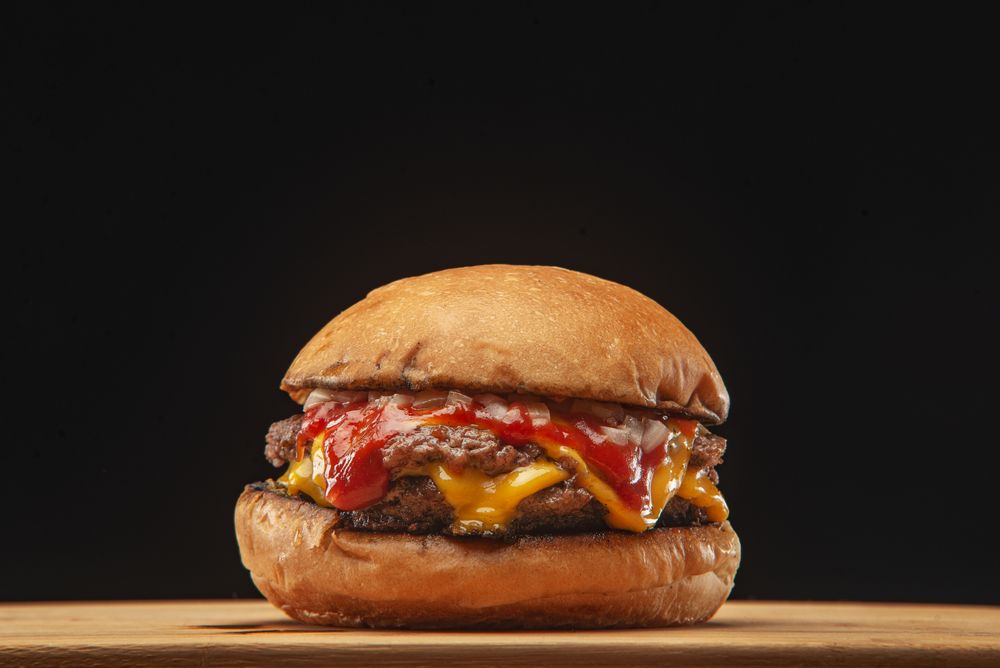
Use enough sauce for moisture and acidity, but keep it controlled so the melted cheese and patty remain the dominant flavours.
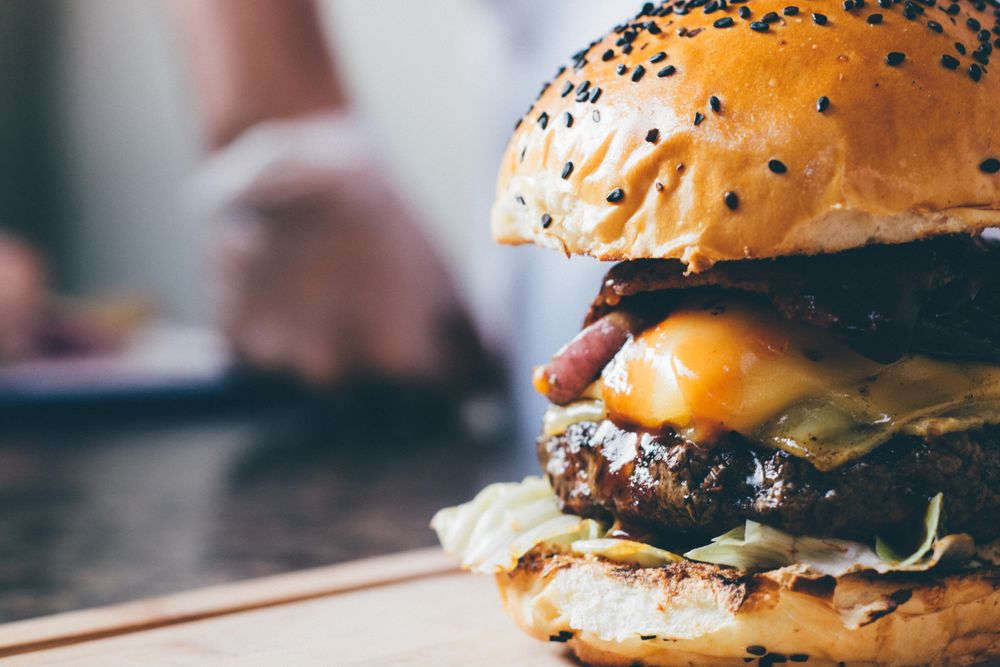
Lettuce, tomato, onion or pickles add freshness, crunch and acidity. Keep them cold and dry before assembly.
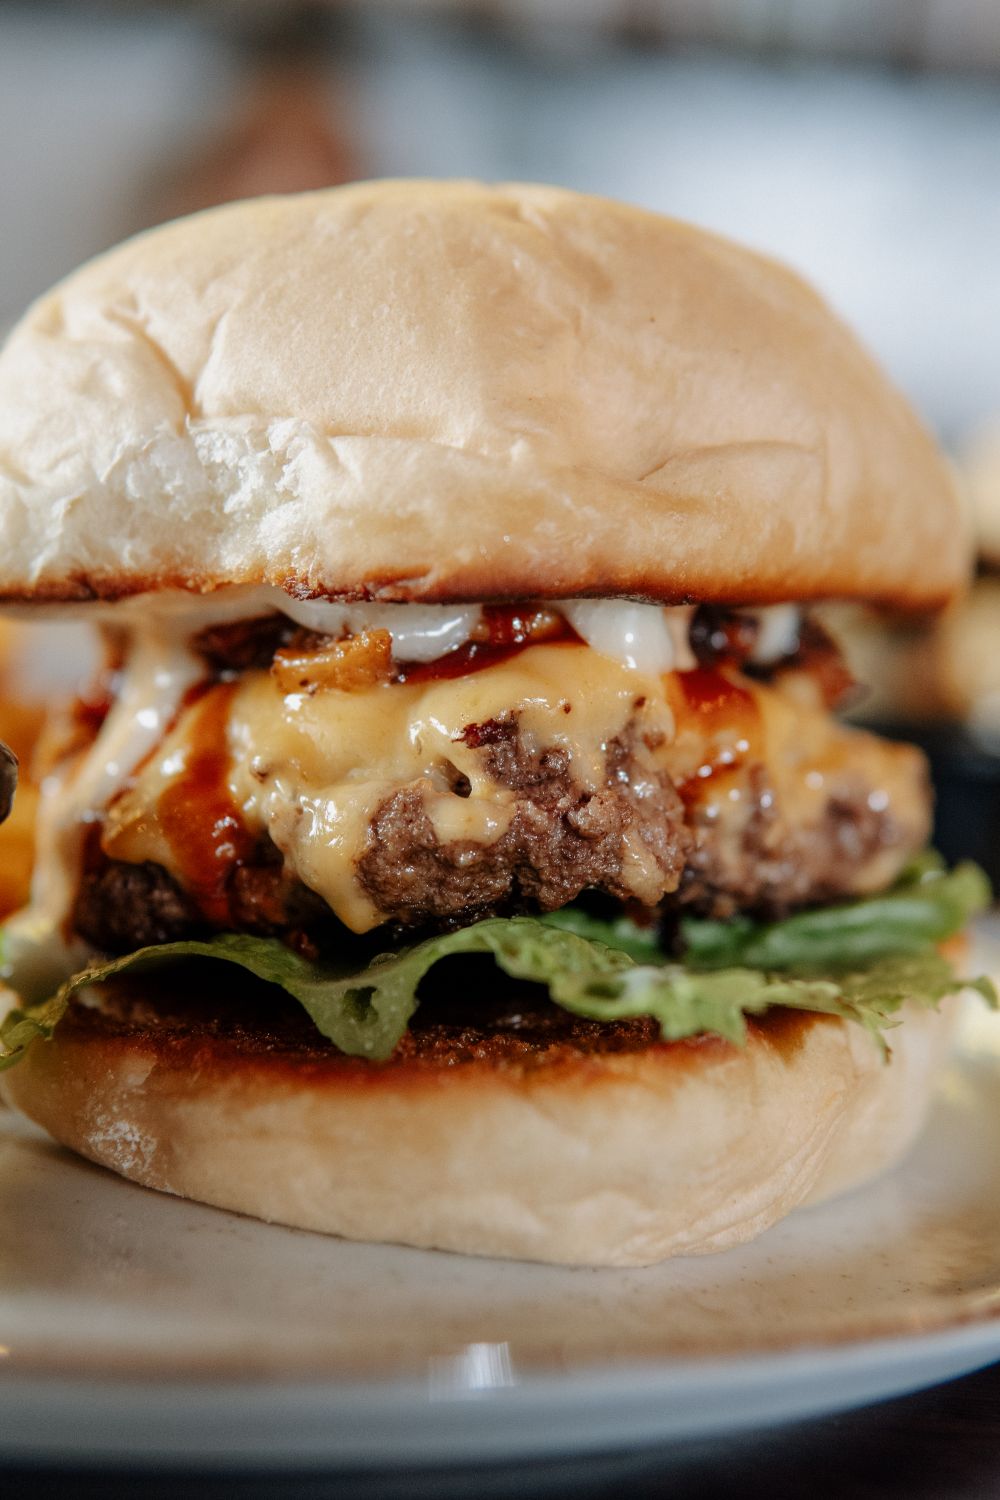
Salt and black pepper are enough for a classic profile. Season the exposed patty surface just before cooking.
One clean sequence. Follow the order so the bun, patty, cheese and toppings finish at the right moment.
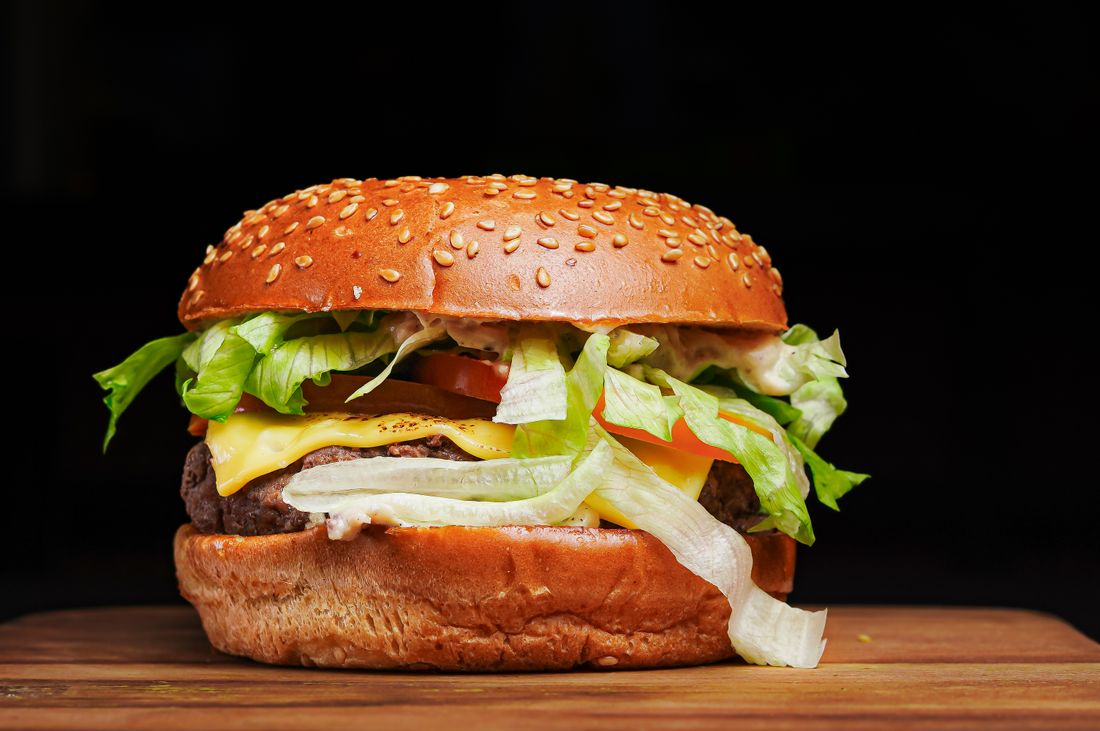
Slice vegetables, portion the patty, separate the cheese and open the buns. Dry wet toppings so they do not soak the bread.
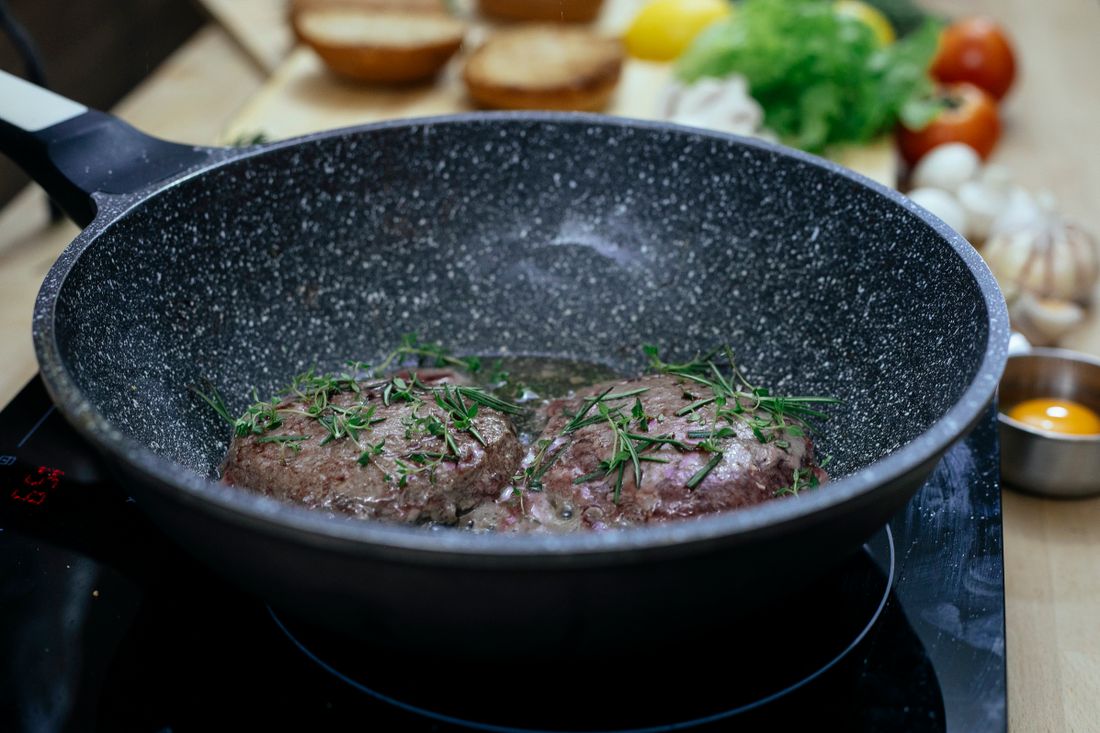
Apply salt and pepper over the exposed surface immediately before cooking. Avoid heavy piles that create salty bites.
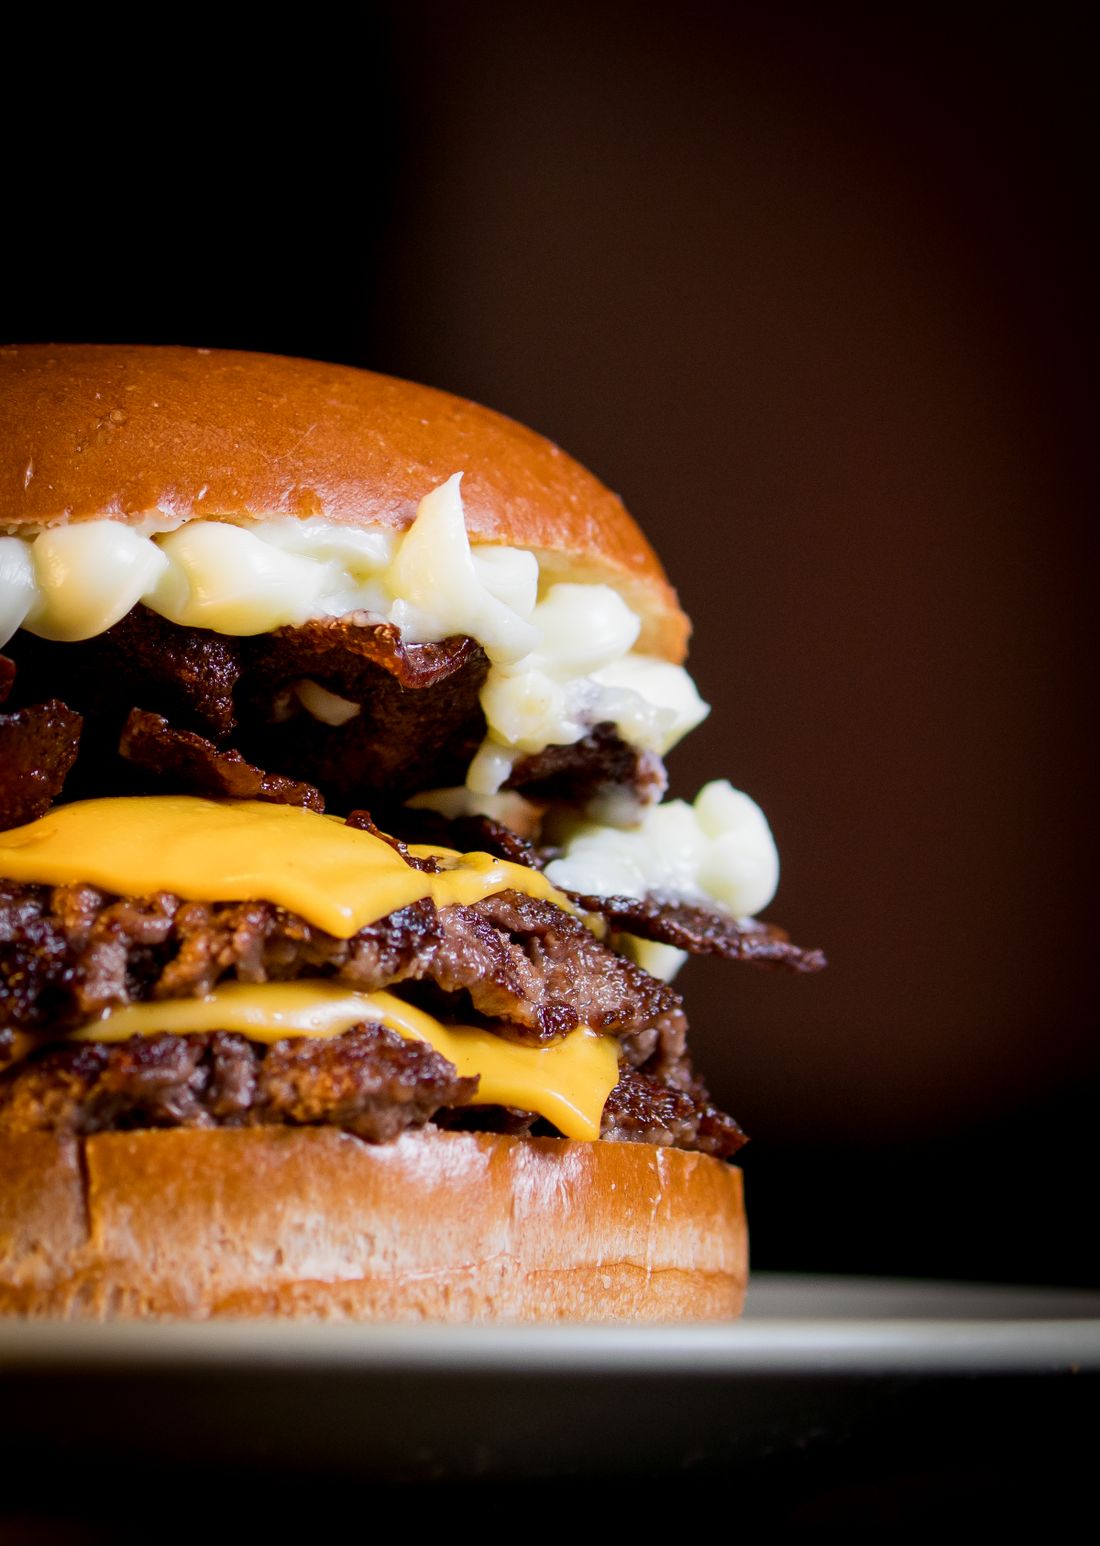
Use a properly preheated pan, griddle or grill. Give the patty firm contact with the surface and let the crust develop instead of repeatedly moving it.
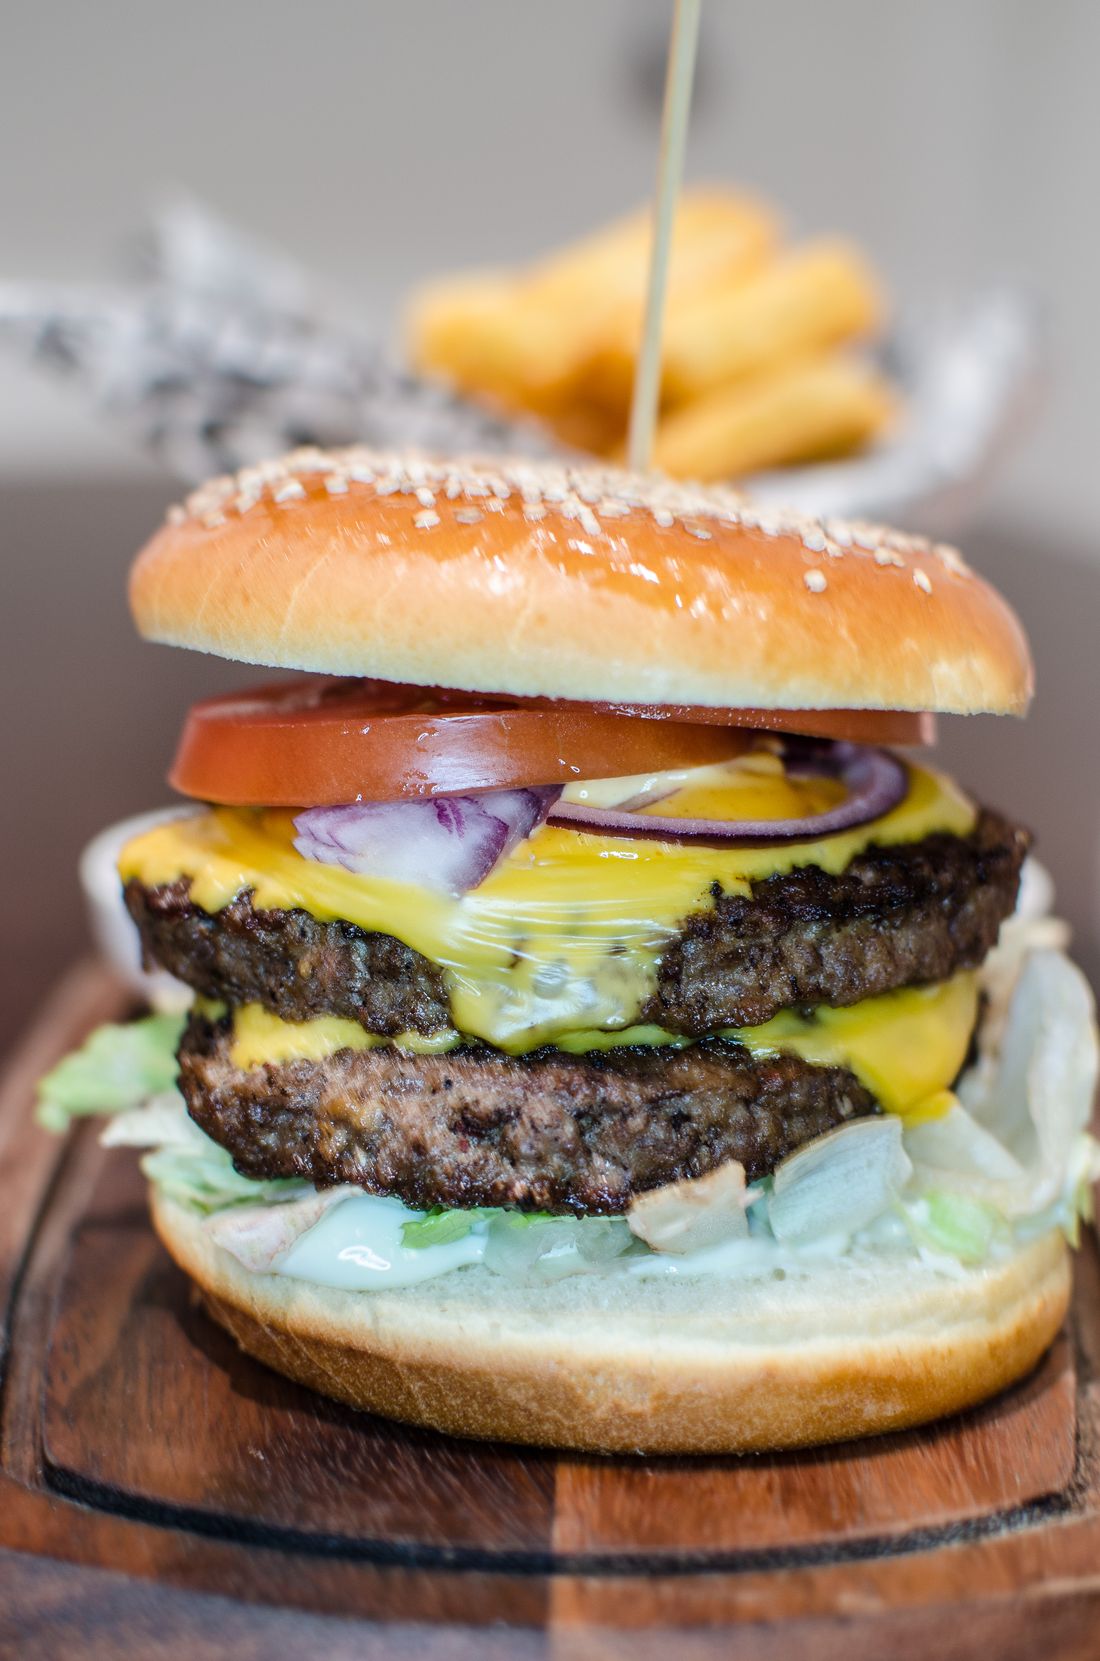
Place the slice on the hot patty for the final stage. The target is a glossy, softened layer that drapes over the patty without drying the meat.
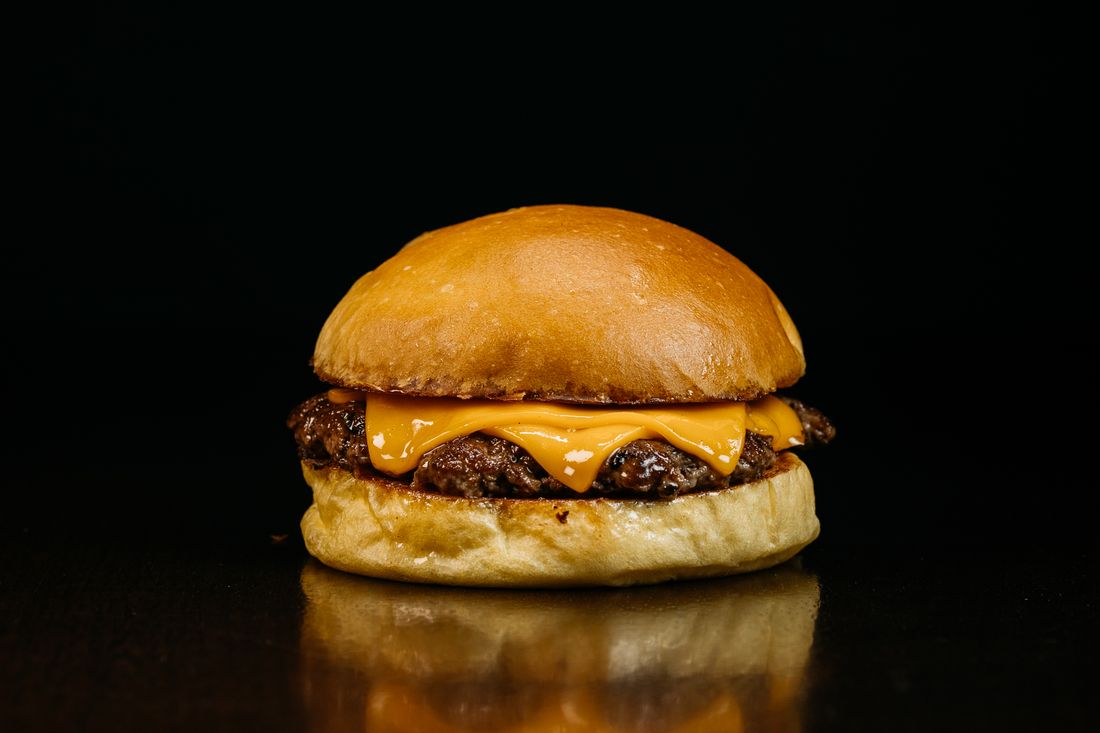
Toast the cut faces lightly. A warm golden surface gives the burger structure and prevents sauce from immediately soaking through.
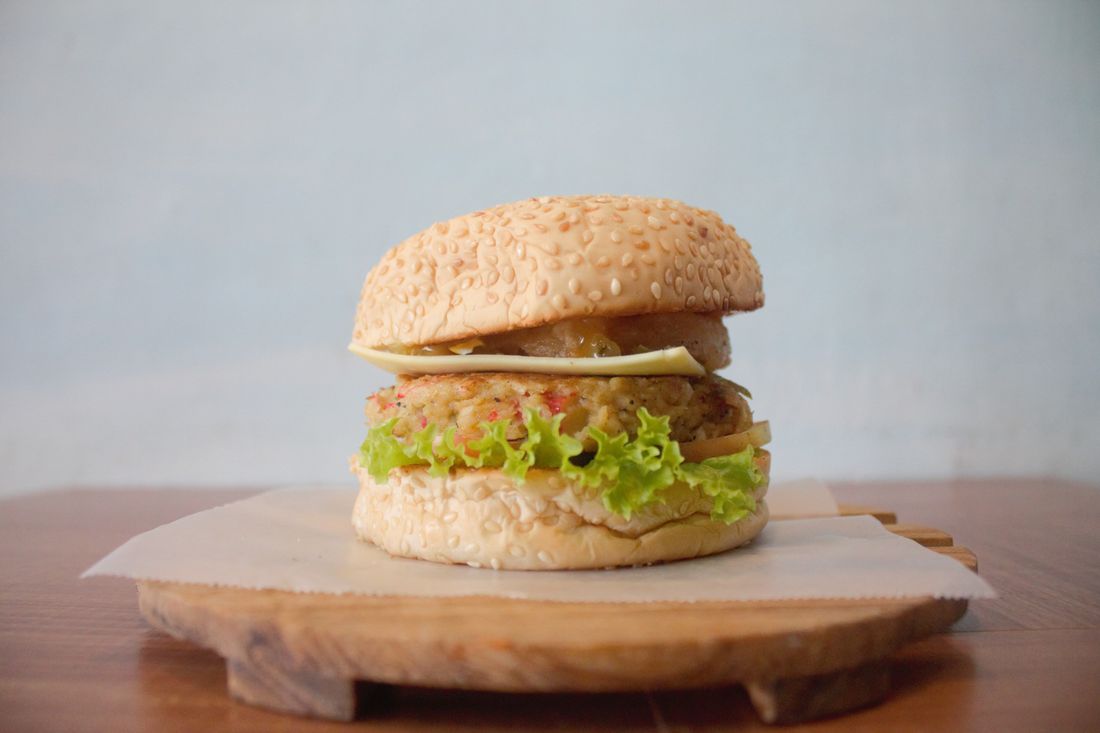
Spread a thin, even layer. Keep the sauce inside the bun footprint so it supports flavour without making the edges slippery.
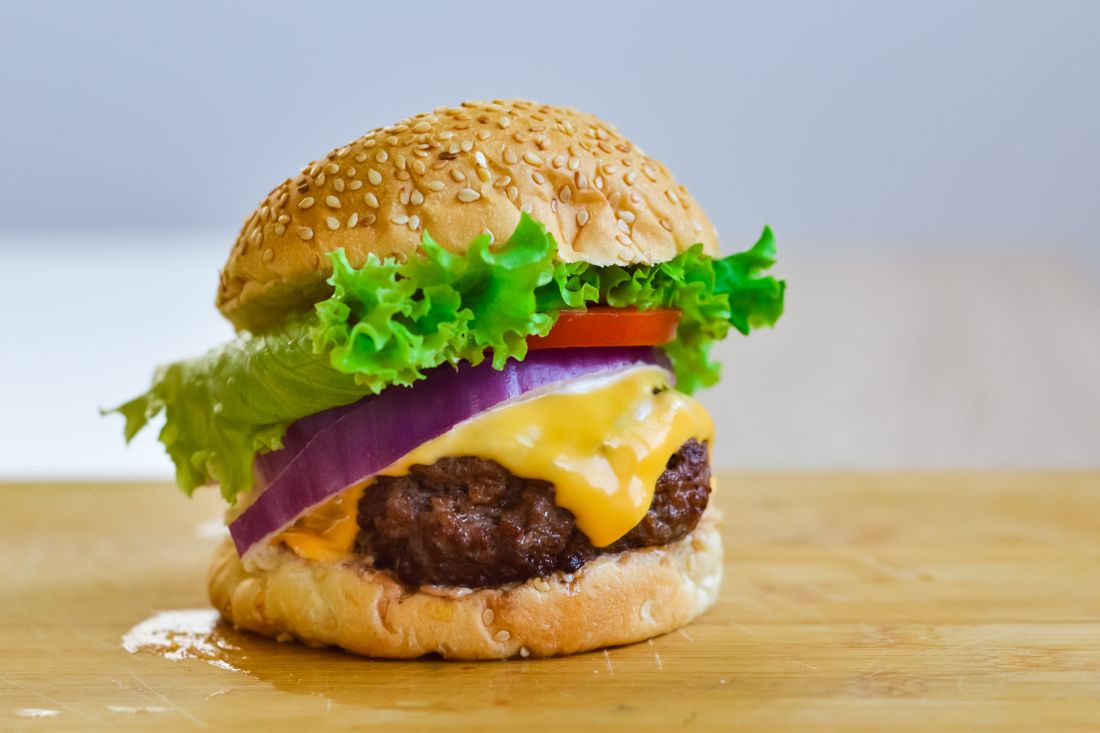
Build from bun to sauce, fresh toppings, cheese-covered patty and top bun. Keep bulky toppings centred so the burger does not slide apart.
Check cheese coverage, bun integrity, topping balance and overall structure. For ground beef, verify the centre with a food thermometer and follow the safe temperature guidance applicable to your location.
Pass: evenly browned patty, cheese fully softened, toasted but tender bun, controlled sauce, crisp toppings and a stable stack. Fail: dry patty, unmelted cheese, soggy bun, overloaded sauce or toppings that slide out immediately.
A dedicated spicy build from start to finish. The focus is heat, savoury beef, fresh crunch, balanced acidity and controlled chili flavour. The guide keeps every numbered detail paired with its own dedicated photograph.
Each component has a specific job. Build heat in layers without letting chili overwhelm the beef, bun, sauce or fresh toppings.
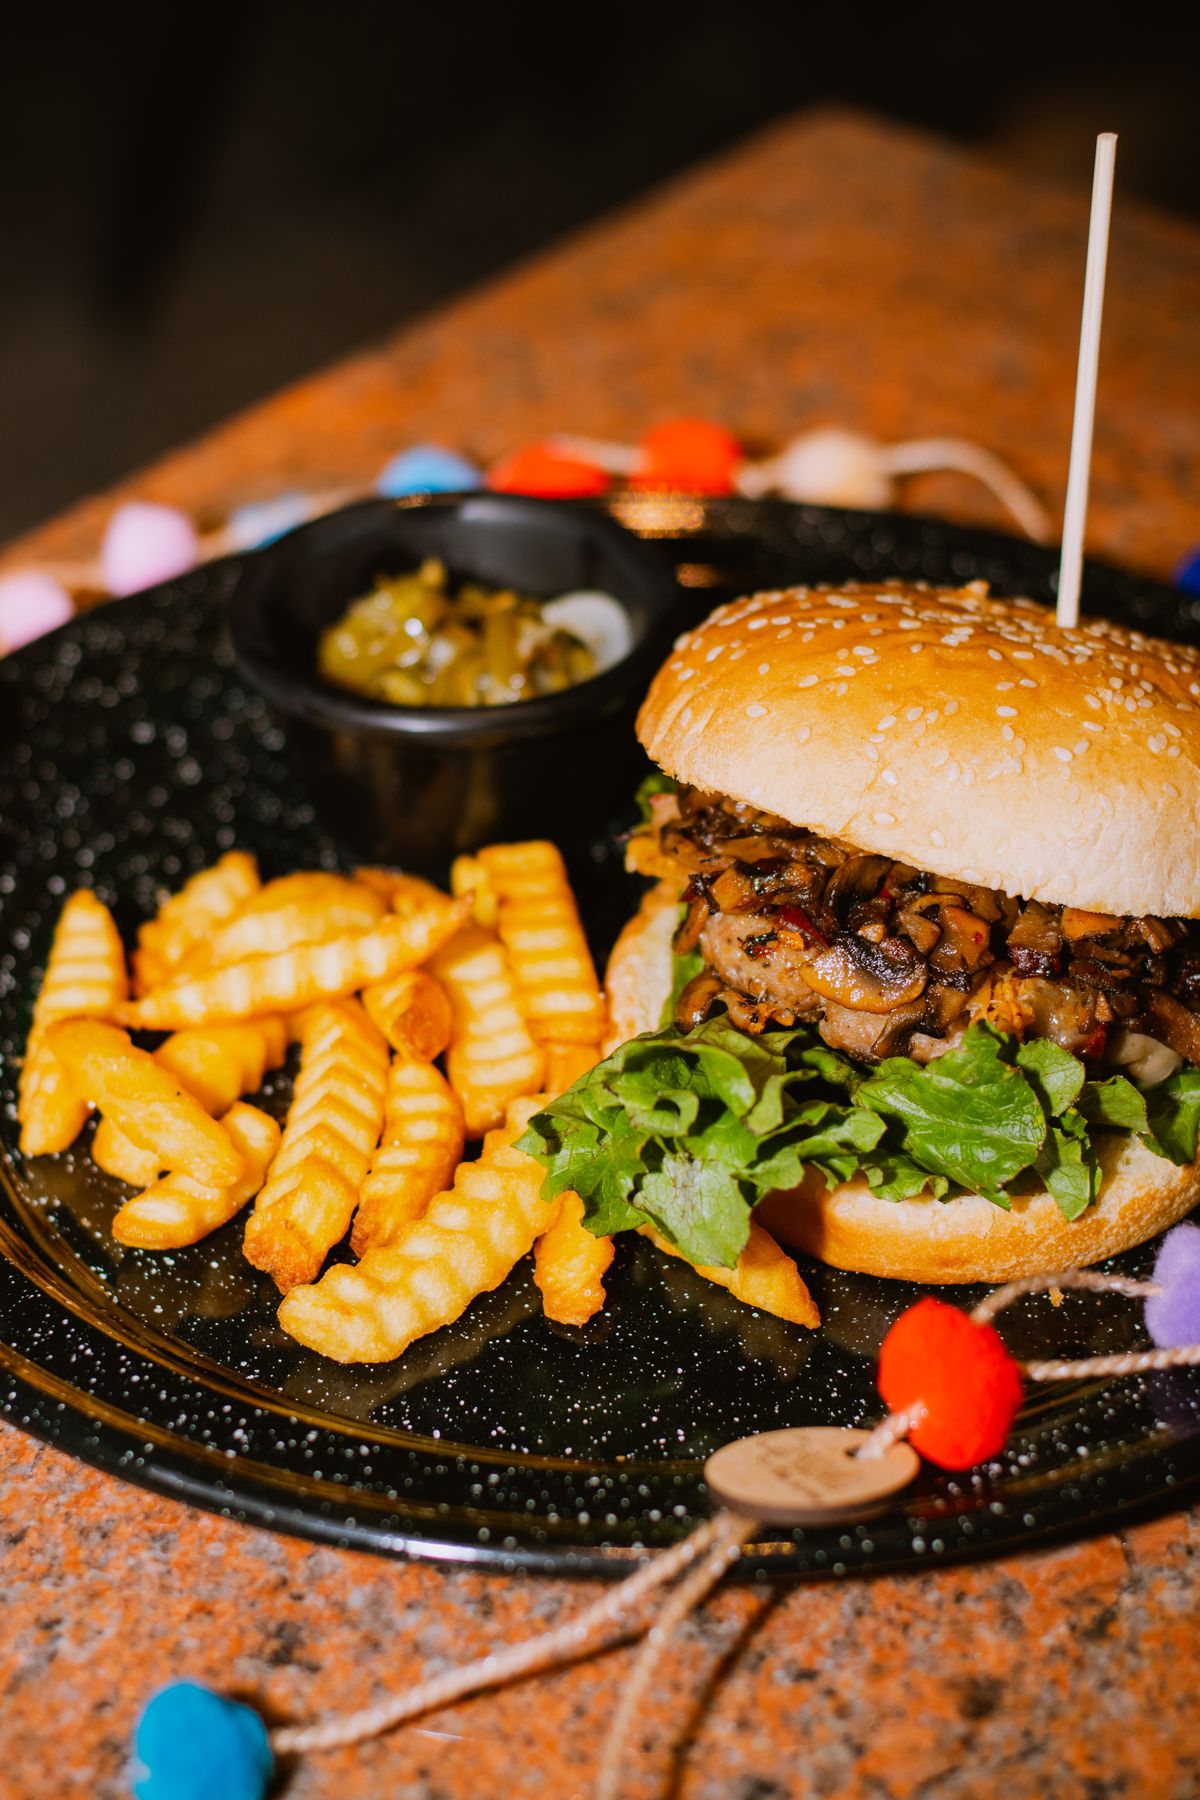
Fresh jalapeño, pickled chili or a hotter pepper can define the heat. Start with a measured amount so the burger stays balanced.
Use a consistent beef portion and shape it slightly wider than the bun. Season firmly enough to stand up to the chili.
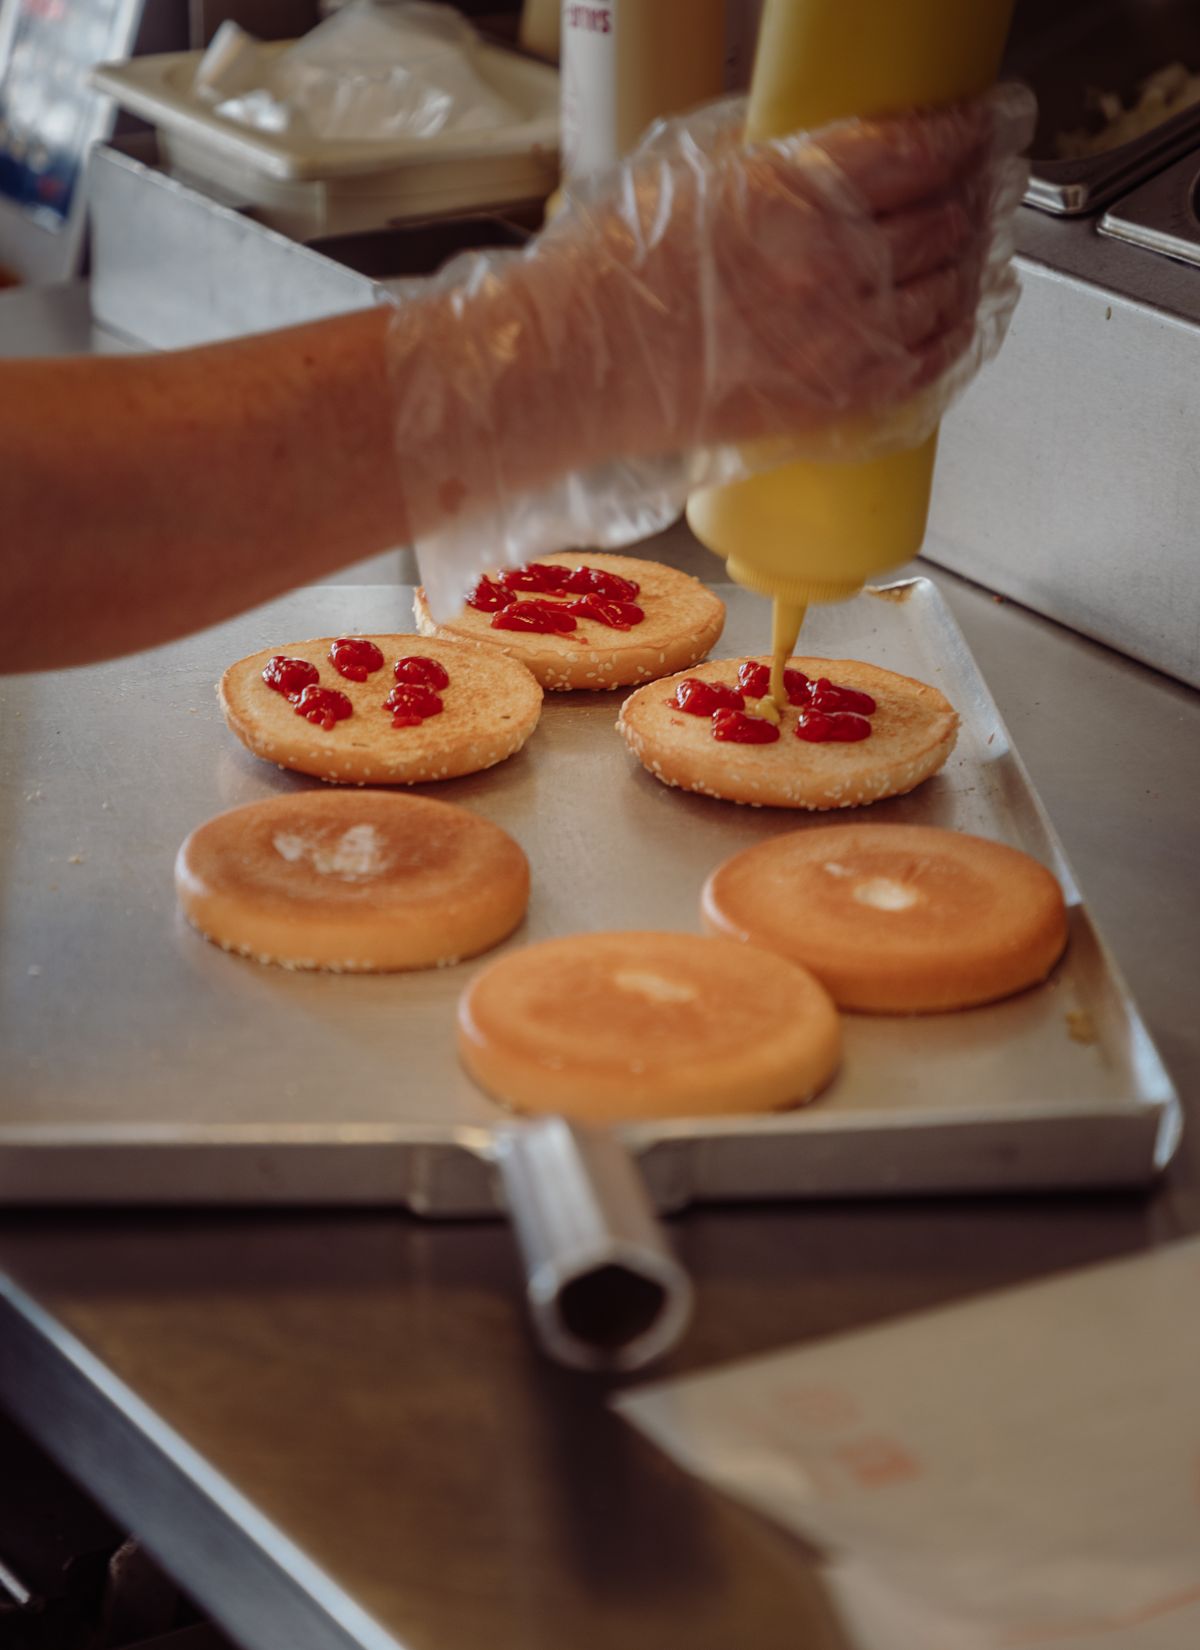
Toast the cut face until lightly golden. A sturdy bun keeps spicy sauce and juicy toppings from soaking through.
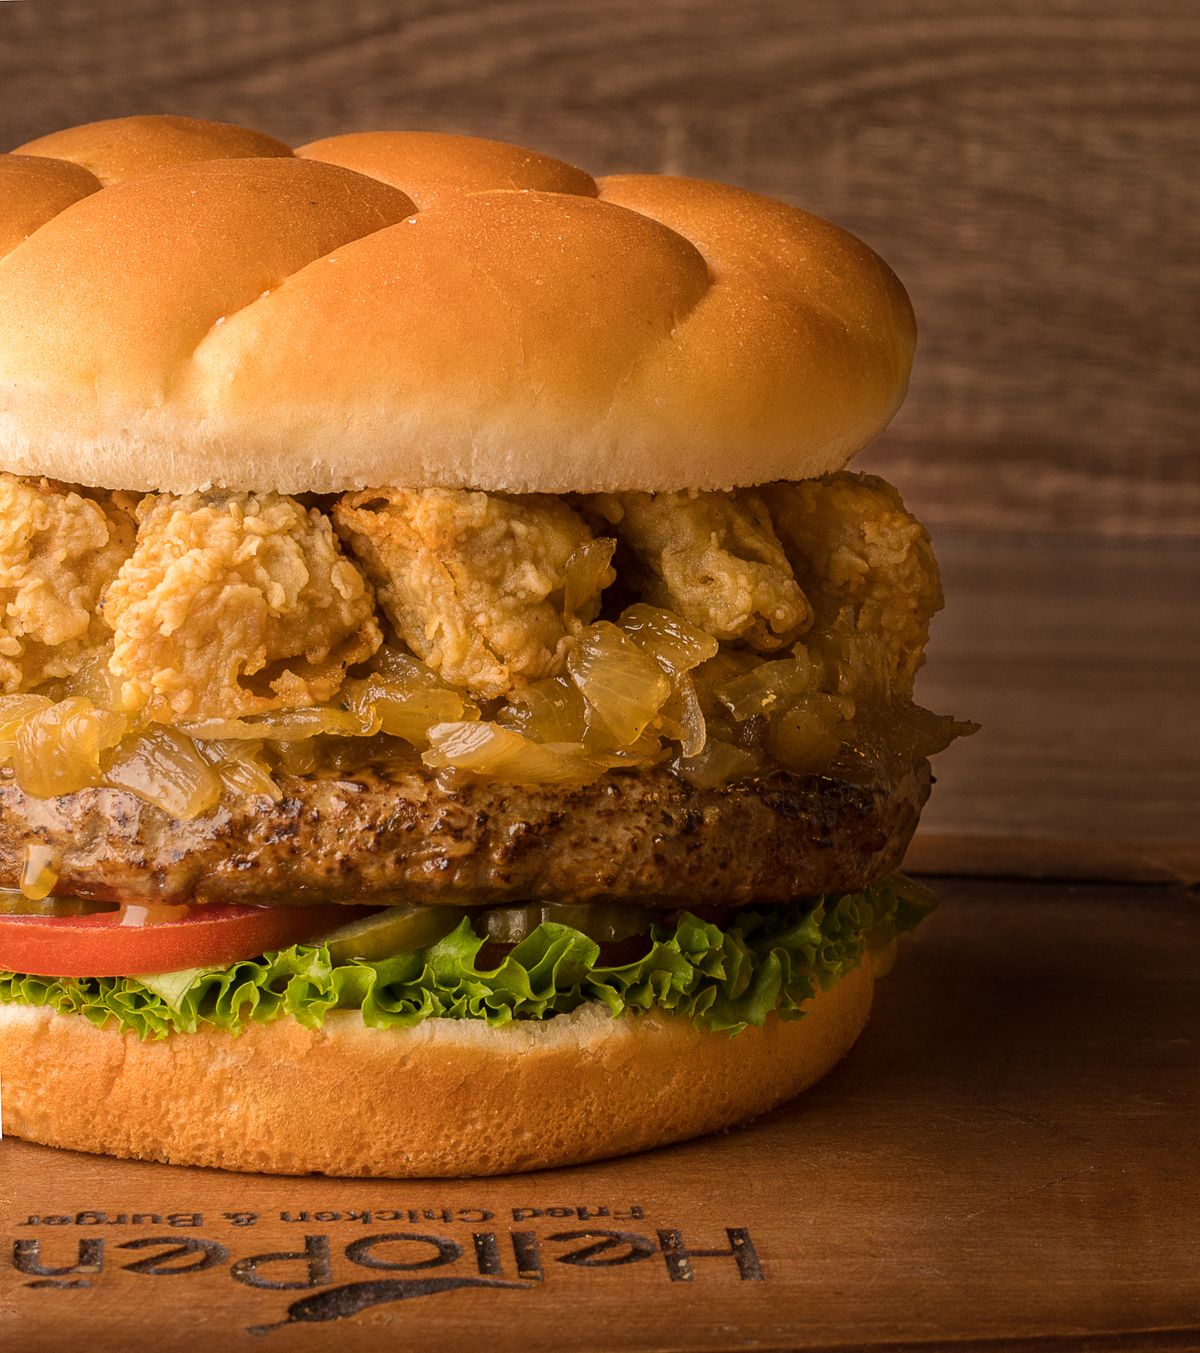
Combine heat with acidity and richness. A thin layer of chili mayo, hot sauce or pepper relish gives flavour without flooding the bun.
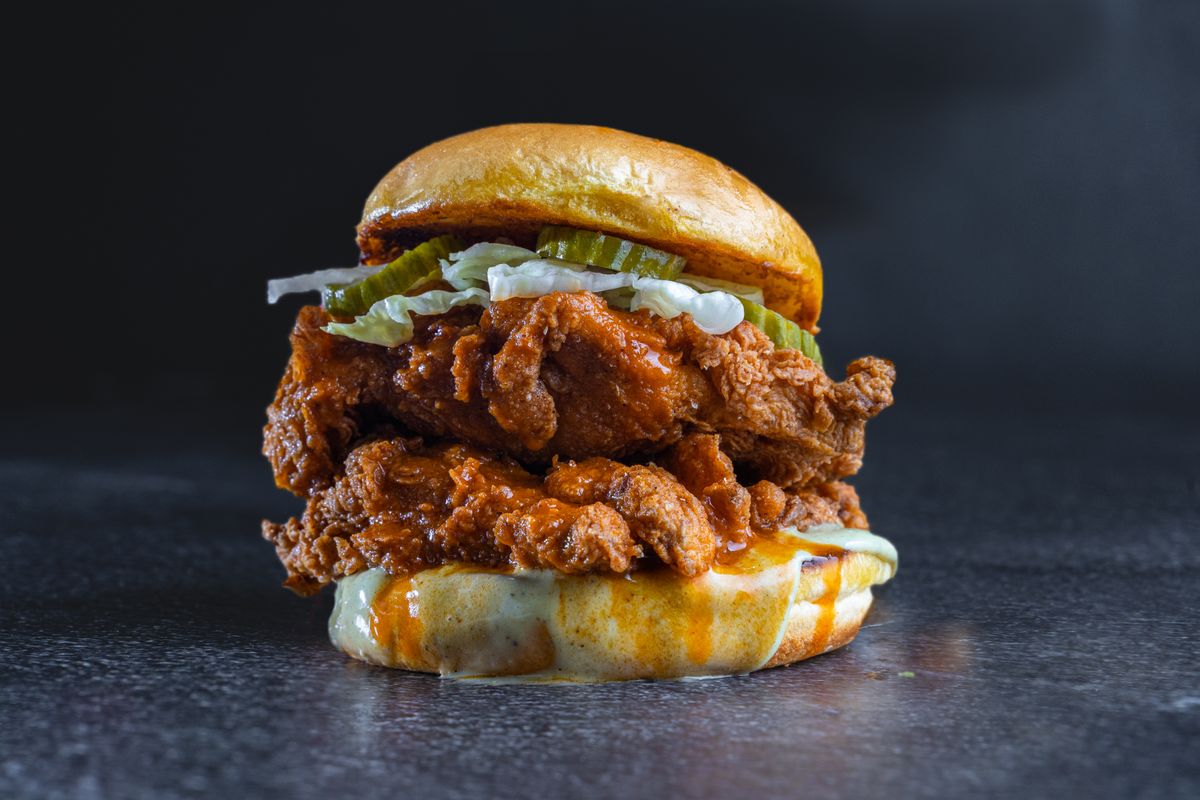
Lettuce, onion, tomato, pickles or cooling slaw provide contrast. Keep wet toppings controlled so the burger remains stable.
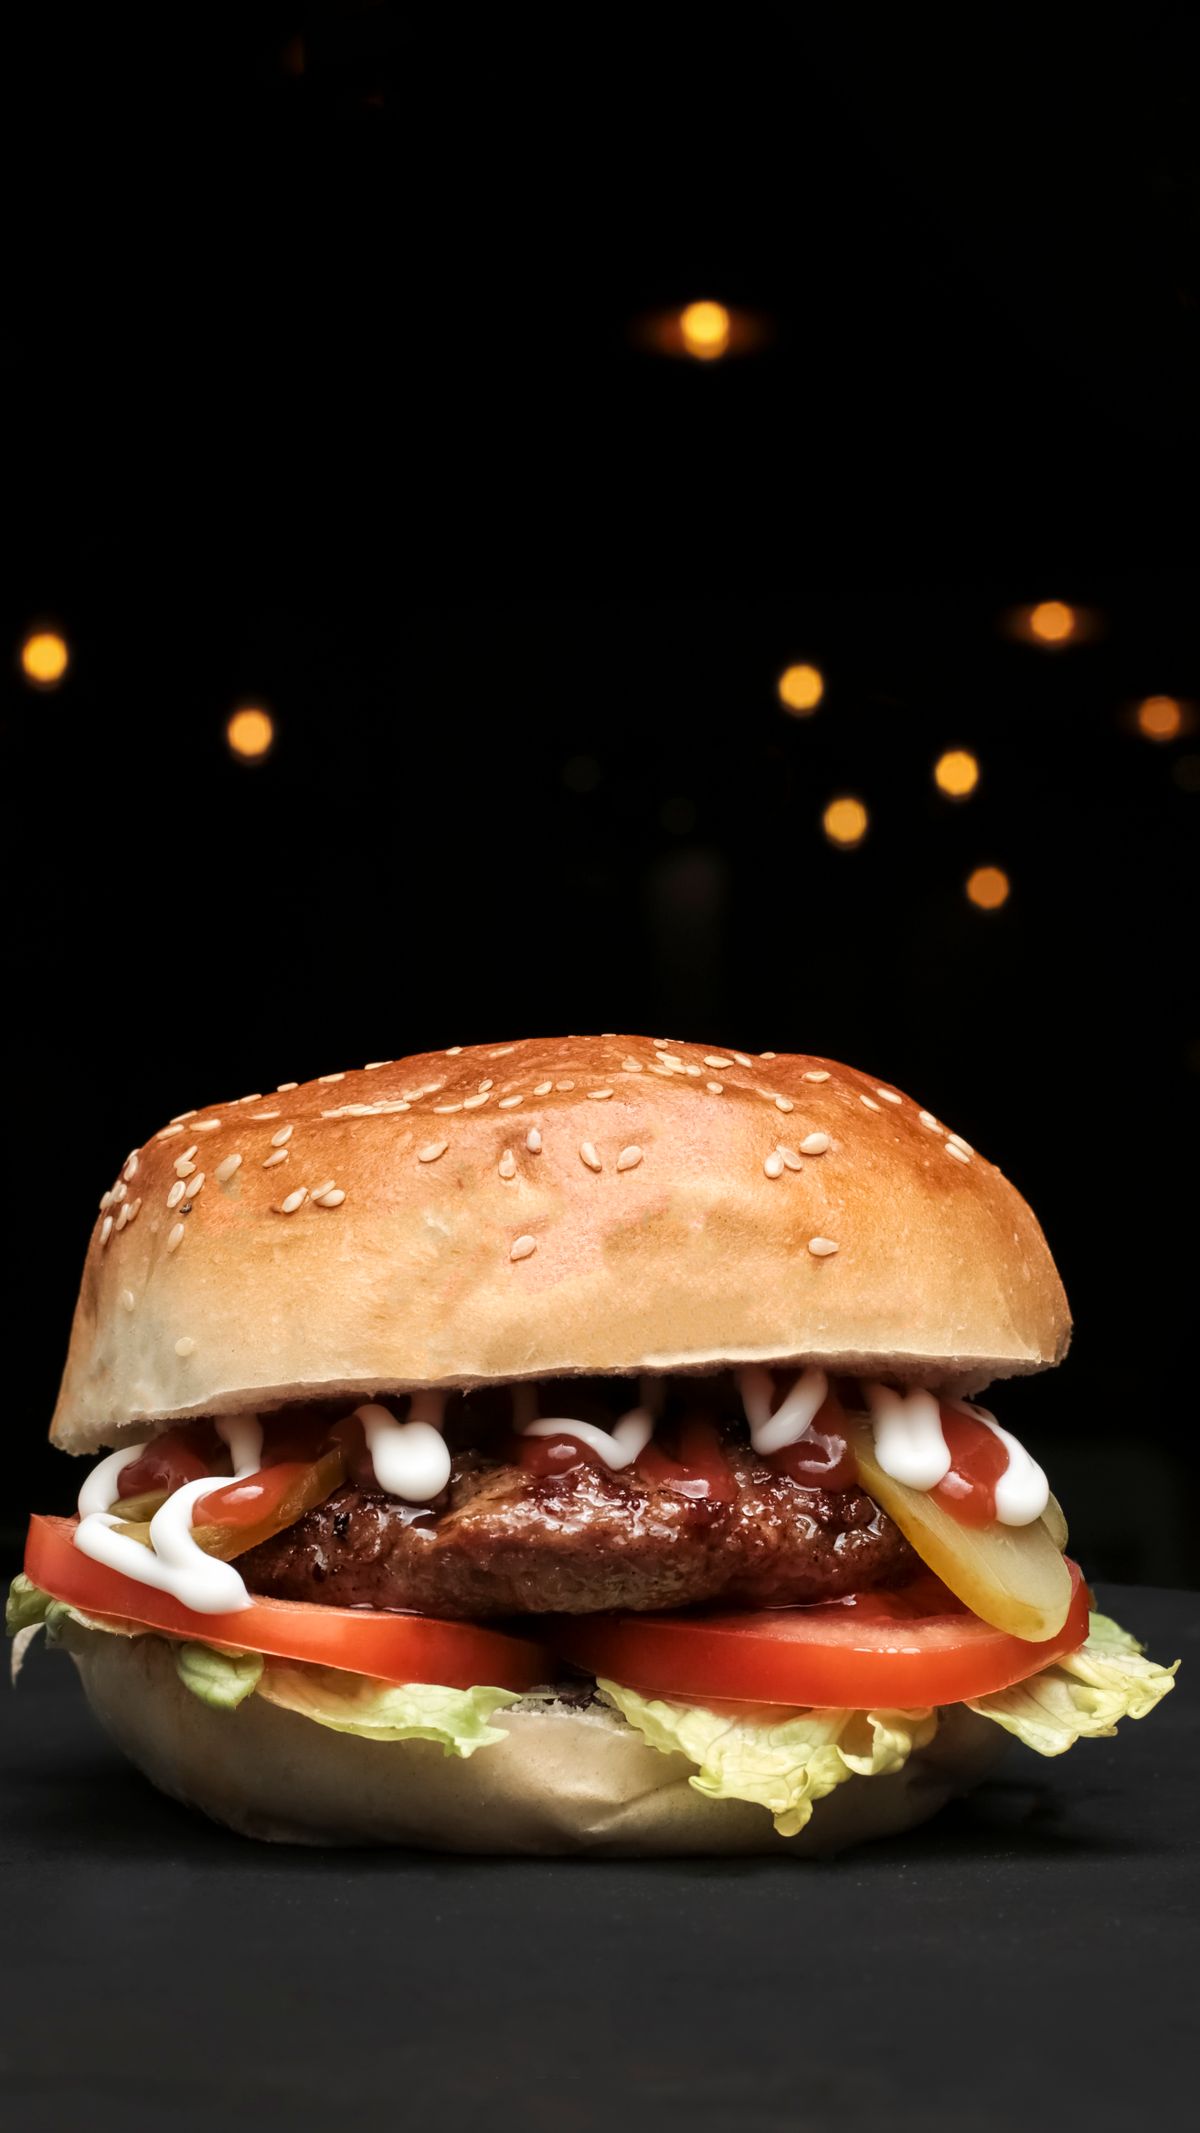
Salt, black pepper, smoked paprika or a small amount of chili powder can reinforce the flavour. Season deliberately rather than adding heat everywhere.
One clean sequence. Follow the order so the chili, patty, sauce and cooling toppings finish in balance.
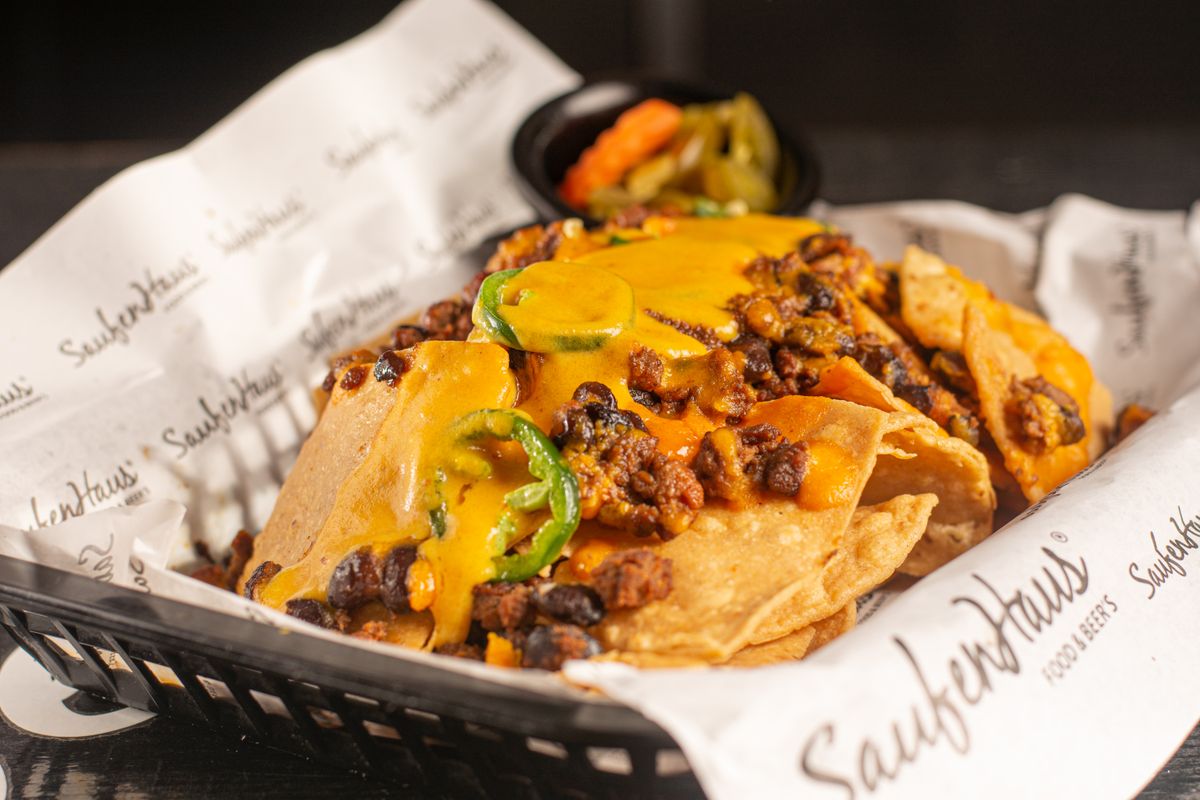
Slice peppers, portion the patty, prepare the sauce and dry the fresh toppings. Keep the chili measured before the pan gets hot.
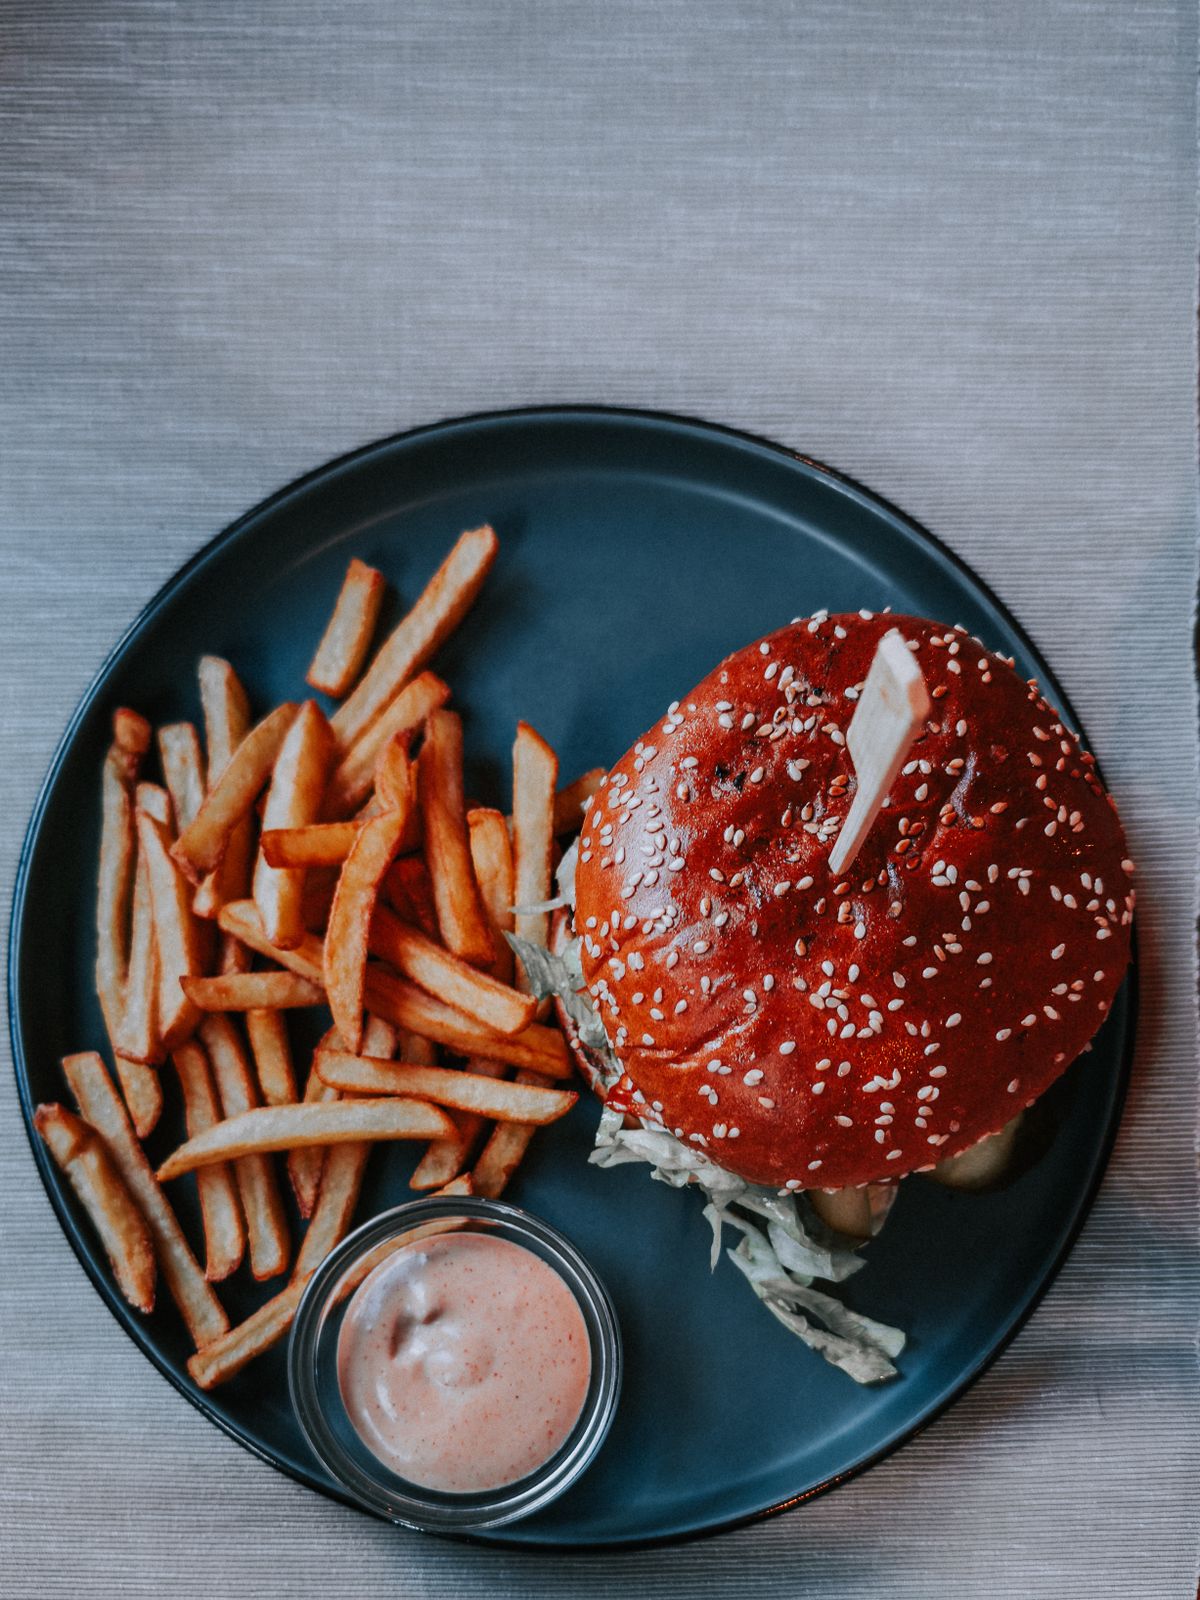
Apply salt, pepper and optional smoked paprika immediately before cooking. Keep the seasoning even so the chili remains the main heat source.
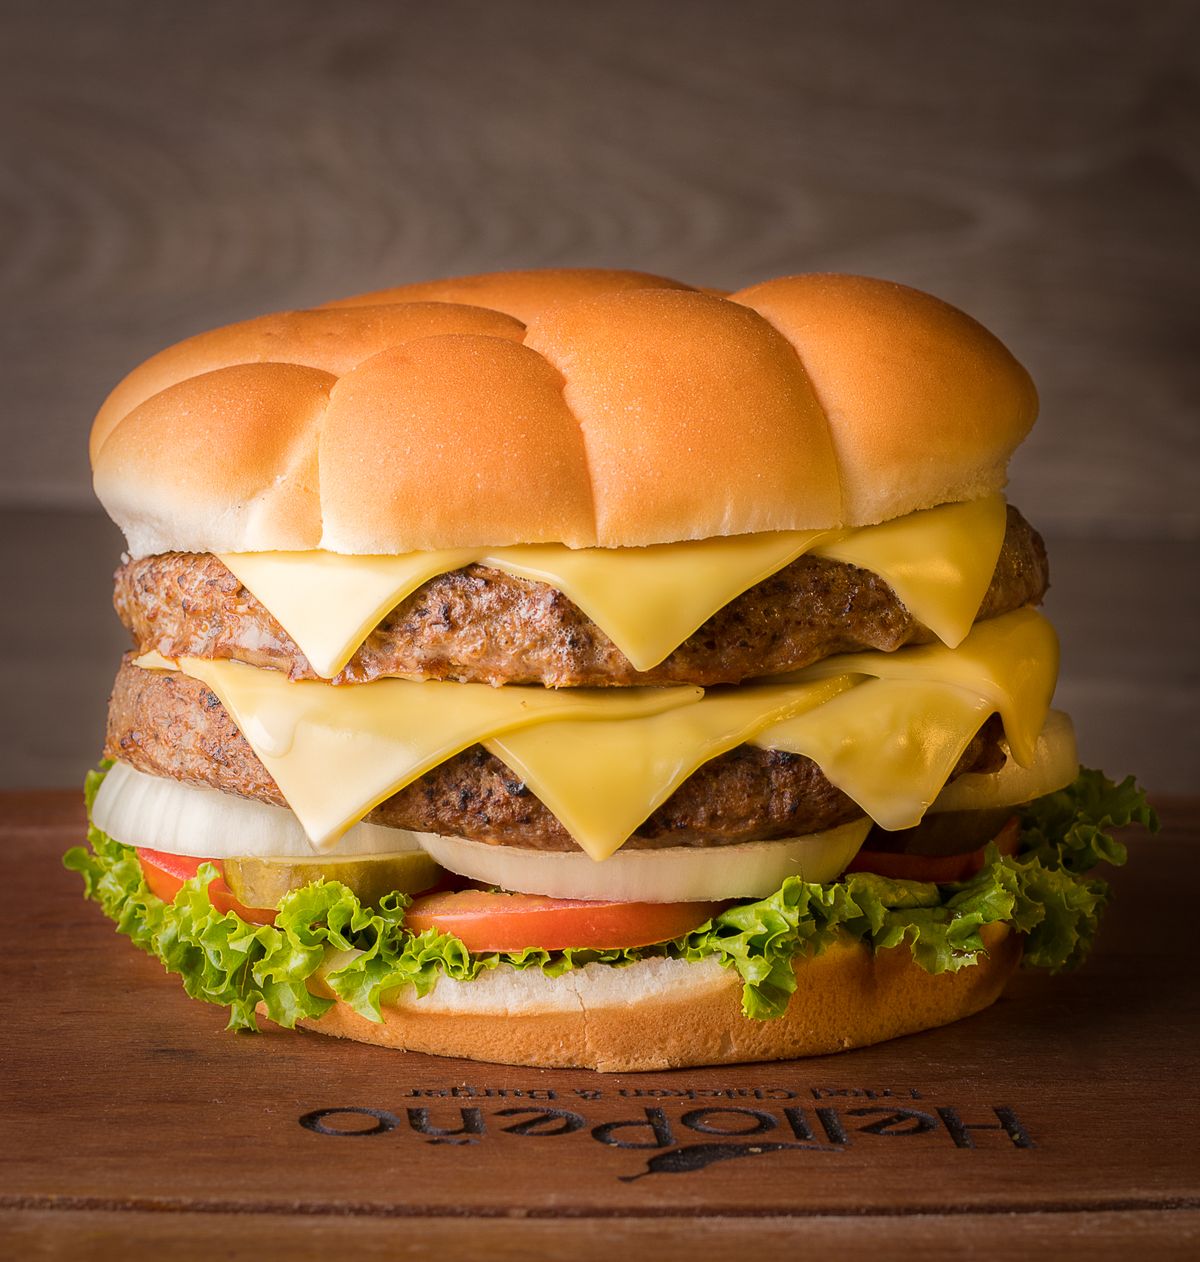
Use a properly preheated pan, griddle or grill. Give the patty firm contact with the surface and let the crust develop.
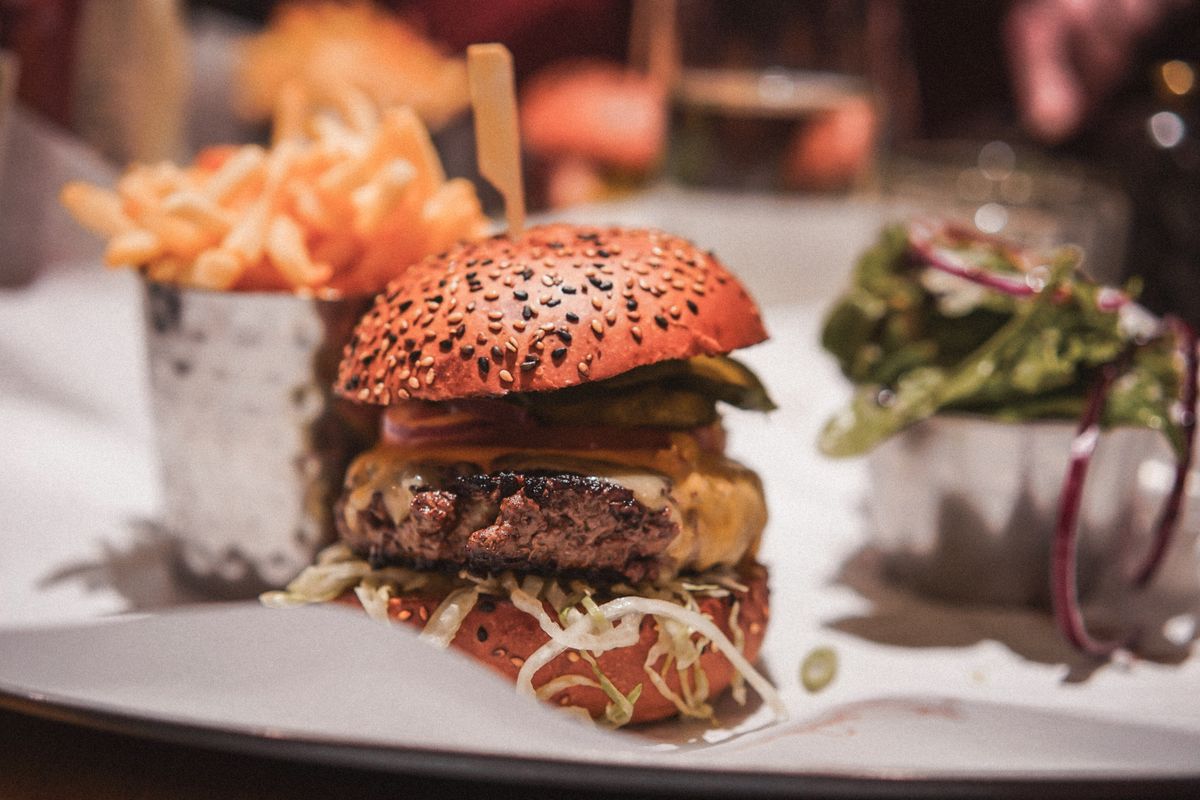
Sear fresh peppers briefly or keep pickled peppers cold for sharper acidity. Avoid burning delicate chili so it tastes bright rather than bitter.
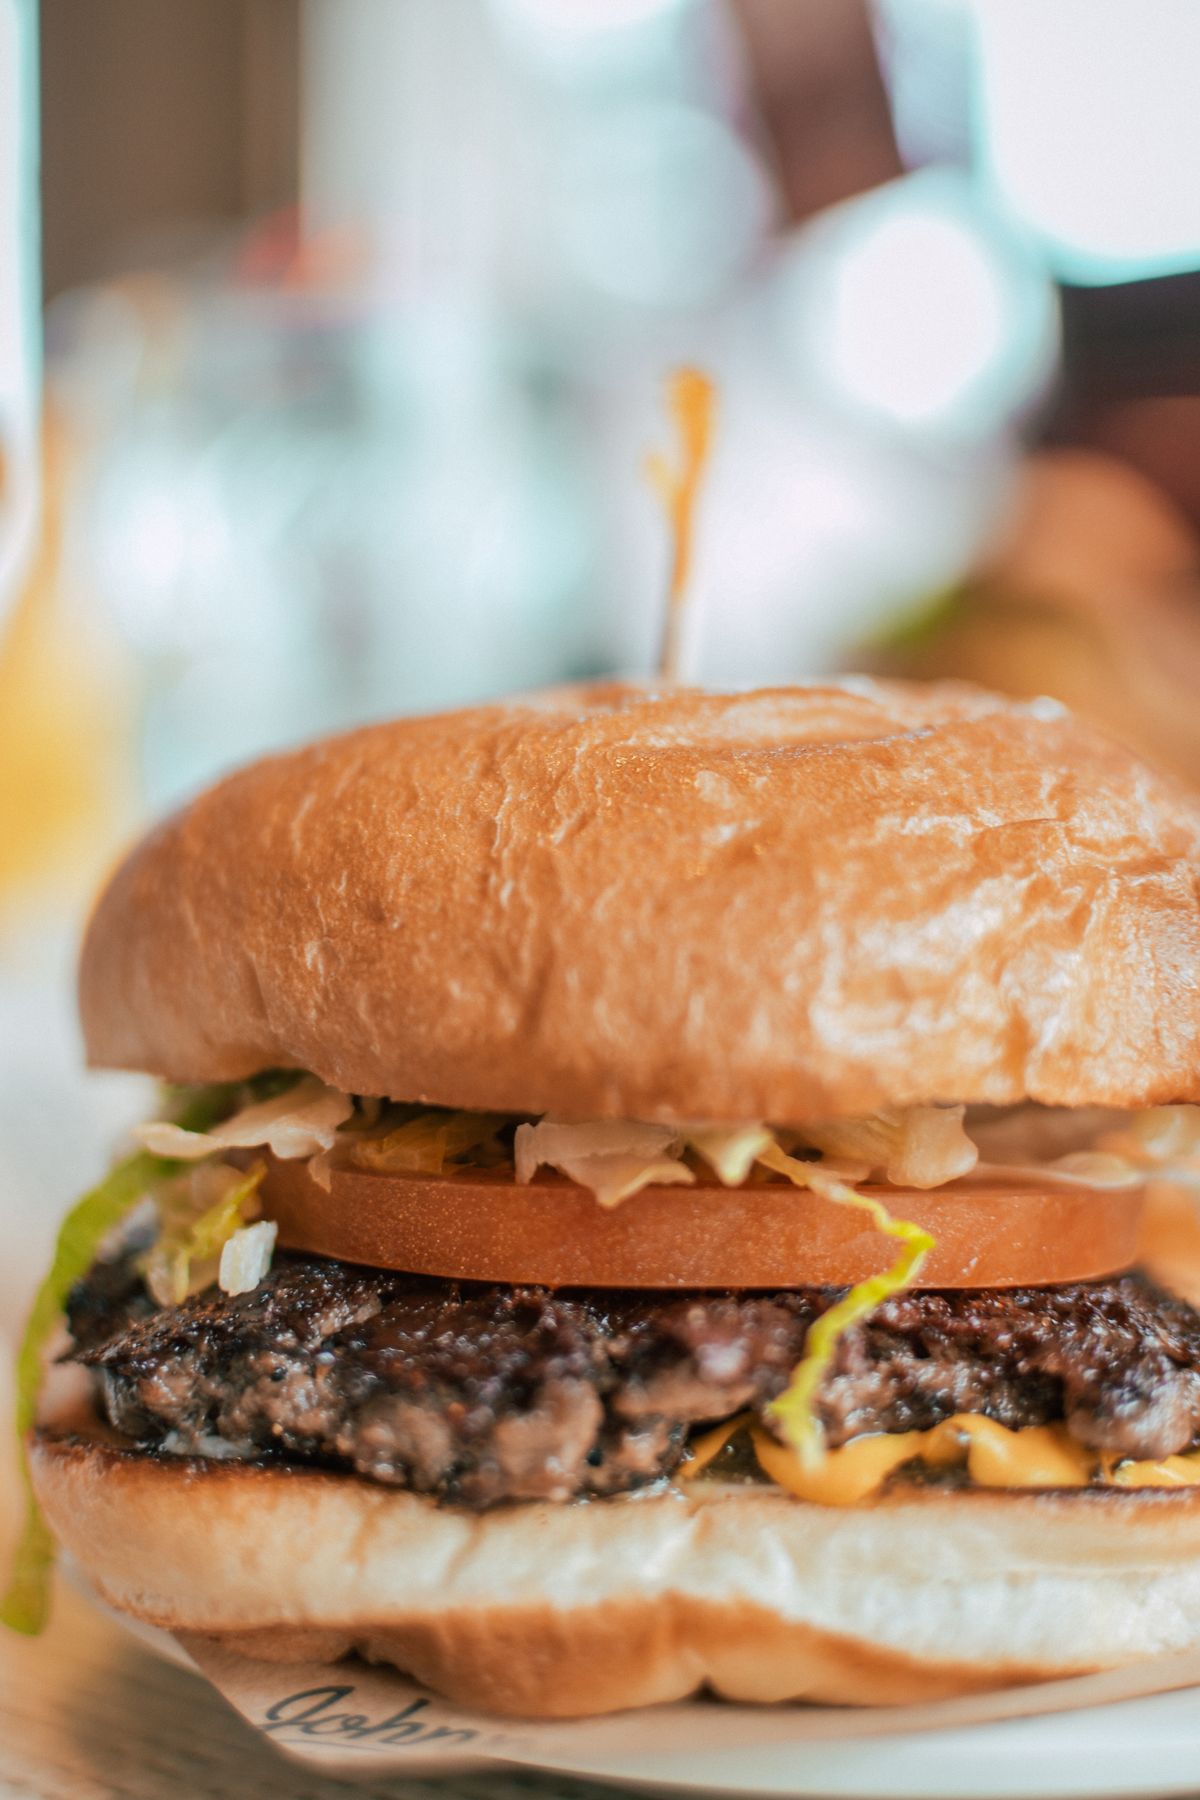
Toast the cut faces lightly. A warm golden surface gives the burger structure and helps it resist spicy sauce.
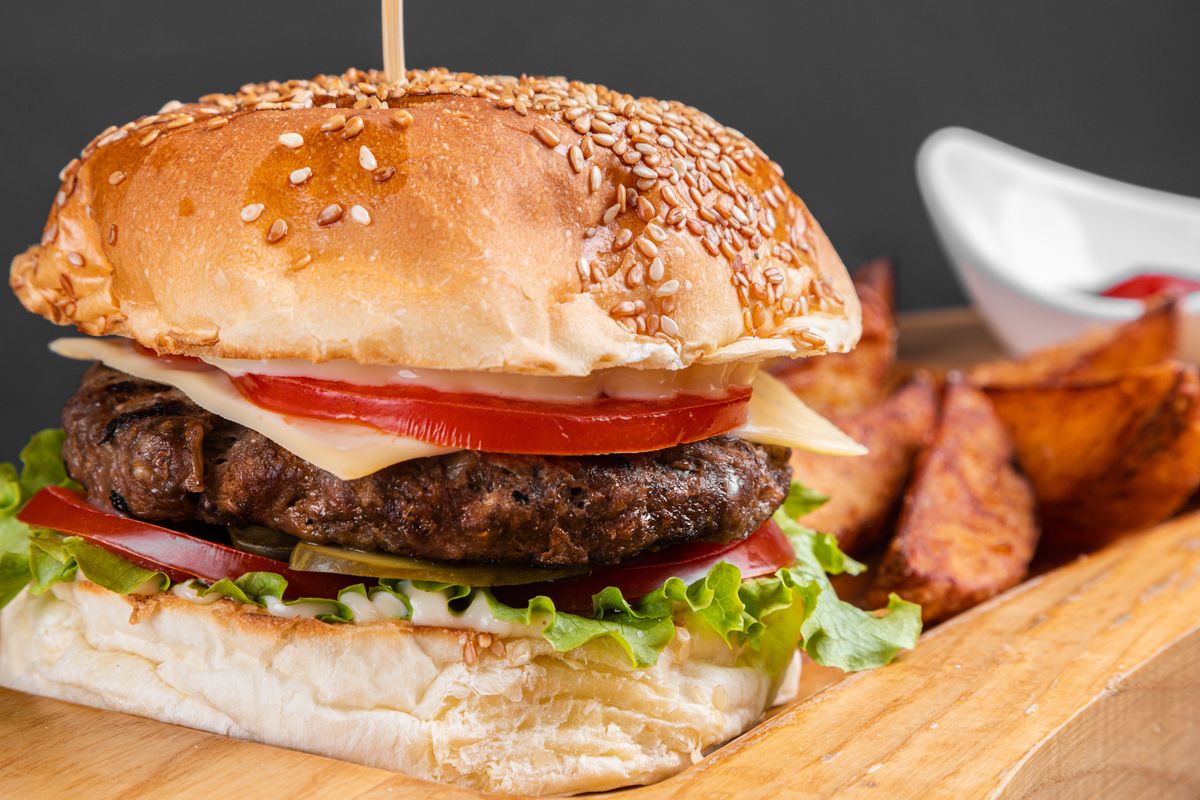
Use a controlled layer of chili mayo, hot sauce or pepper relish. Keep it inside the bun footprint for moisture control.
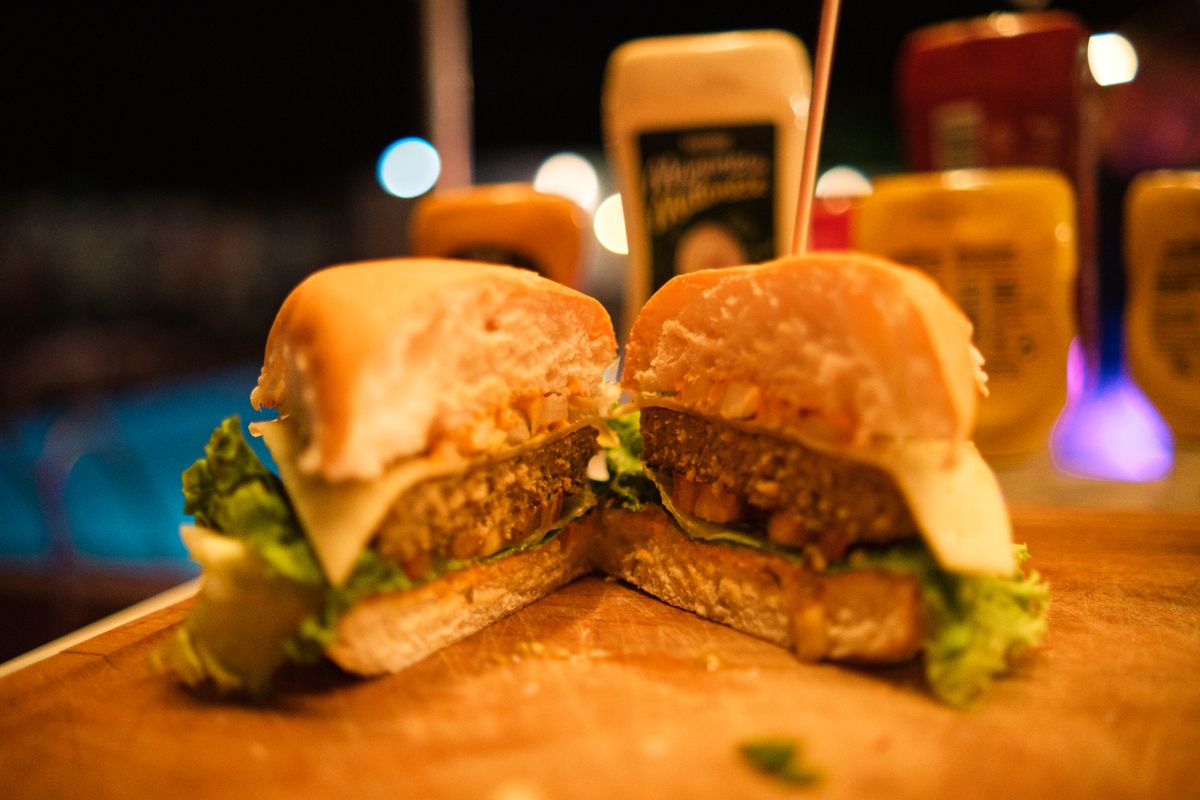
Layer sauce, fresh crunch, chili element, beef patty and top bun. Centre bulky toppings so the spicy burger stays stable.
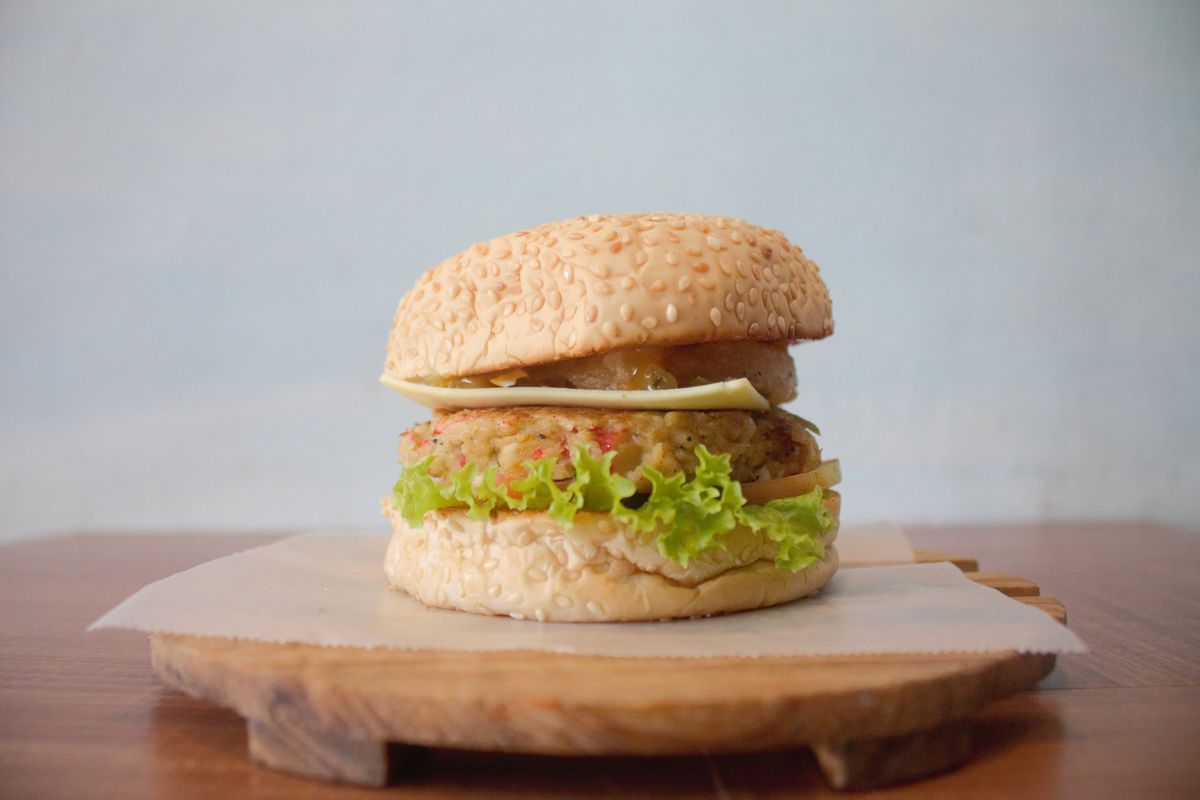
Check heat level, sauce coverage, bun integrity and topping balance. For ground beef, verify the centre with a food thermometer and follow applicable food-safety guidance.
Pass: evenly browned patty, cheese fully softened, toasted but tender bun, controlled sauce, crisp toppings and a stable stack. Fail: dry patty, unmelted cheese, soggy bun, overloaded sauce or toppings that slide out immediately.
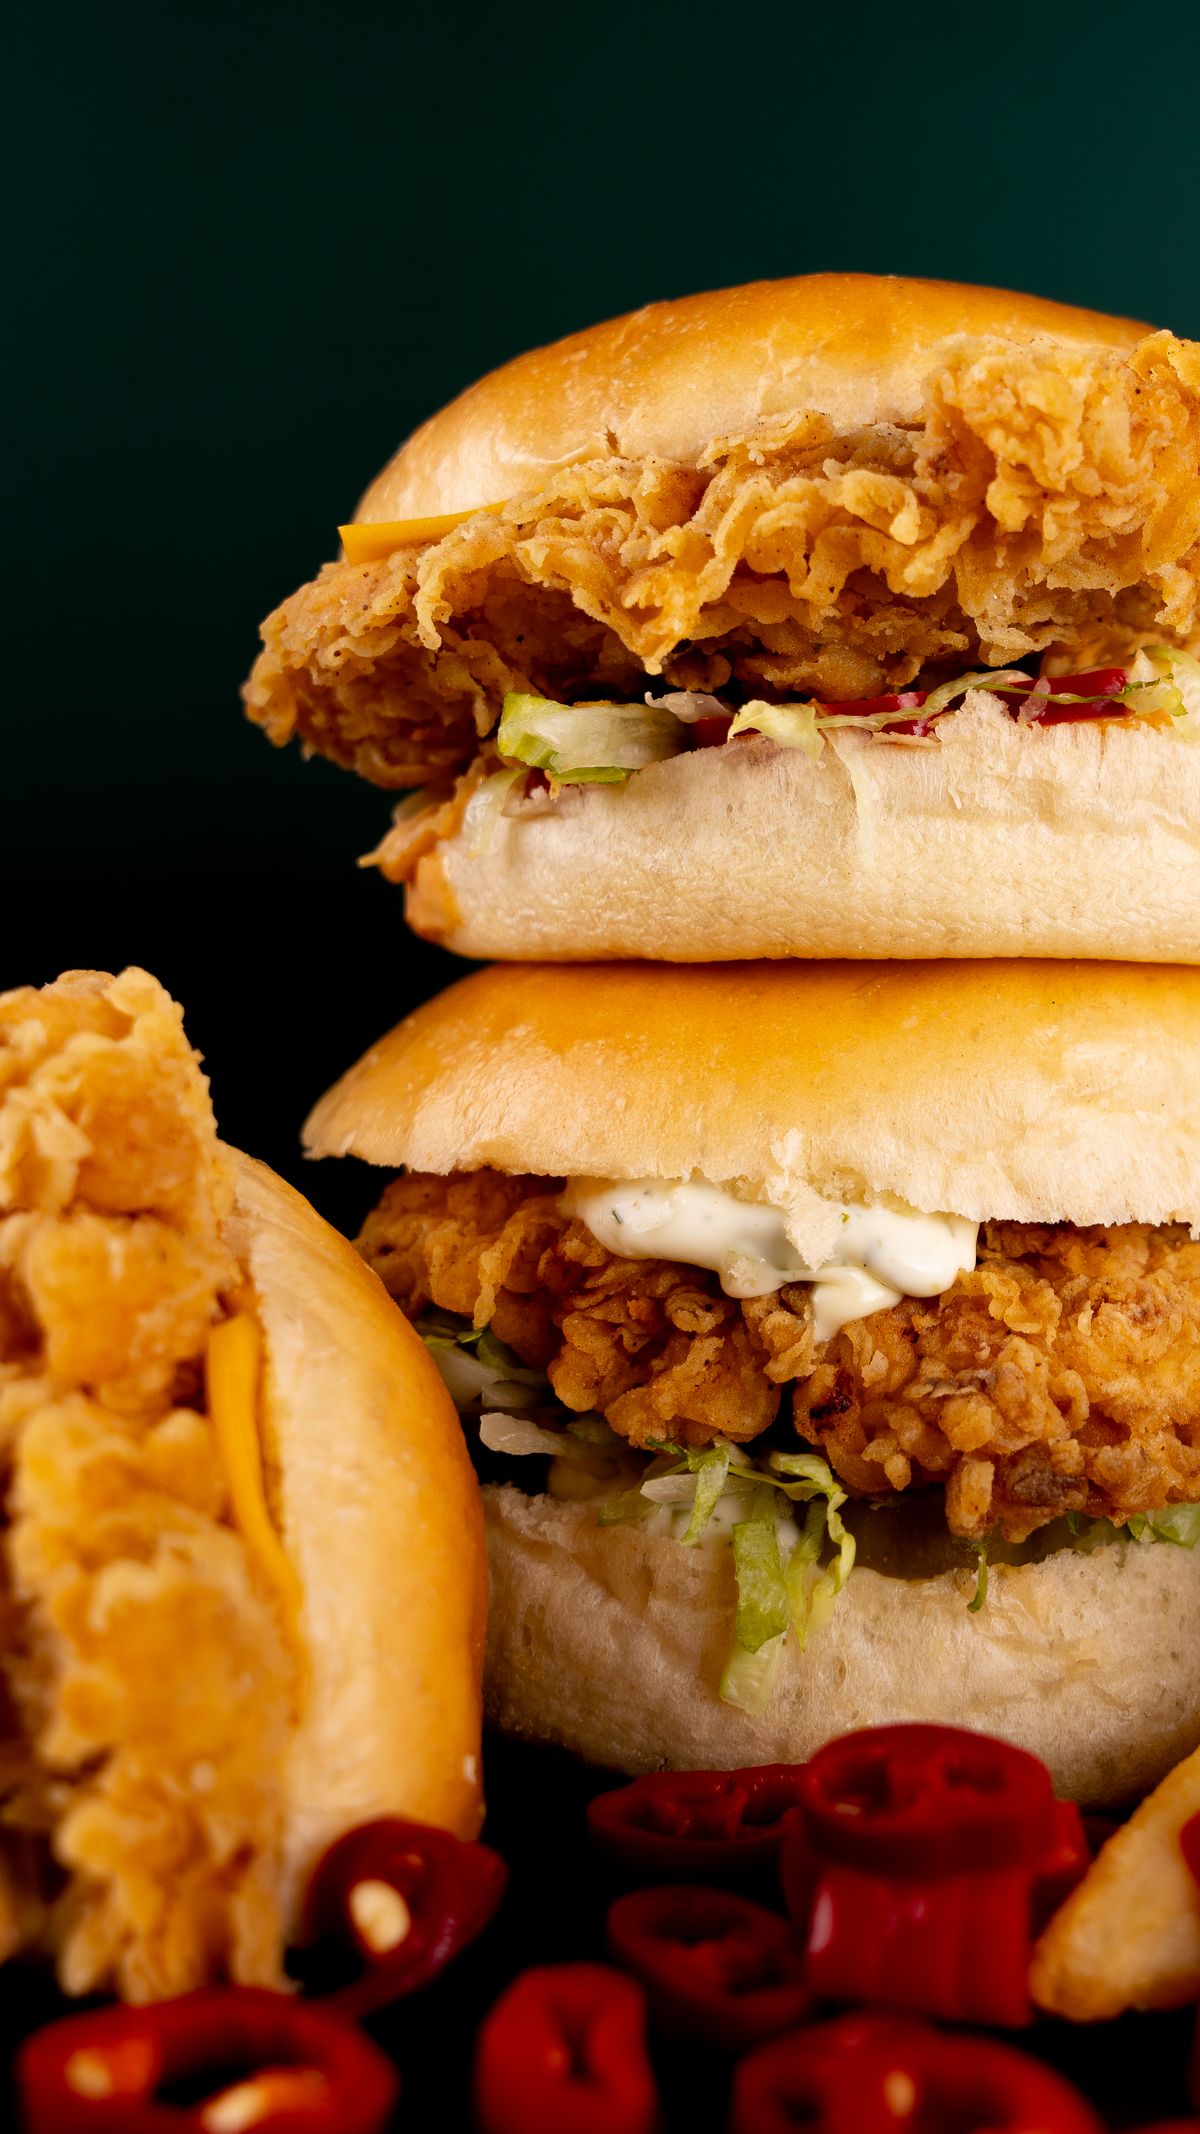
A dedicated chicken build from start to finish. The focus is a crisp or grilled chicken fillet, toasted bun, fresh crunch, creamy sauce and balanced seasoning. Every numbered detail is paired with its own dedicated photograph.
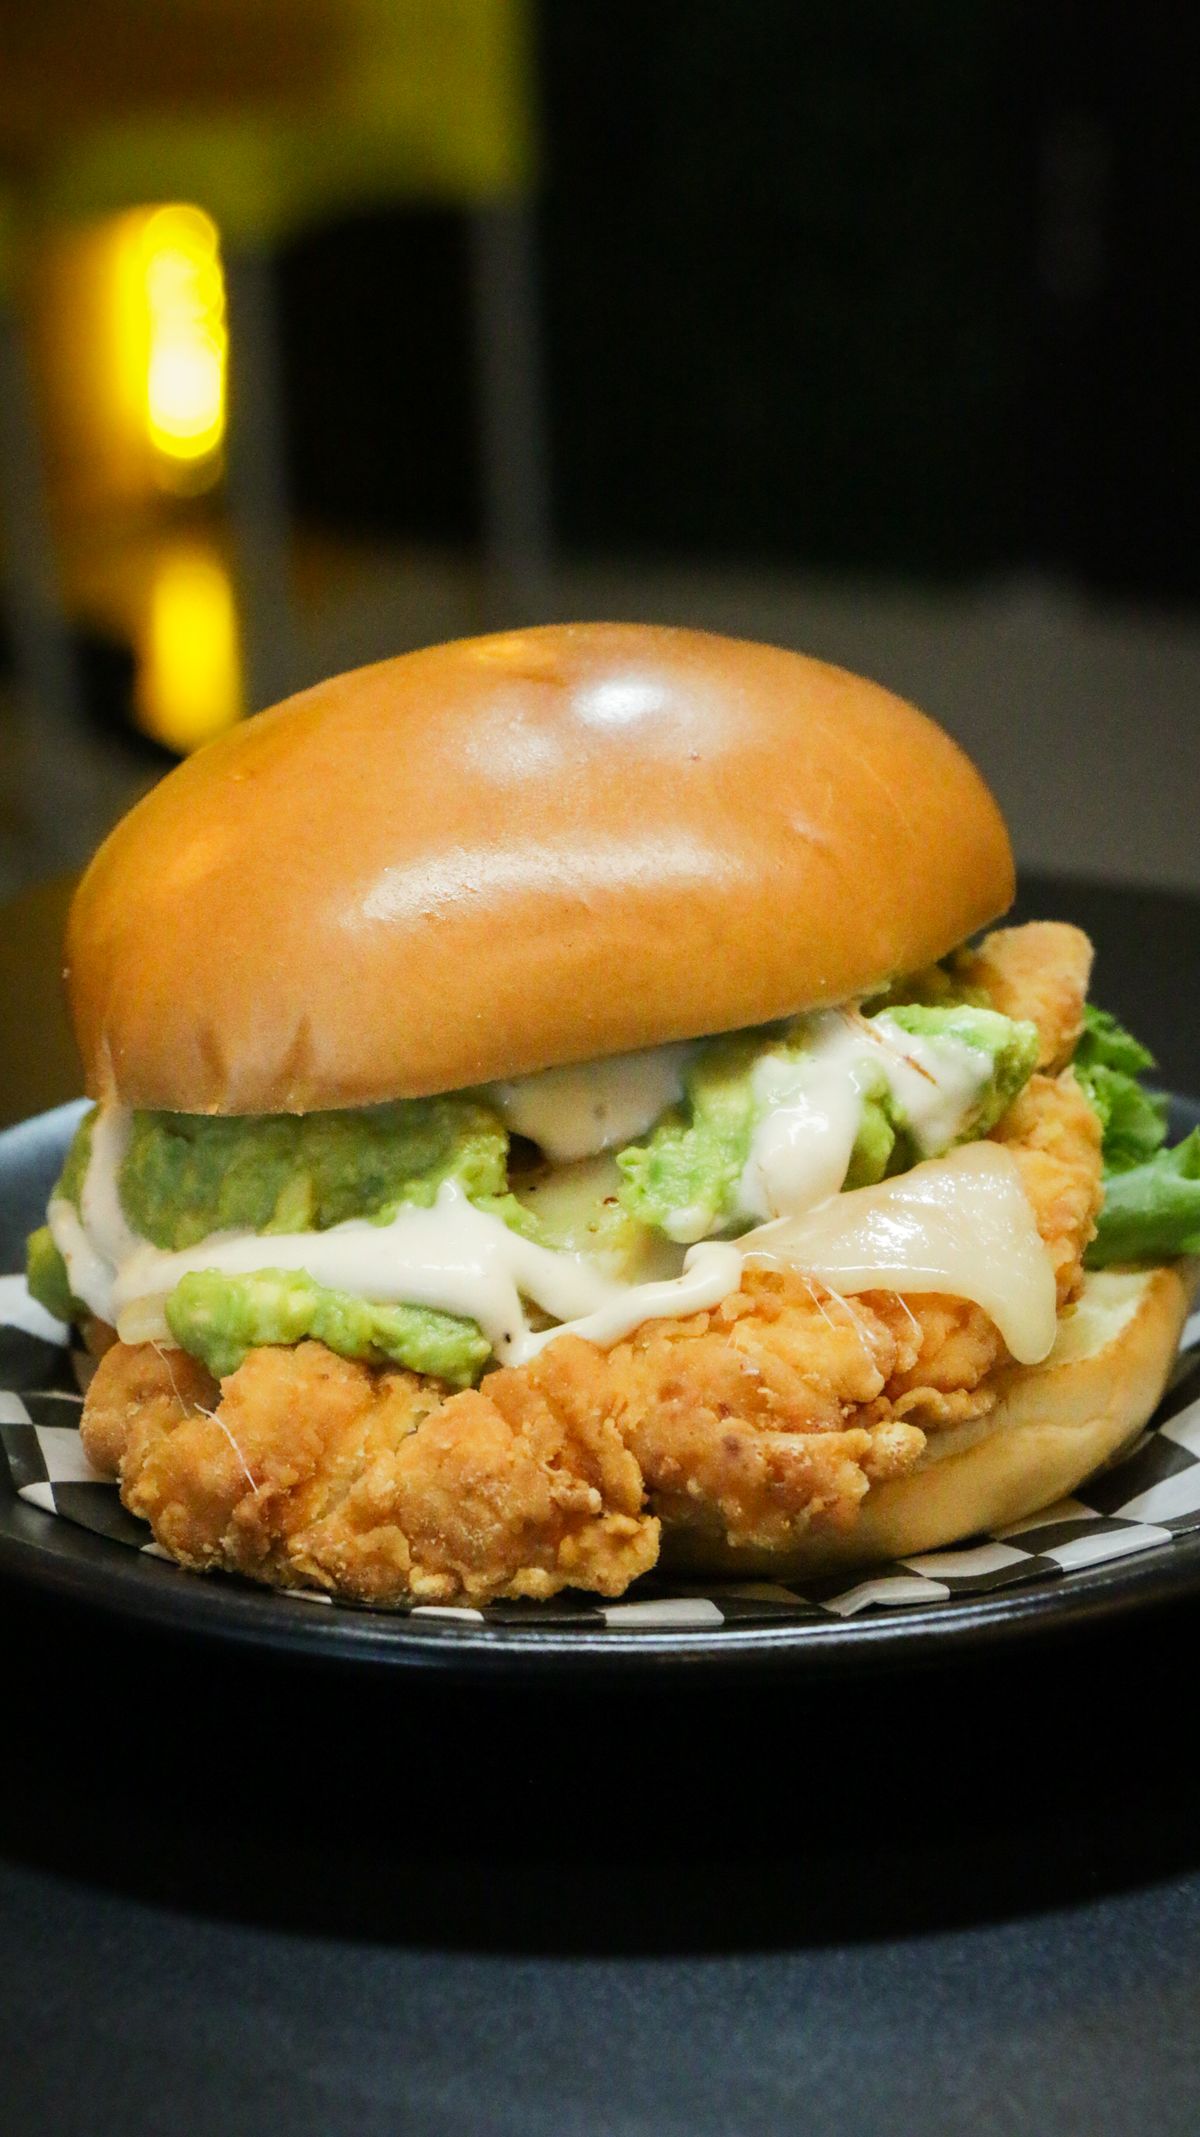
Each component has a specific job. Keep the chicken crisp or juicy while balancing bun, sauce, fresh toppings and seasoning.
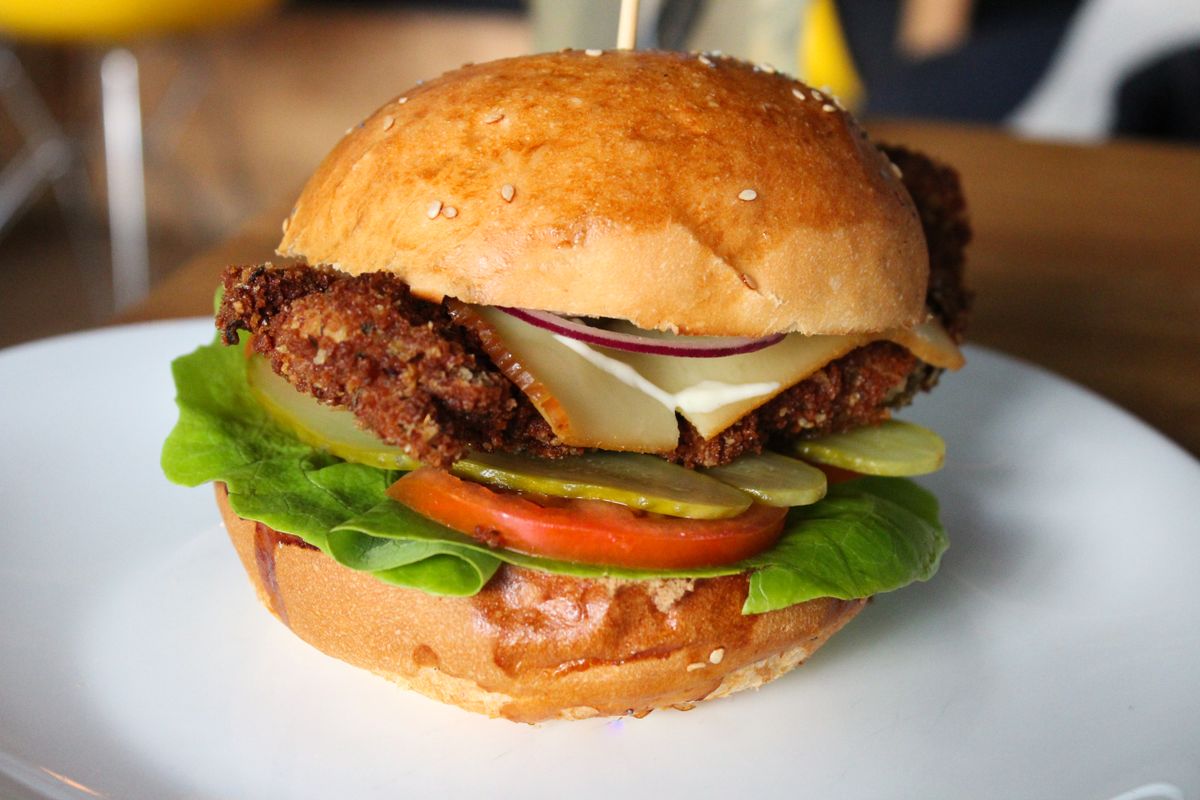
Use a consistent boneless chicken portion. A thin, even fillet cooks more predictably and gives a better bun-to-chicken ratio.
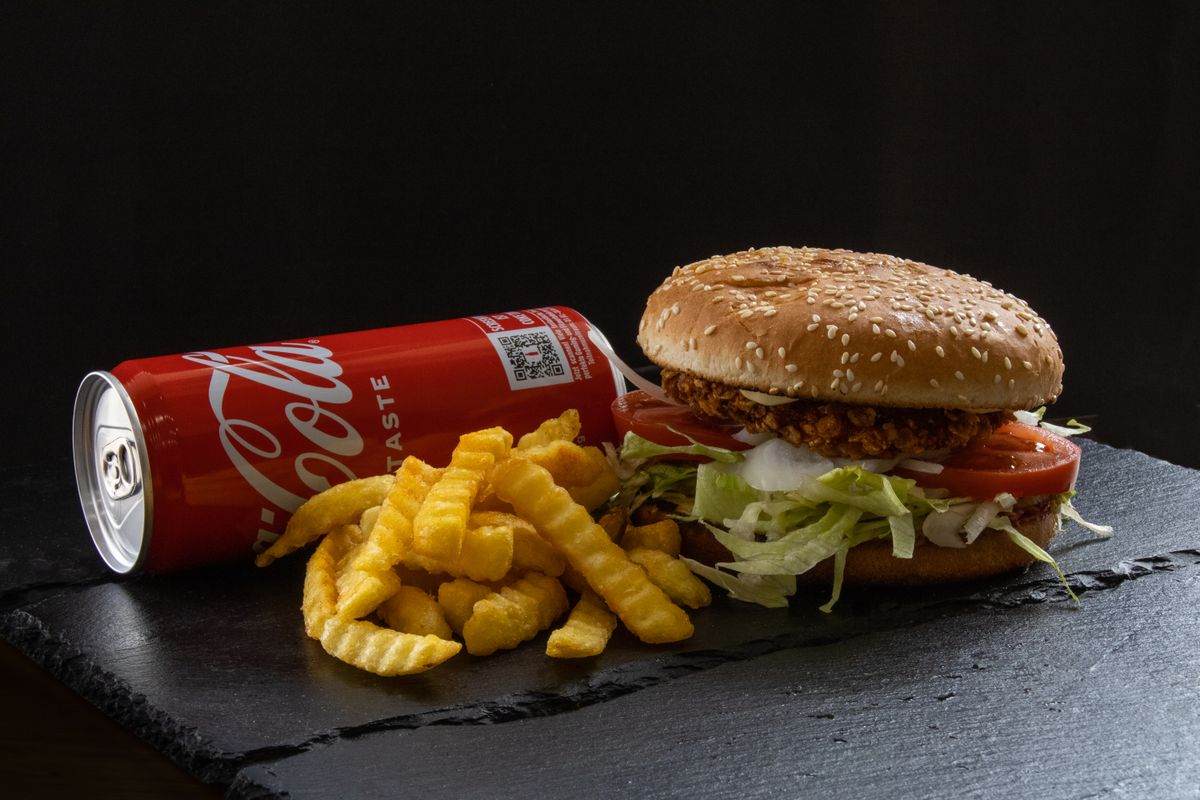
For a fried version, use an even dry coating and press it firmly onto the chicken. Keep the surface dry until it reaches the hot oil.
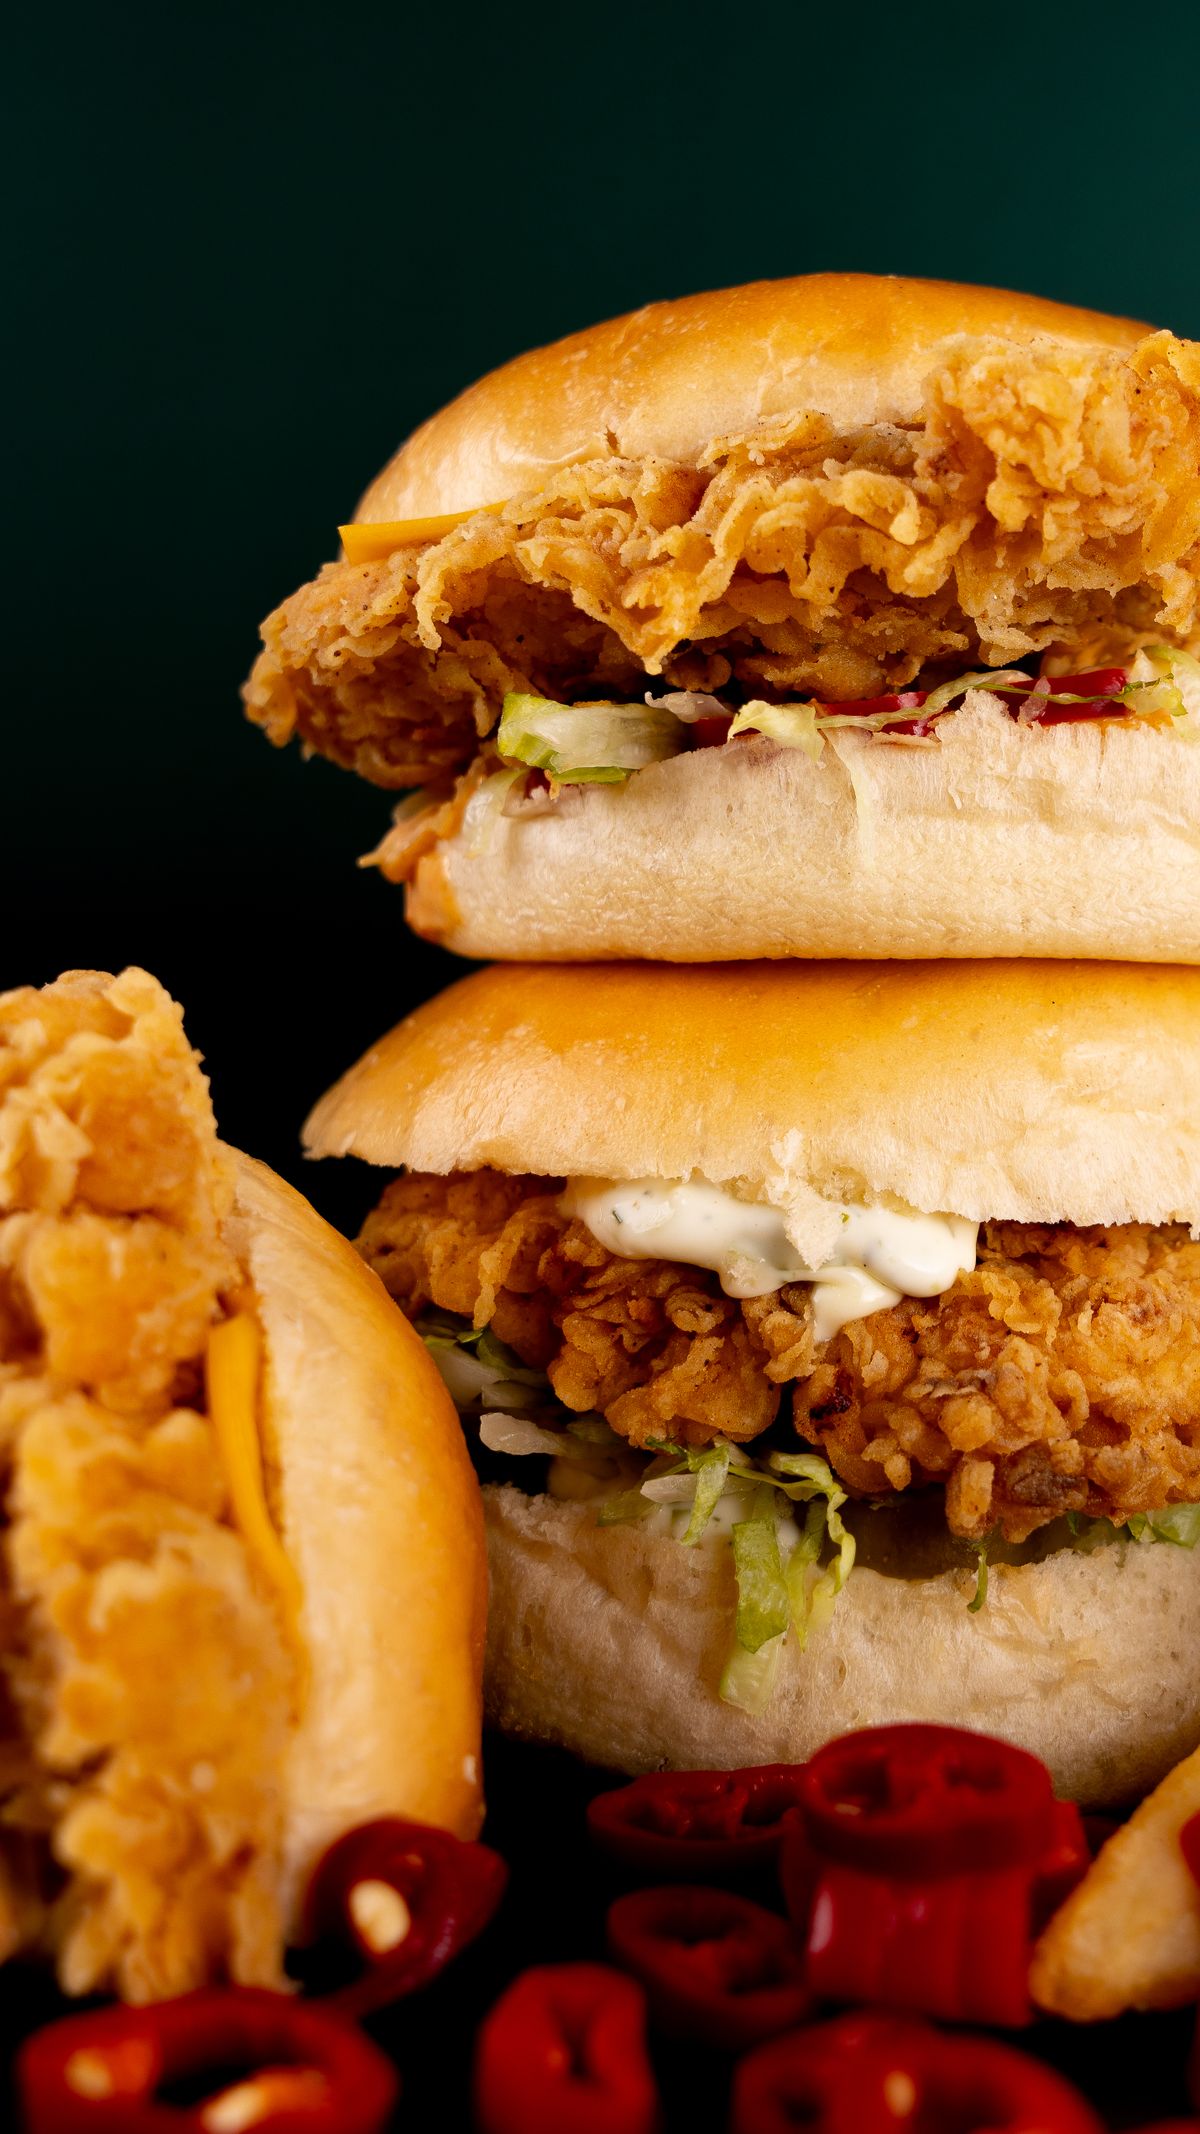
Toast the cut face until lightly golden. The bun should support the chicken and sauce without becoming soggy.
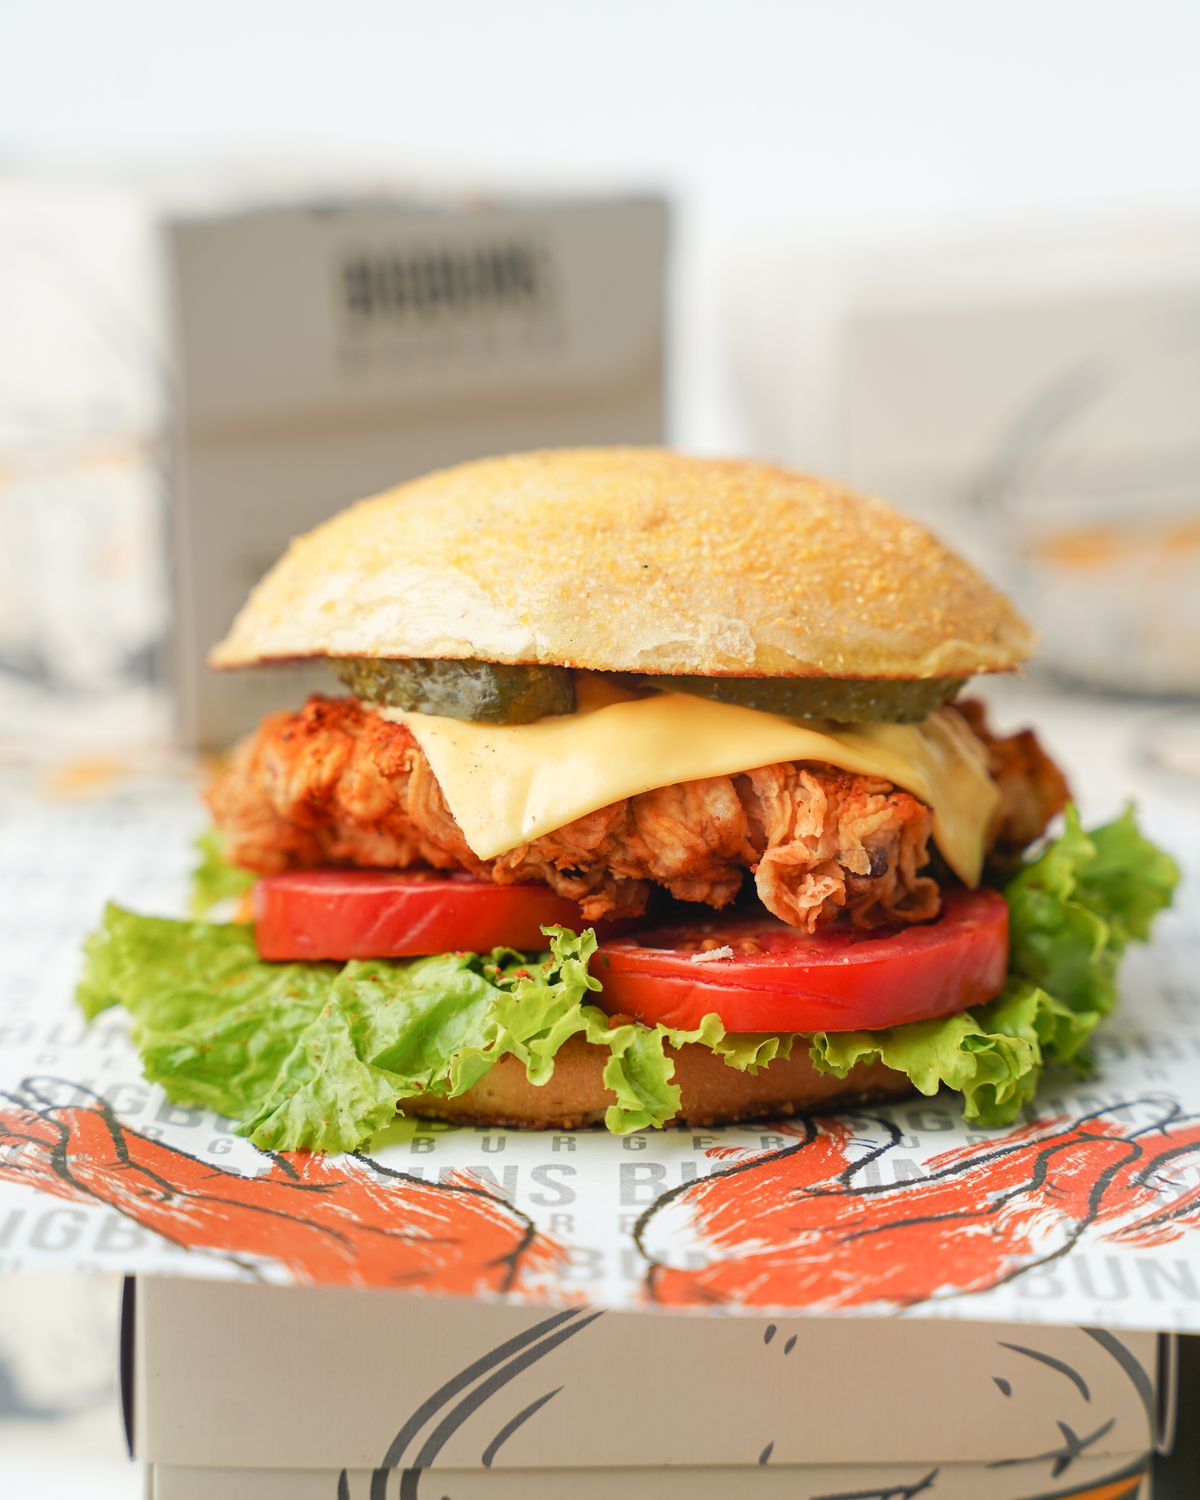
Use mayo, garlic sauce, honey mustard or a mild chili mayo in a controlled layer. The sauce should complement rather than hide the chicken.
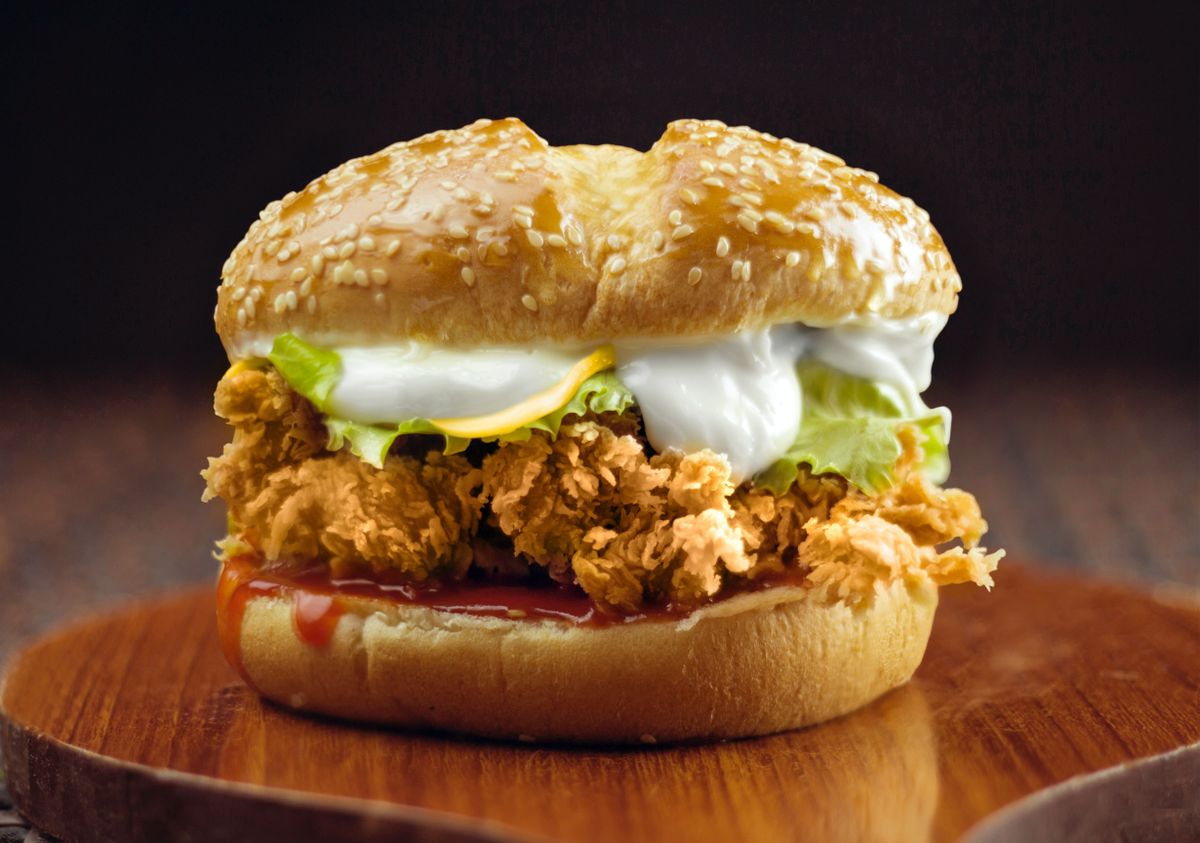
Lettuce, tomato, onion, pickles or slaw add crunch and acidity. Keep wet toppings controlled for a stable stack.
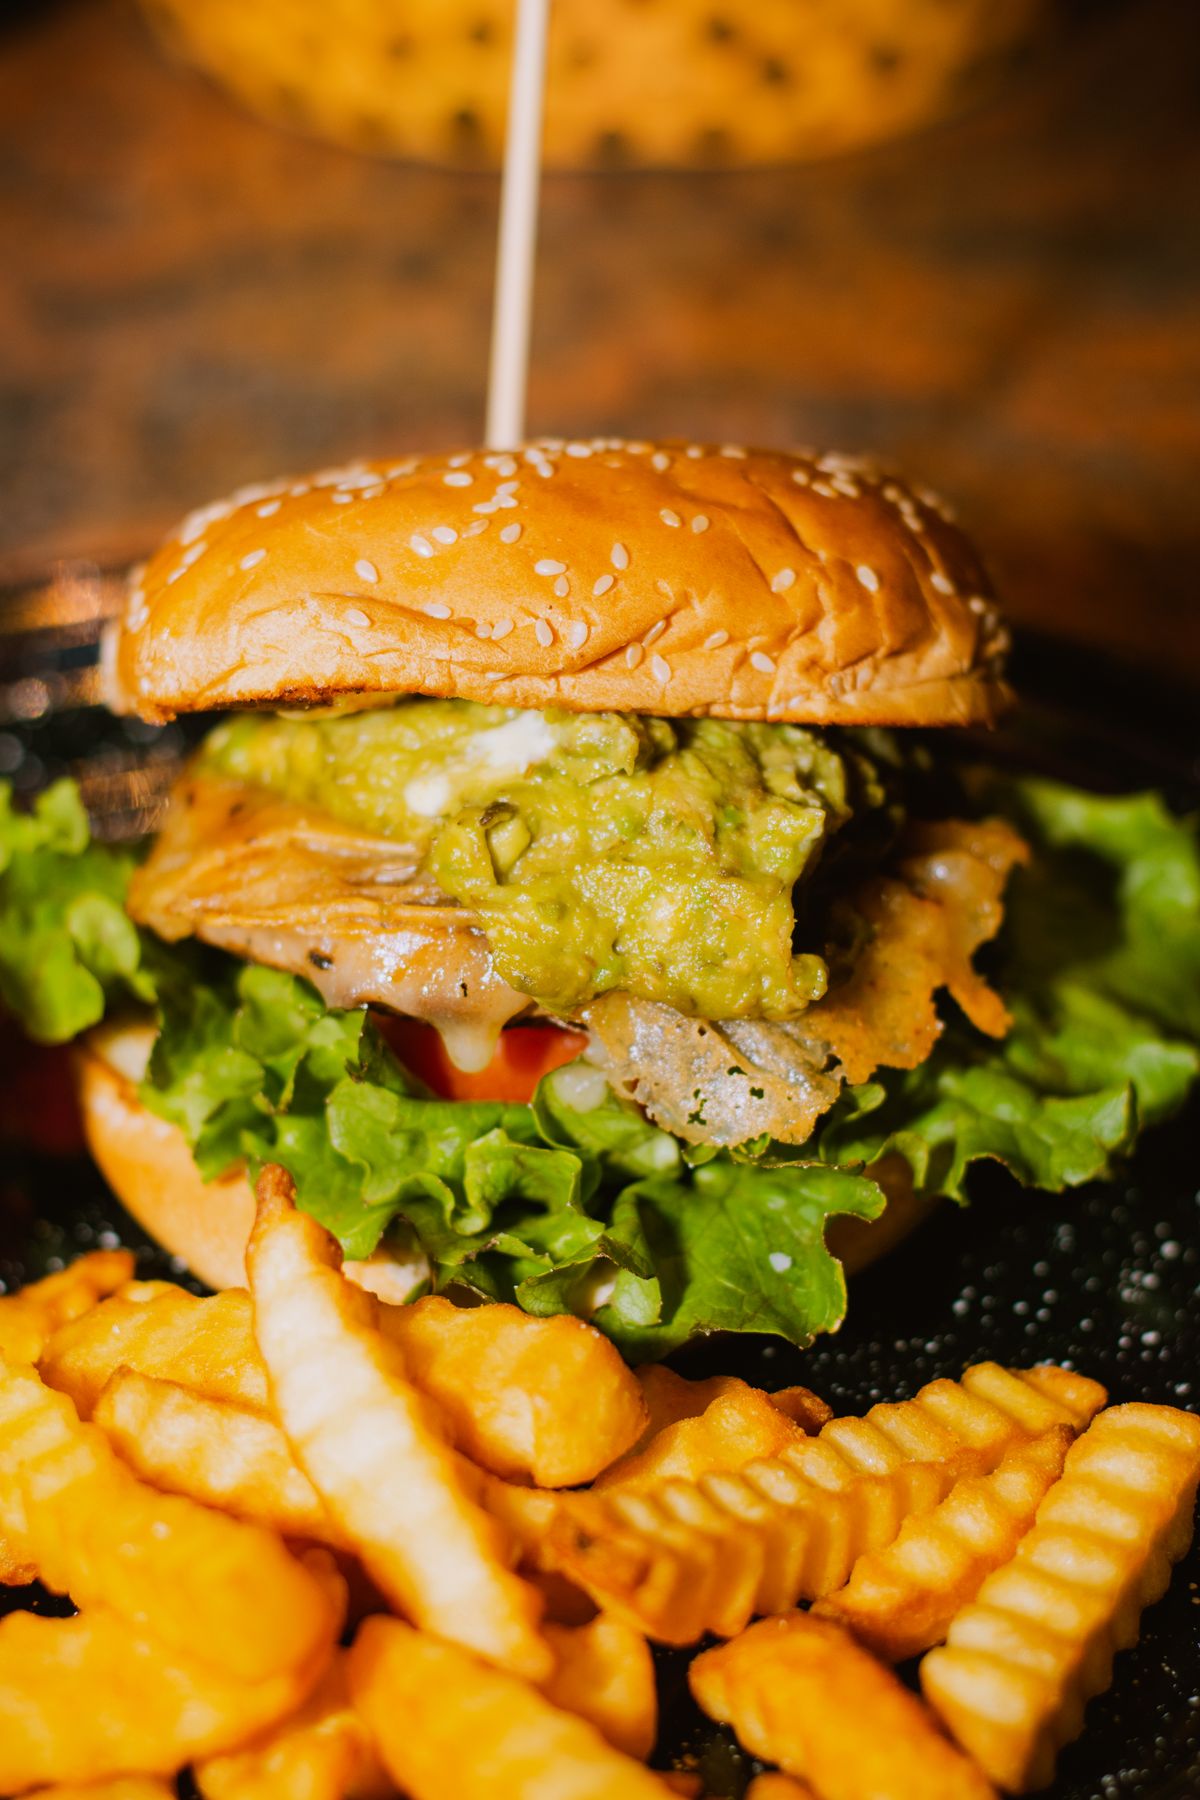
Salt, pepper, paprika, garlic and herbs can build savoury depth. Season the chicken evenly before cooking or coating.
One clean sequence. Follow the order so the chicken, coating, sauce and fresh toppings finish at the right moment.
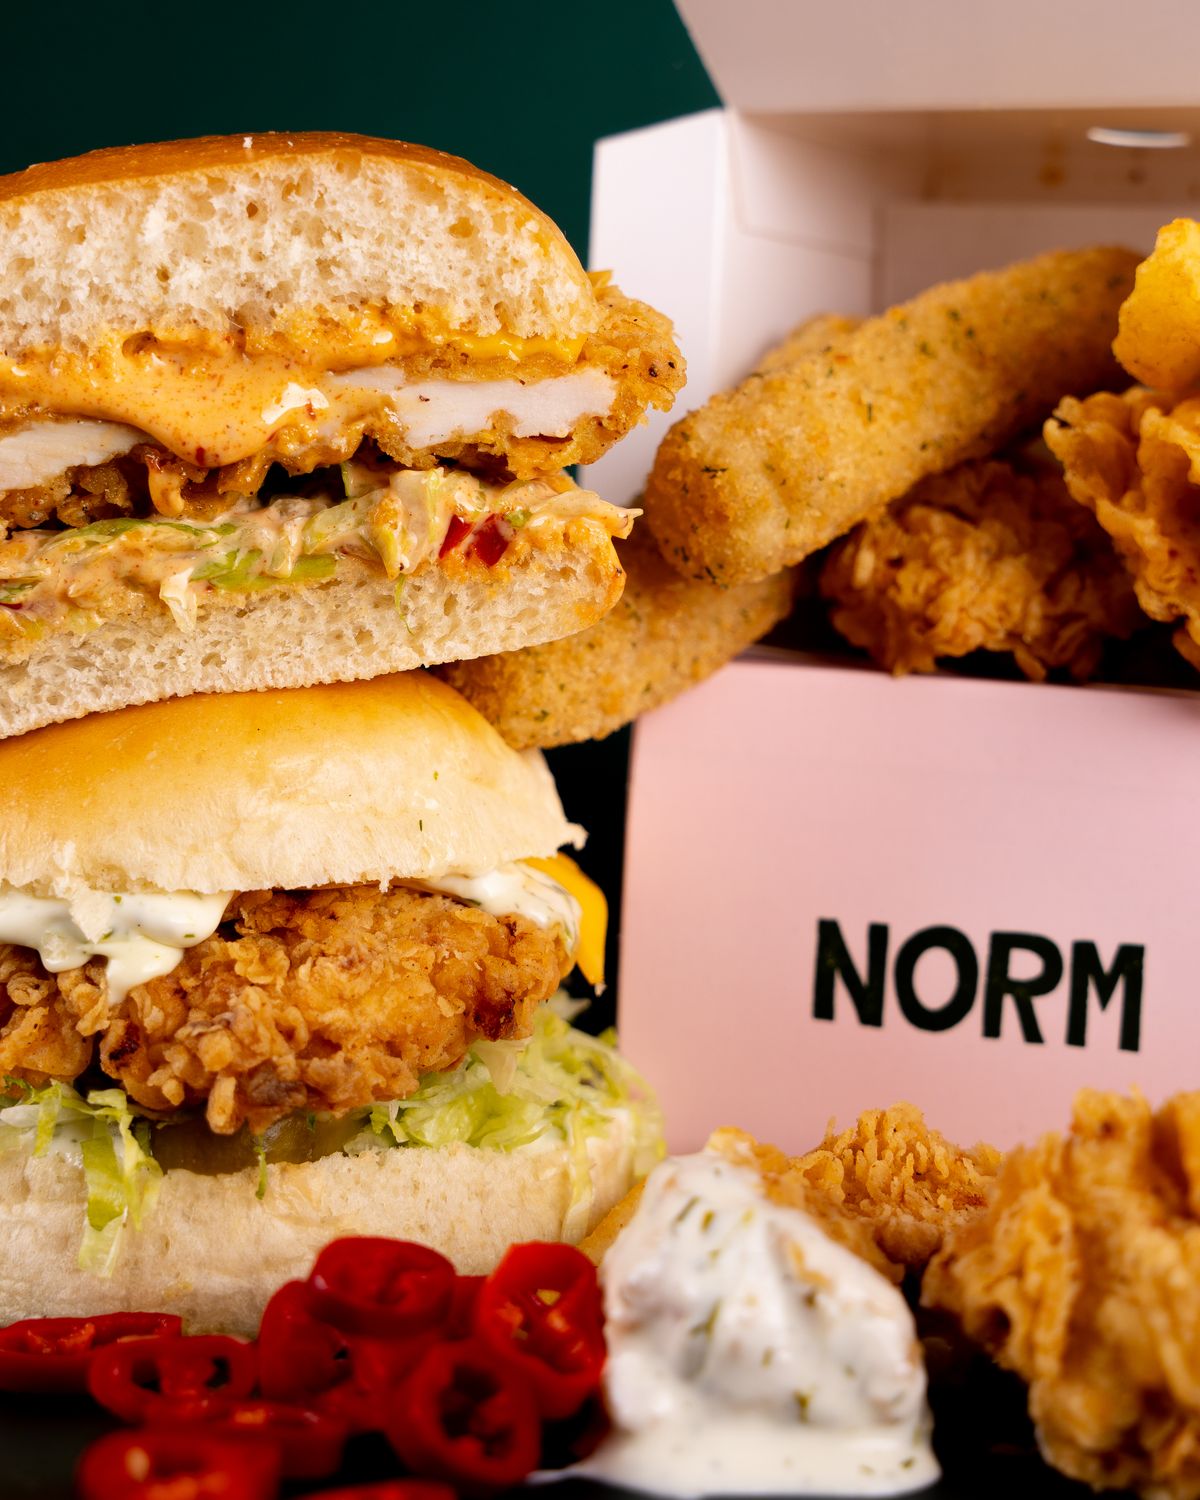
Trim and portion the chicken, prepare the coating or marinade, slice toppings and ready the sauce before cooking.
Season both sides or build seasoning into the coating. Avoid uneven salt pockets that can overpower the finished burger.
Fry, grill or pan-cook the chicken until the exterior is browned and the centre reaches a safe temperature.
Look for an even golden crust or browned grilled surface. Avoid burning the exterior while the centre is still undercooked.
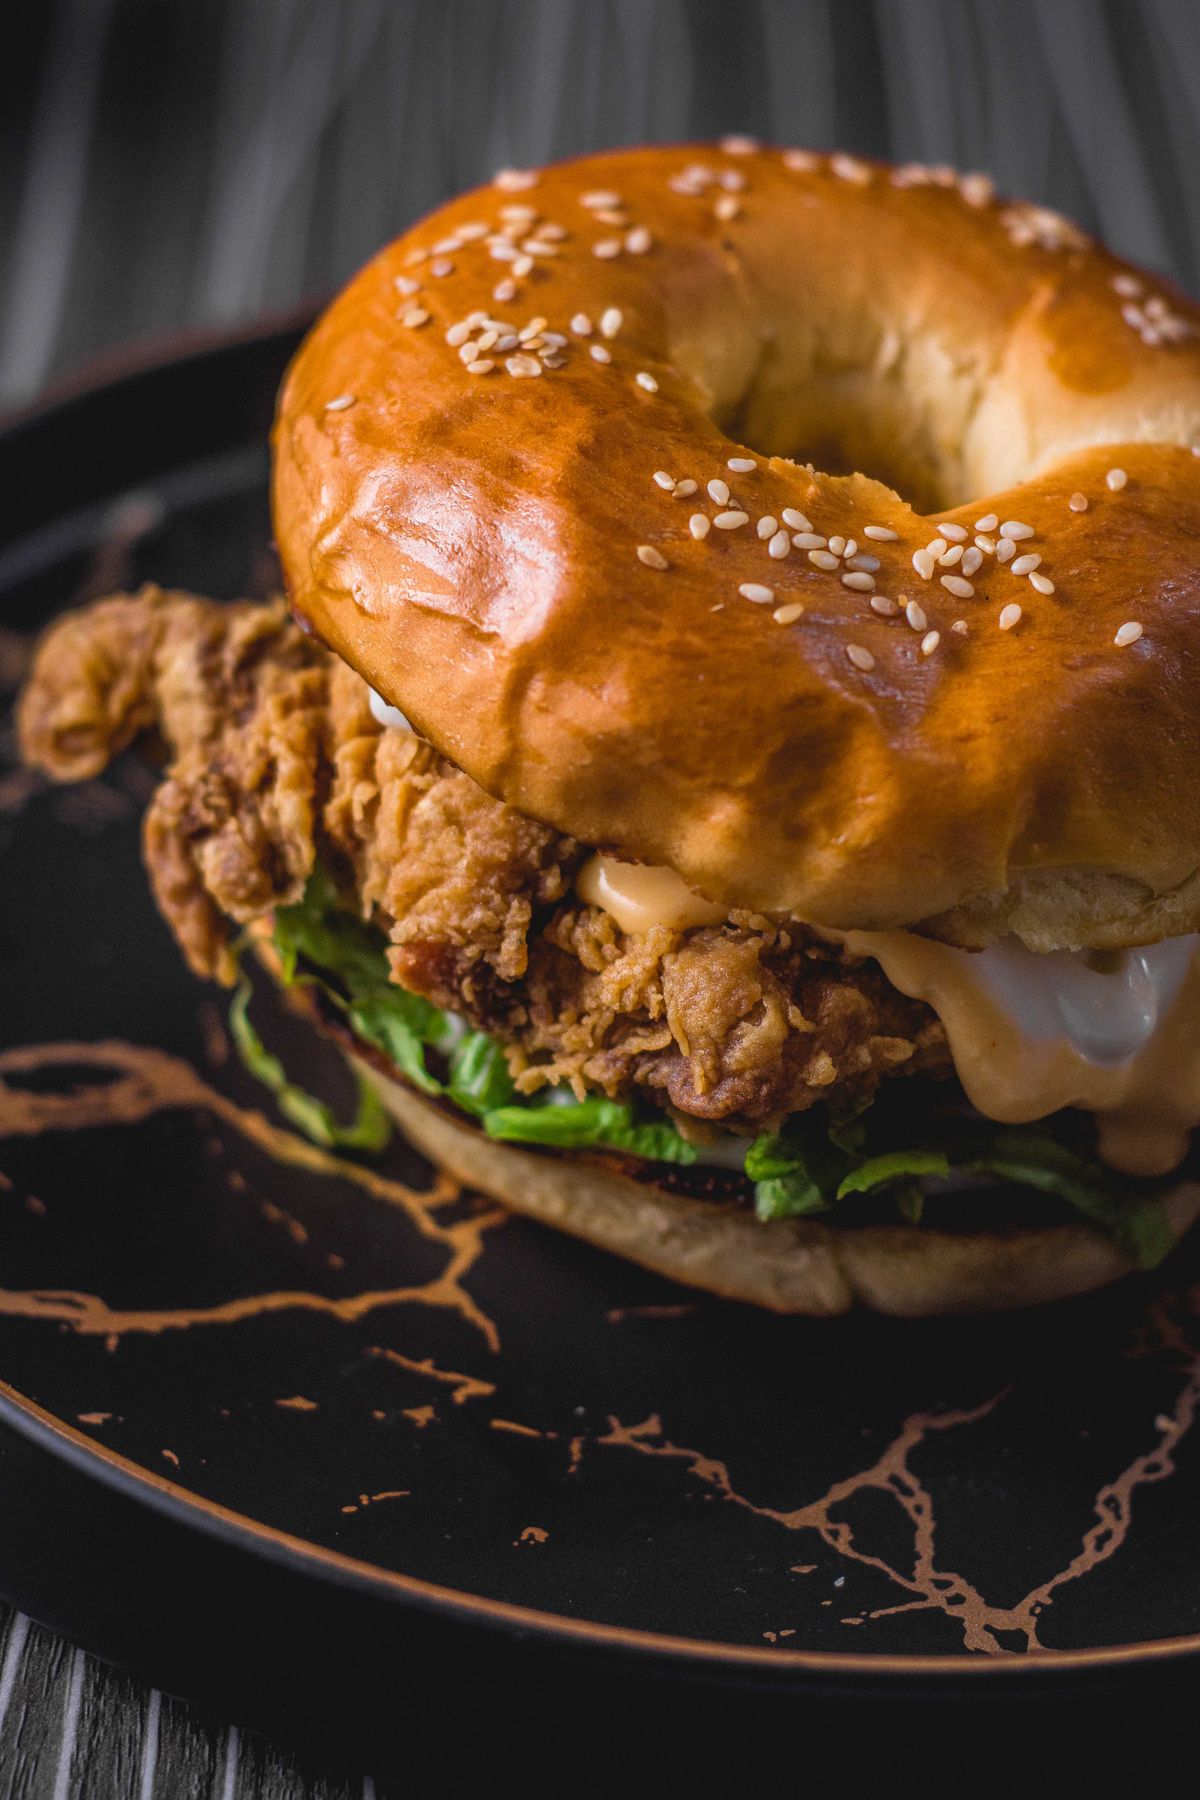
Toast the cut faces lightly. A warm golden surface gives structure and helps resist sauce and chicken juices.
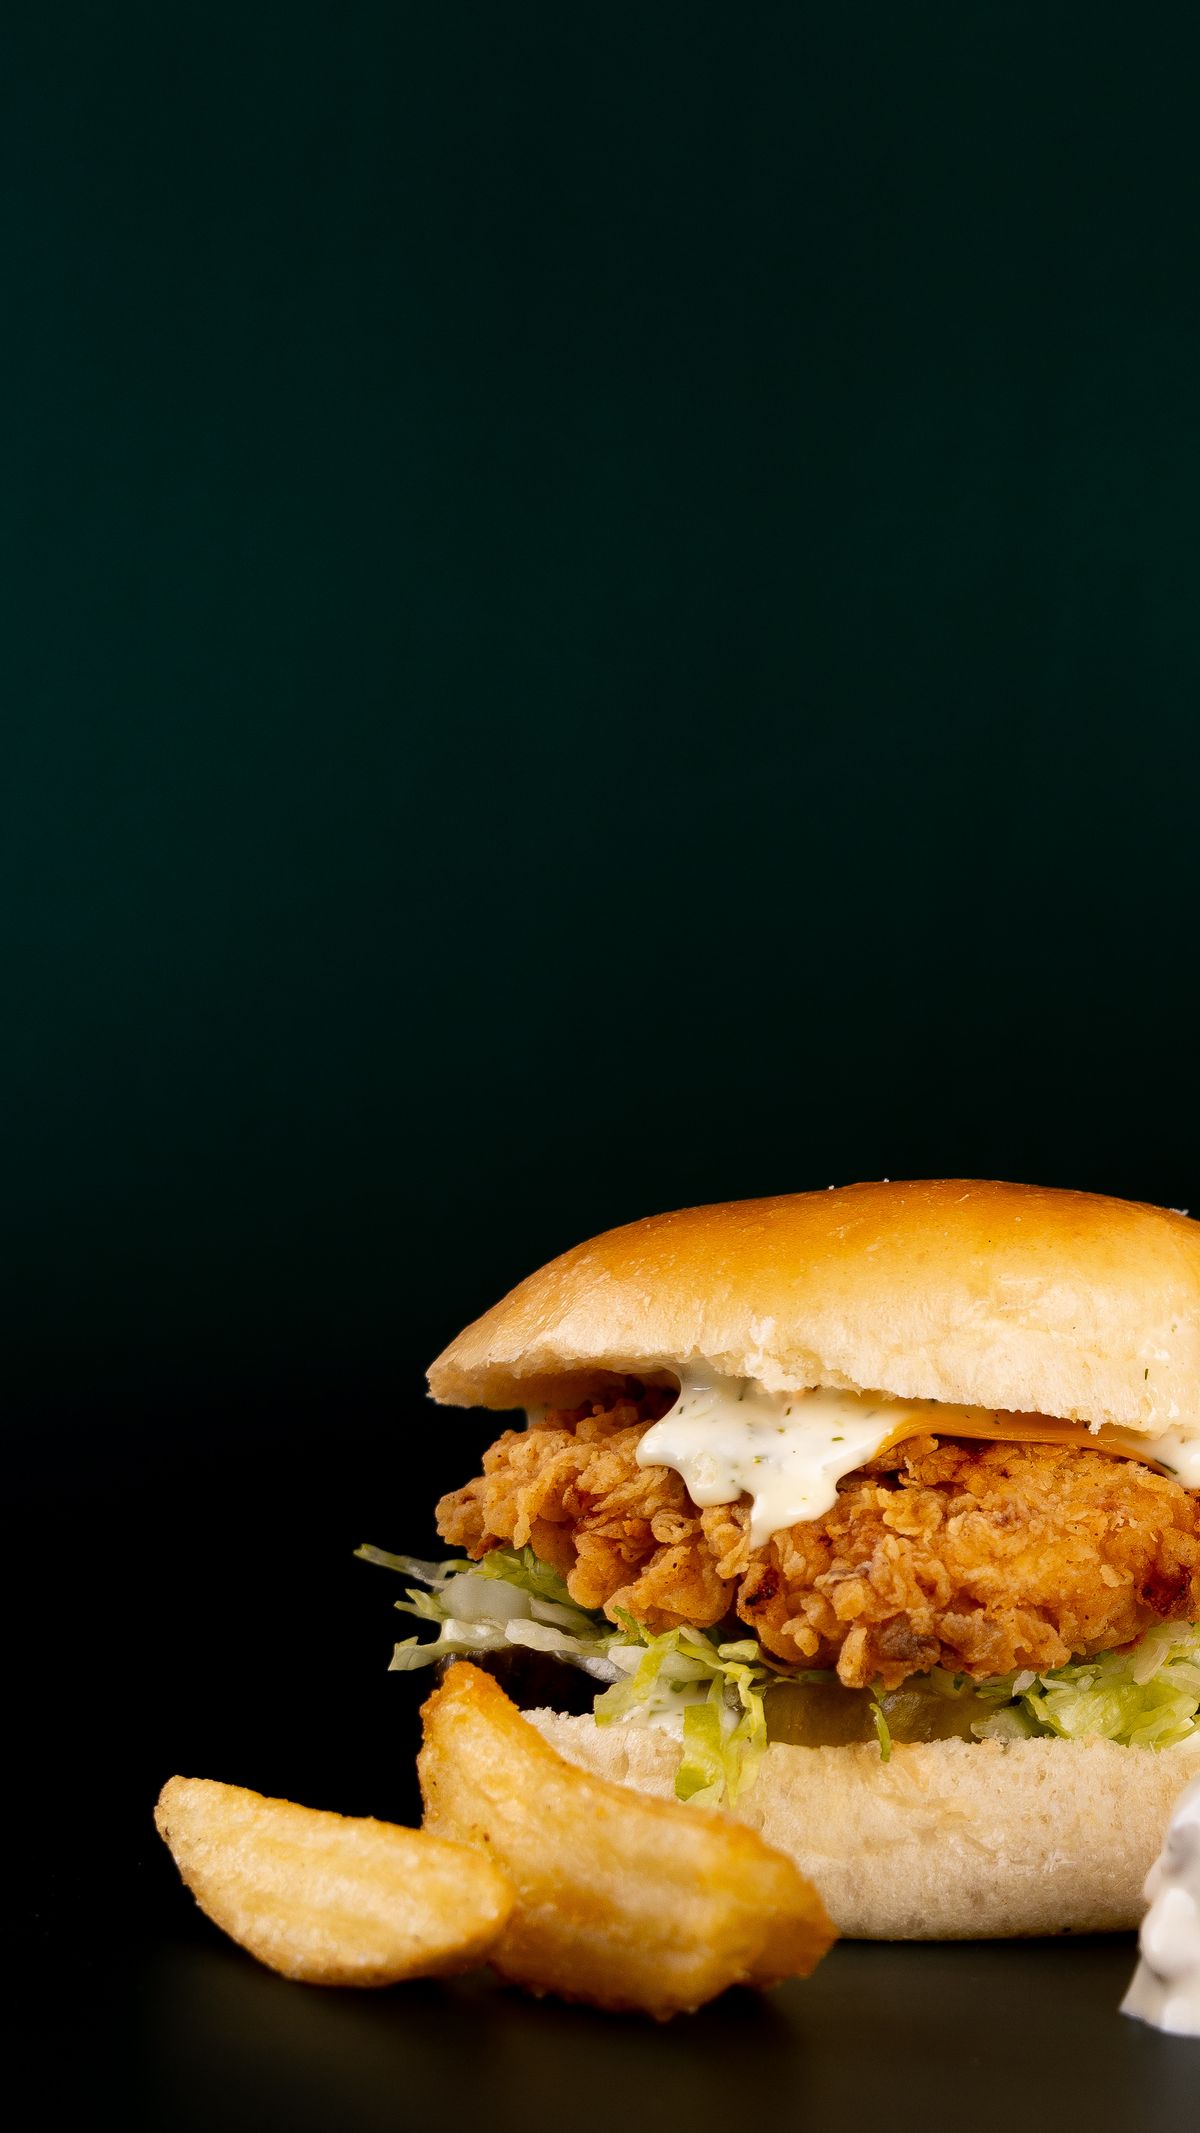
Use a thin, even layer of creamy or tangy sauce. Keep it within the bun footprint for better control.
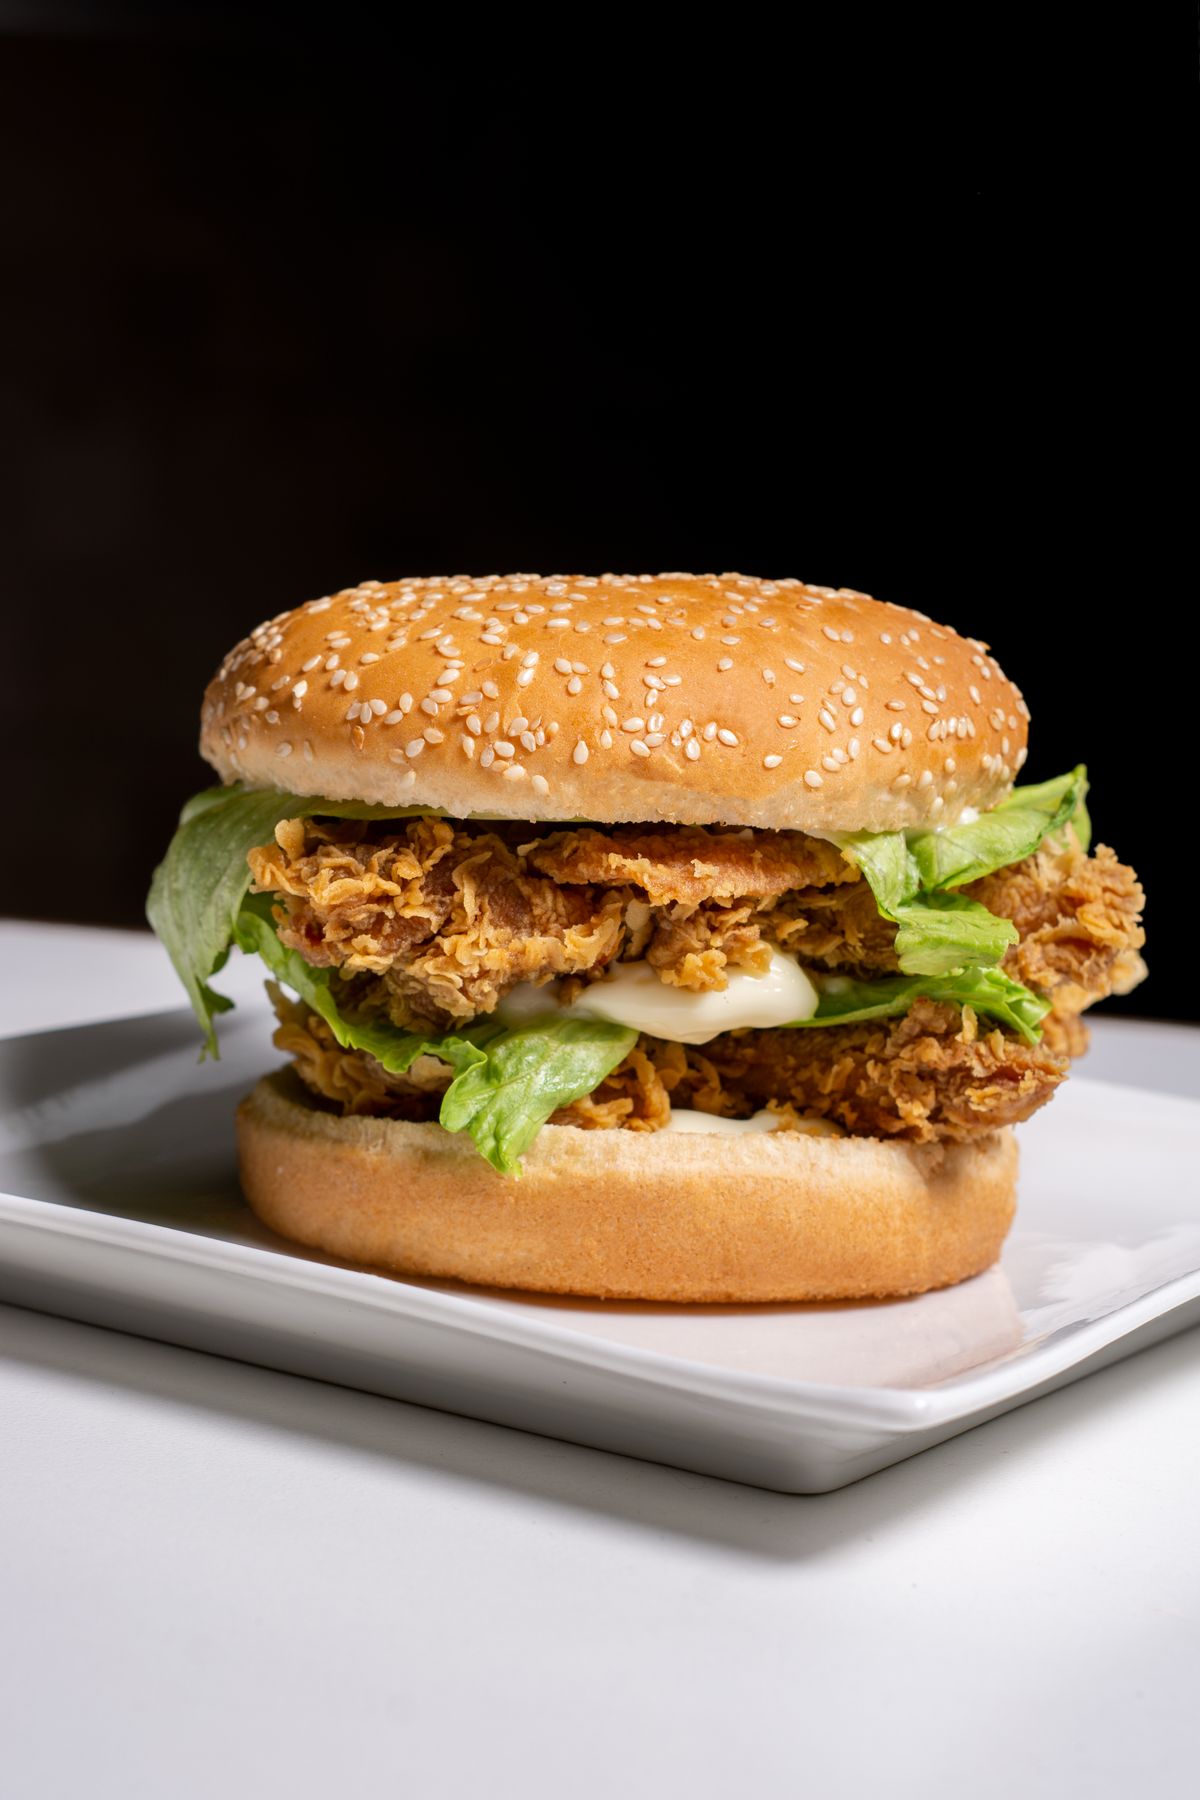
Layer sauce, lettuce or slaw, chicken, pickles and top bun. Centre bulky toppings so the burger stays stable.
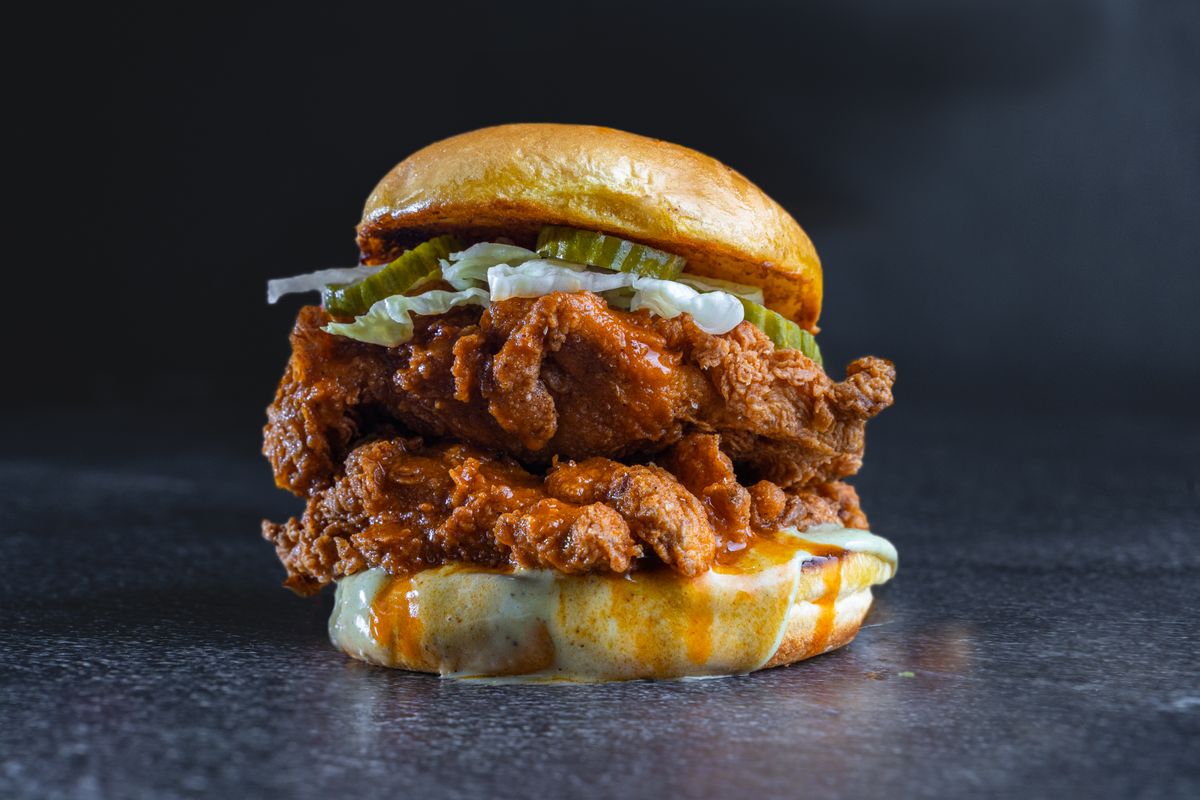
Check crispness, sauce balance, bun integrity and topping placement. For chicken, verify the centre with a food thermometer and follow applicable food-safety guidance.
Pass: evenly browned patty, cheese fully softened, toasted but tender bun, controlled sauce, crisp toppings and a stable stack. Fail: dry patty, unmelted cheese, soggy bun, overloaded sauce or toppings that slide out immediately.
A dedicated veg build from start to finish. The focus is a crisp or grilled veg fillet, toasted bun, fresh crunch, creamy sauce and balanced seasoning. Every numbered detail is paired with its own dedicated photograph.
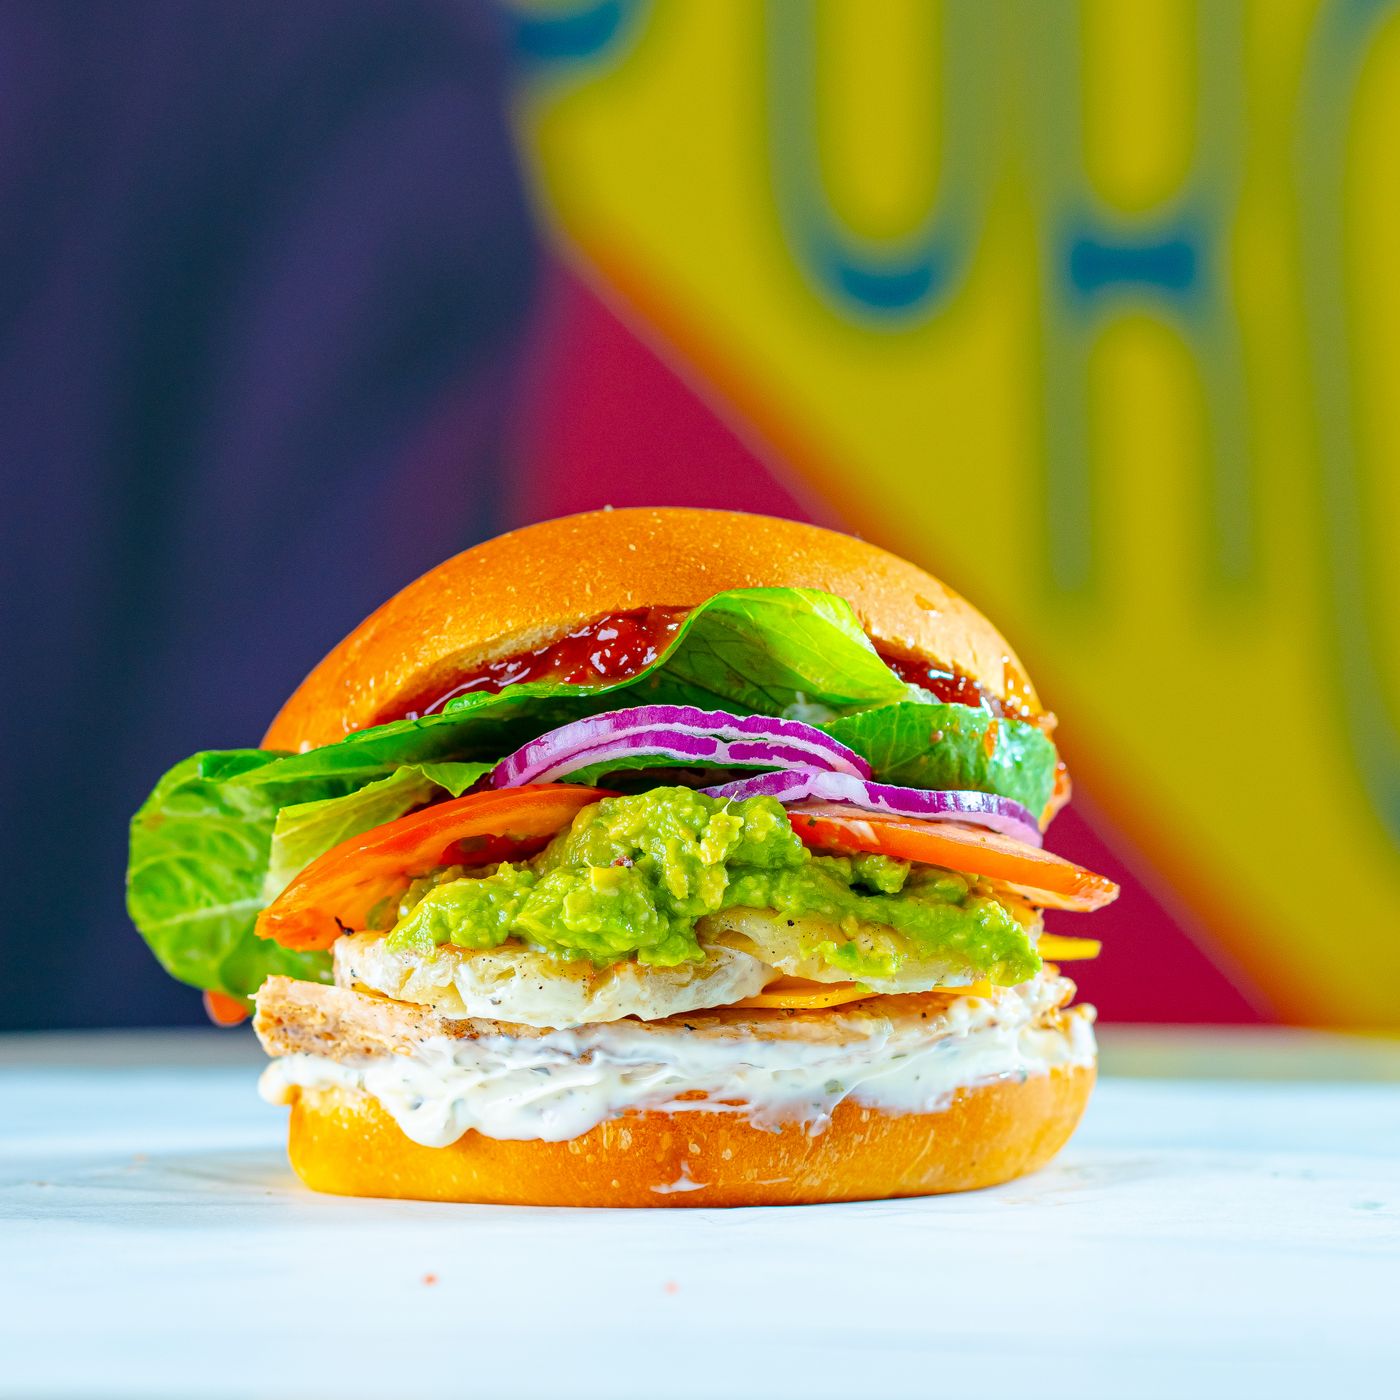
Each component has a specific job. Keep the veg crisp or juicy while balancing bun, sauce, fresh toppings and seasoning.
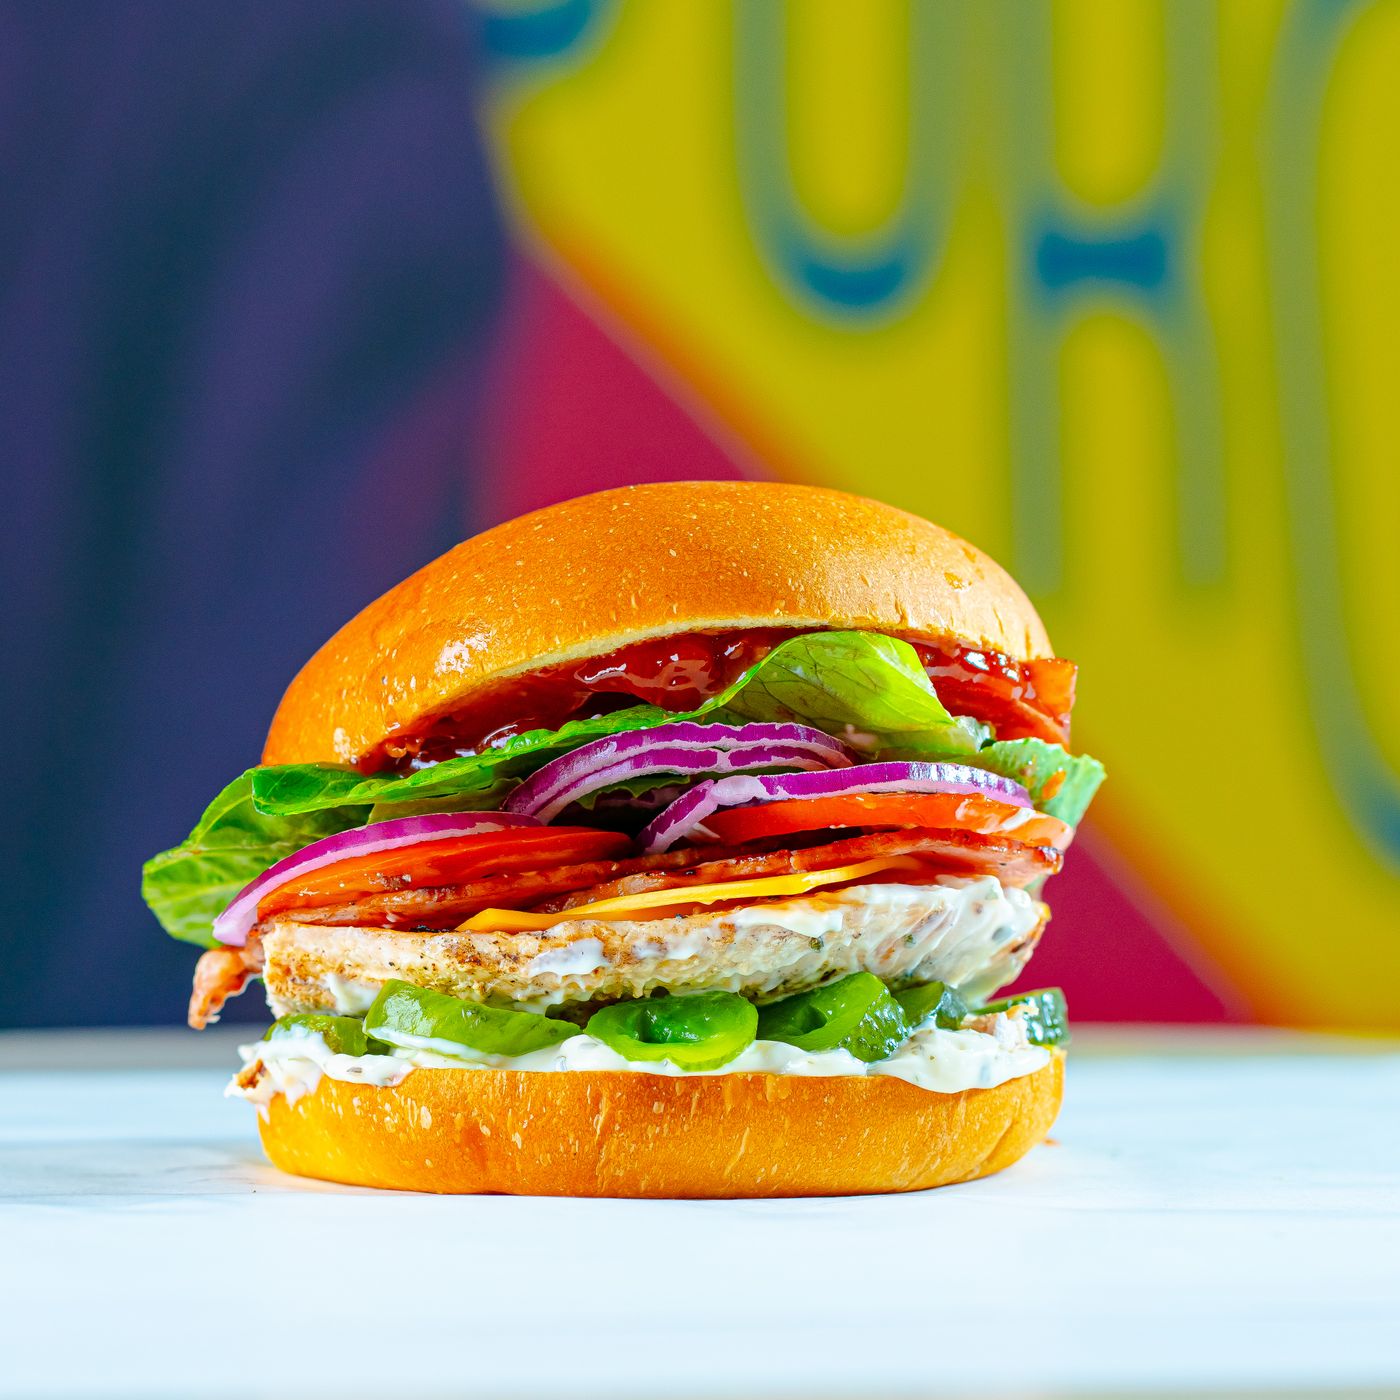
Use a consistent boneless veg portion. A thin, even fillet cooks more predictably and gives a better bun-to-veg ratio.
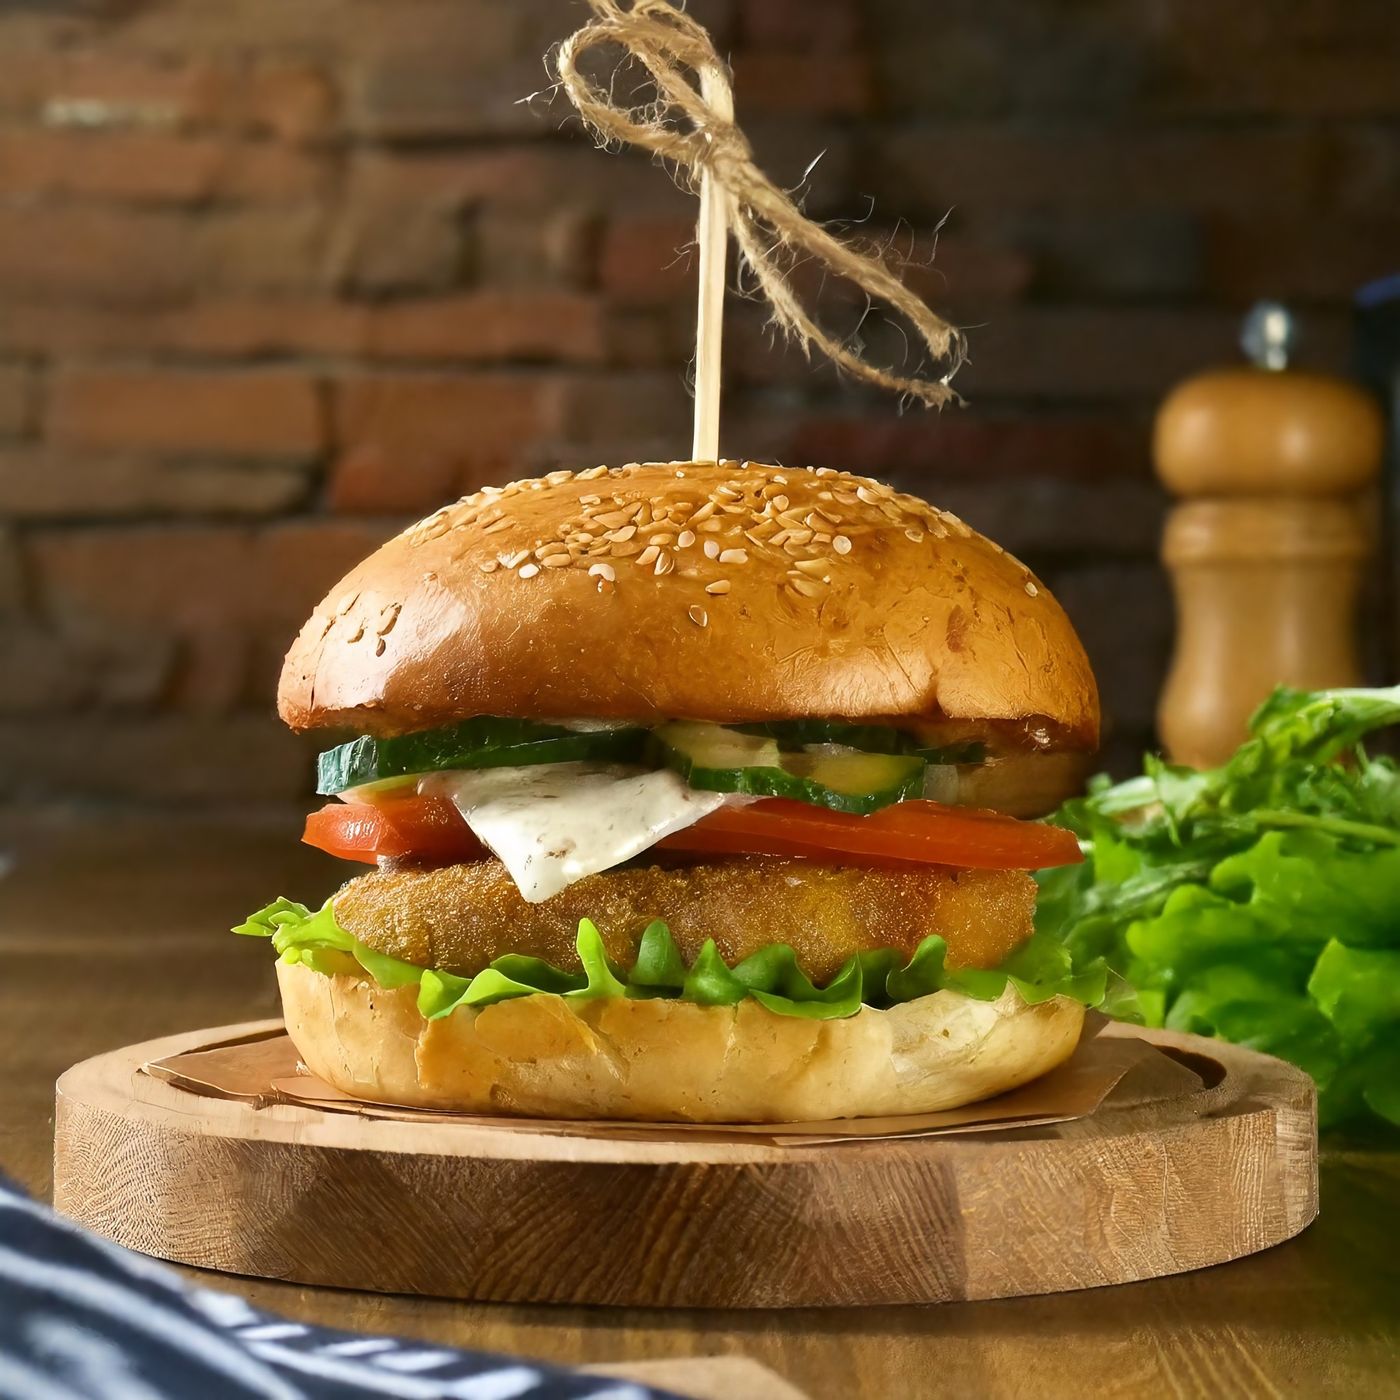
For a fried version, use an even dry coating and press it firmly onto the veg. Keep the surface dry until it reaches the hot oil.
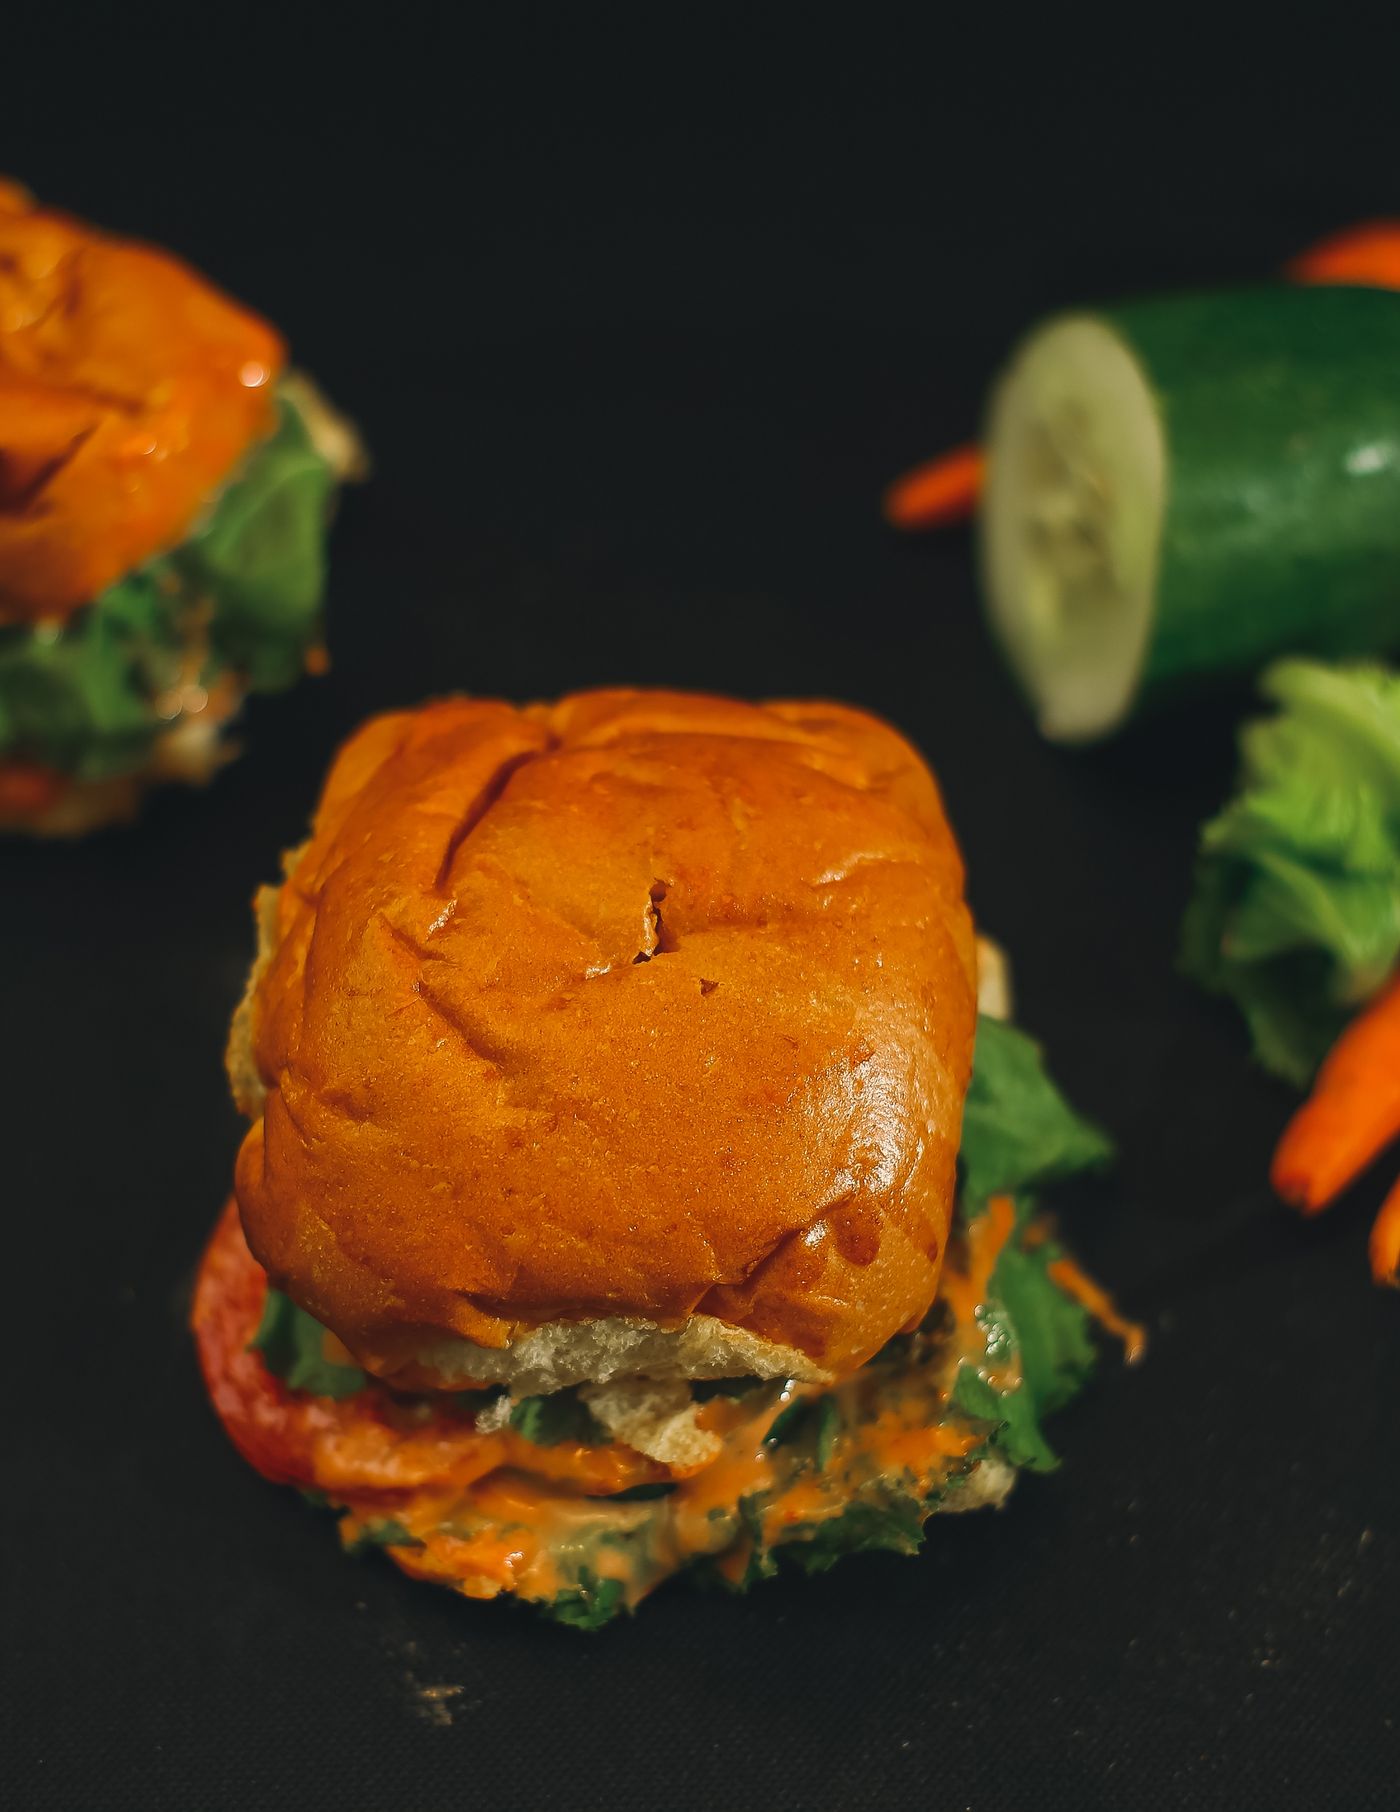
Toast the cut face until lightly golden. The bun should support the veg and sauce without becoming soggy.
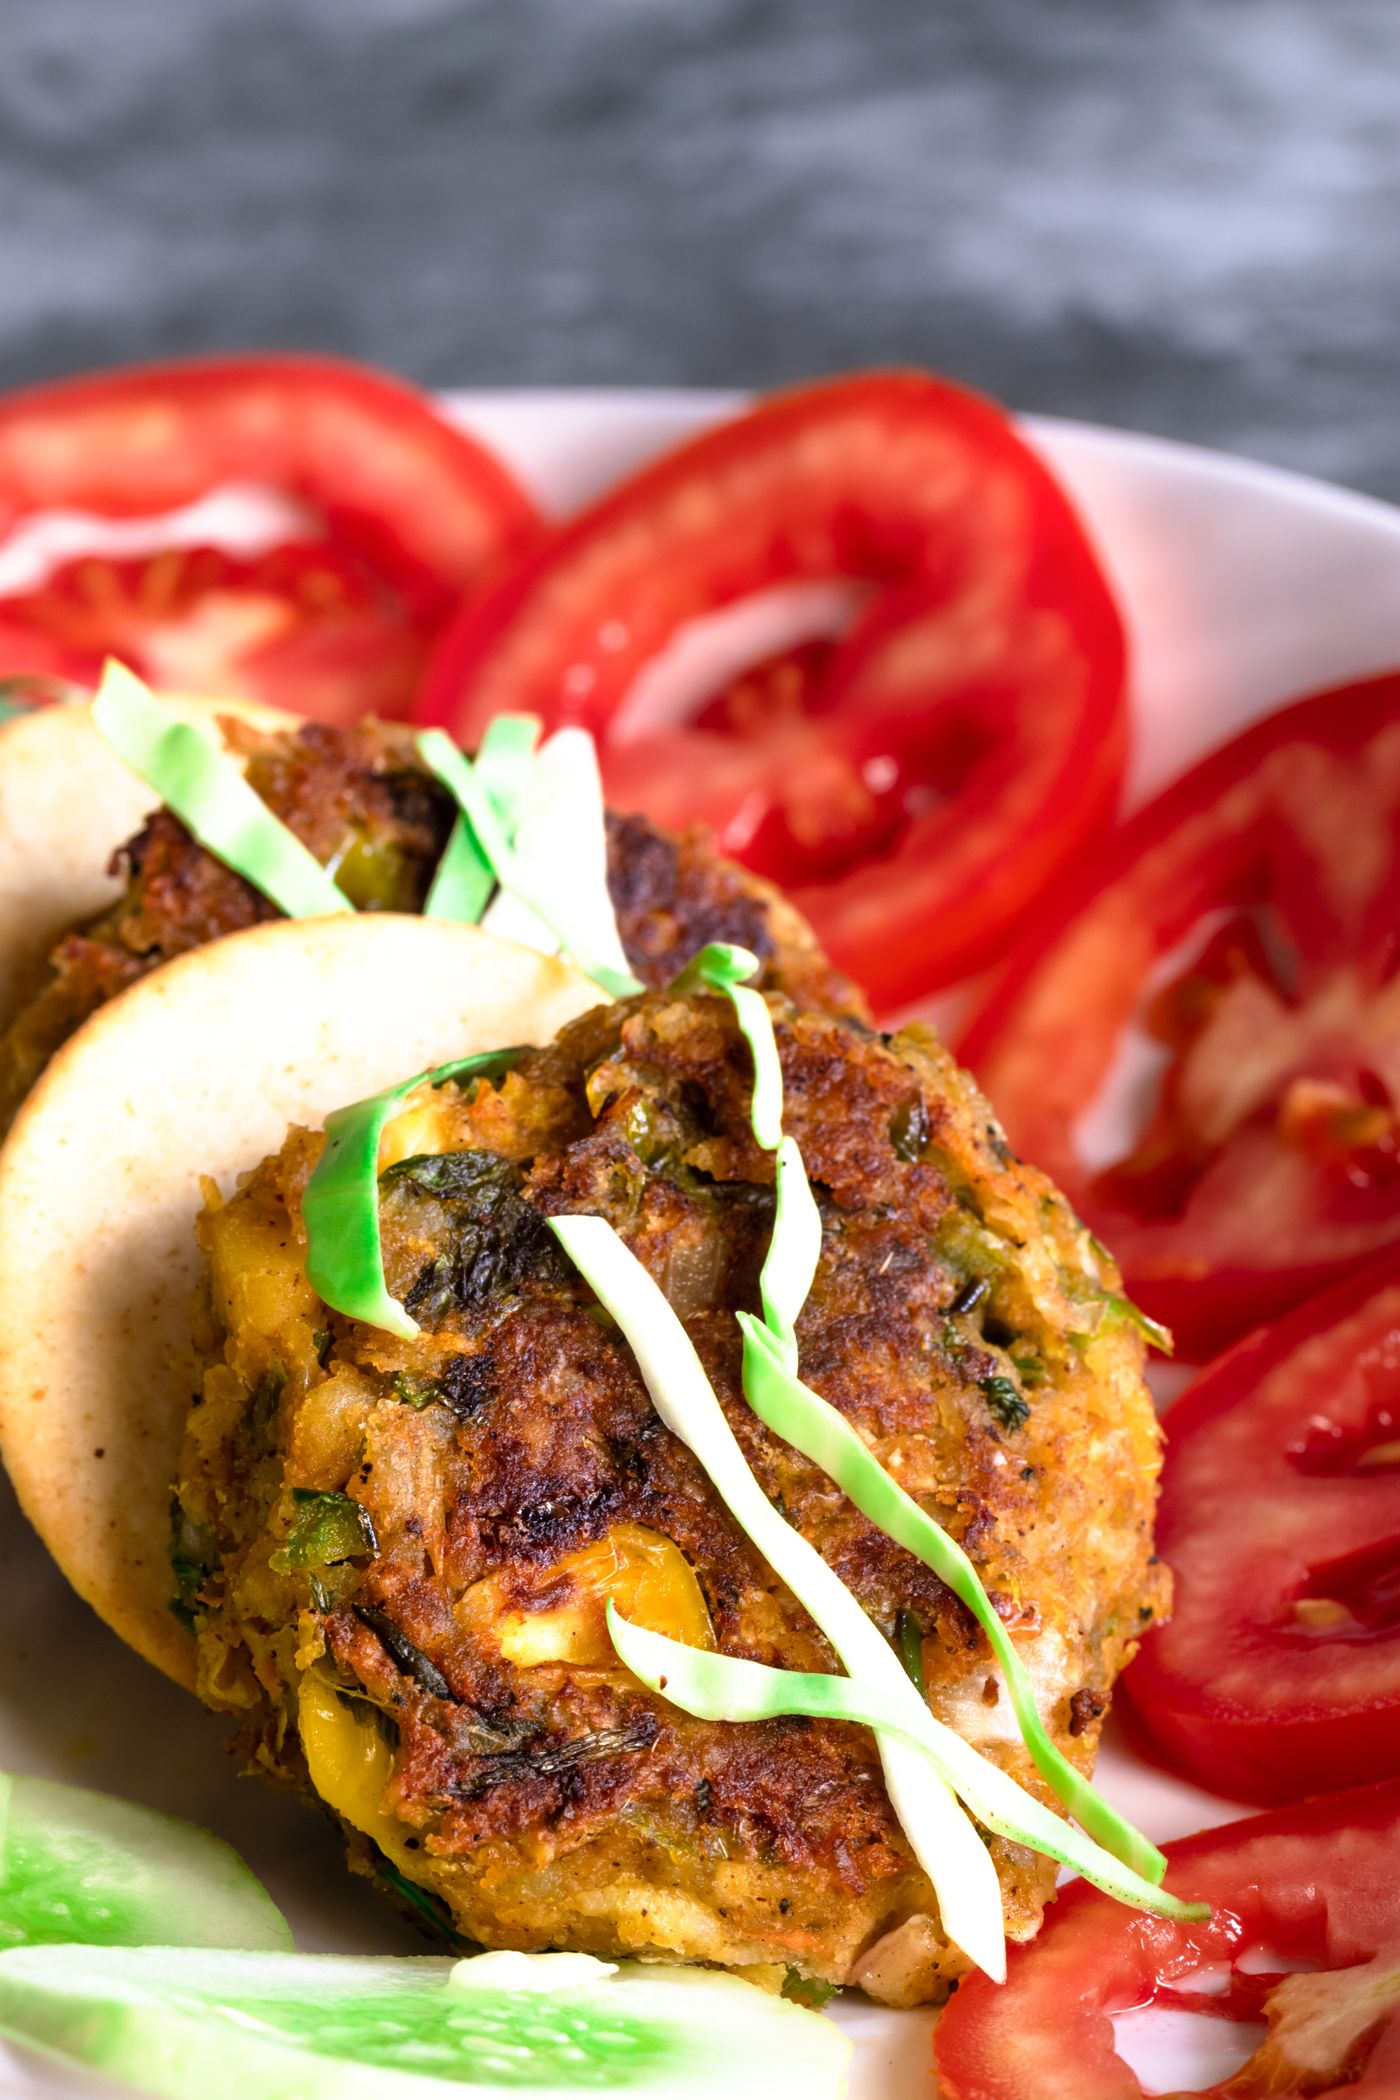
Use mayo, garlic sauce, honey mustard or a mild chili mayo in a controlled layer. The sauce should complement rather than hide the veg.
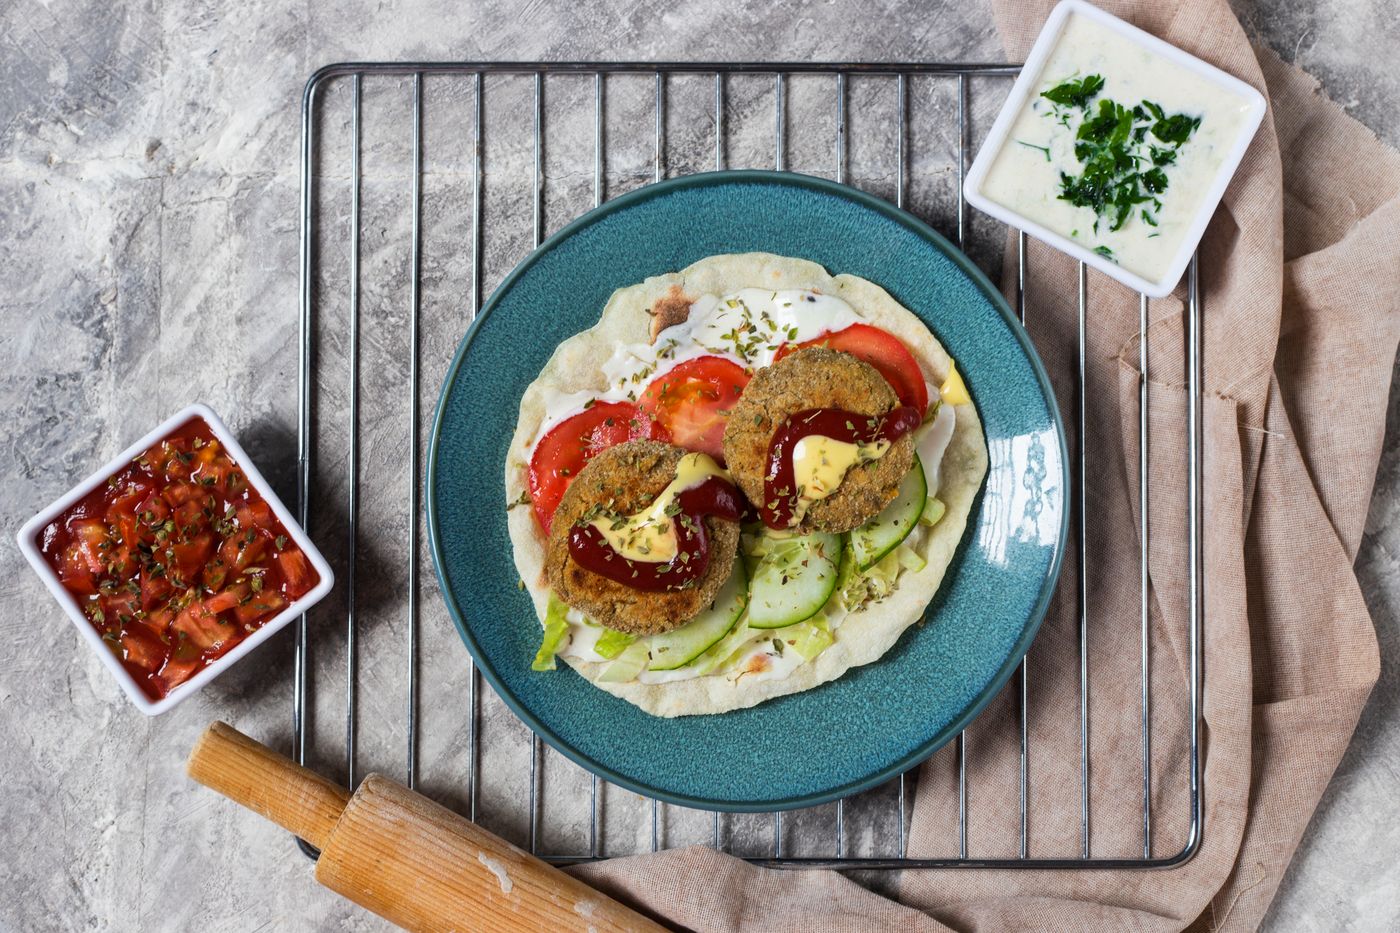
Lettuce, tomato, onion, pickles or slaw add crunch and acidity. Keep wet toppings controlled for a stable stack.
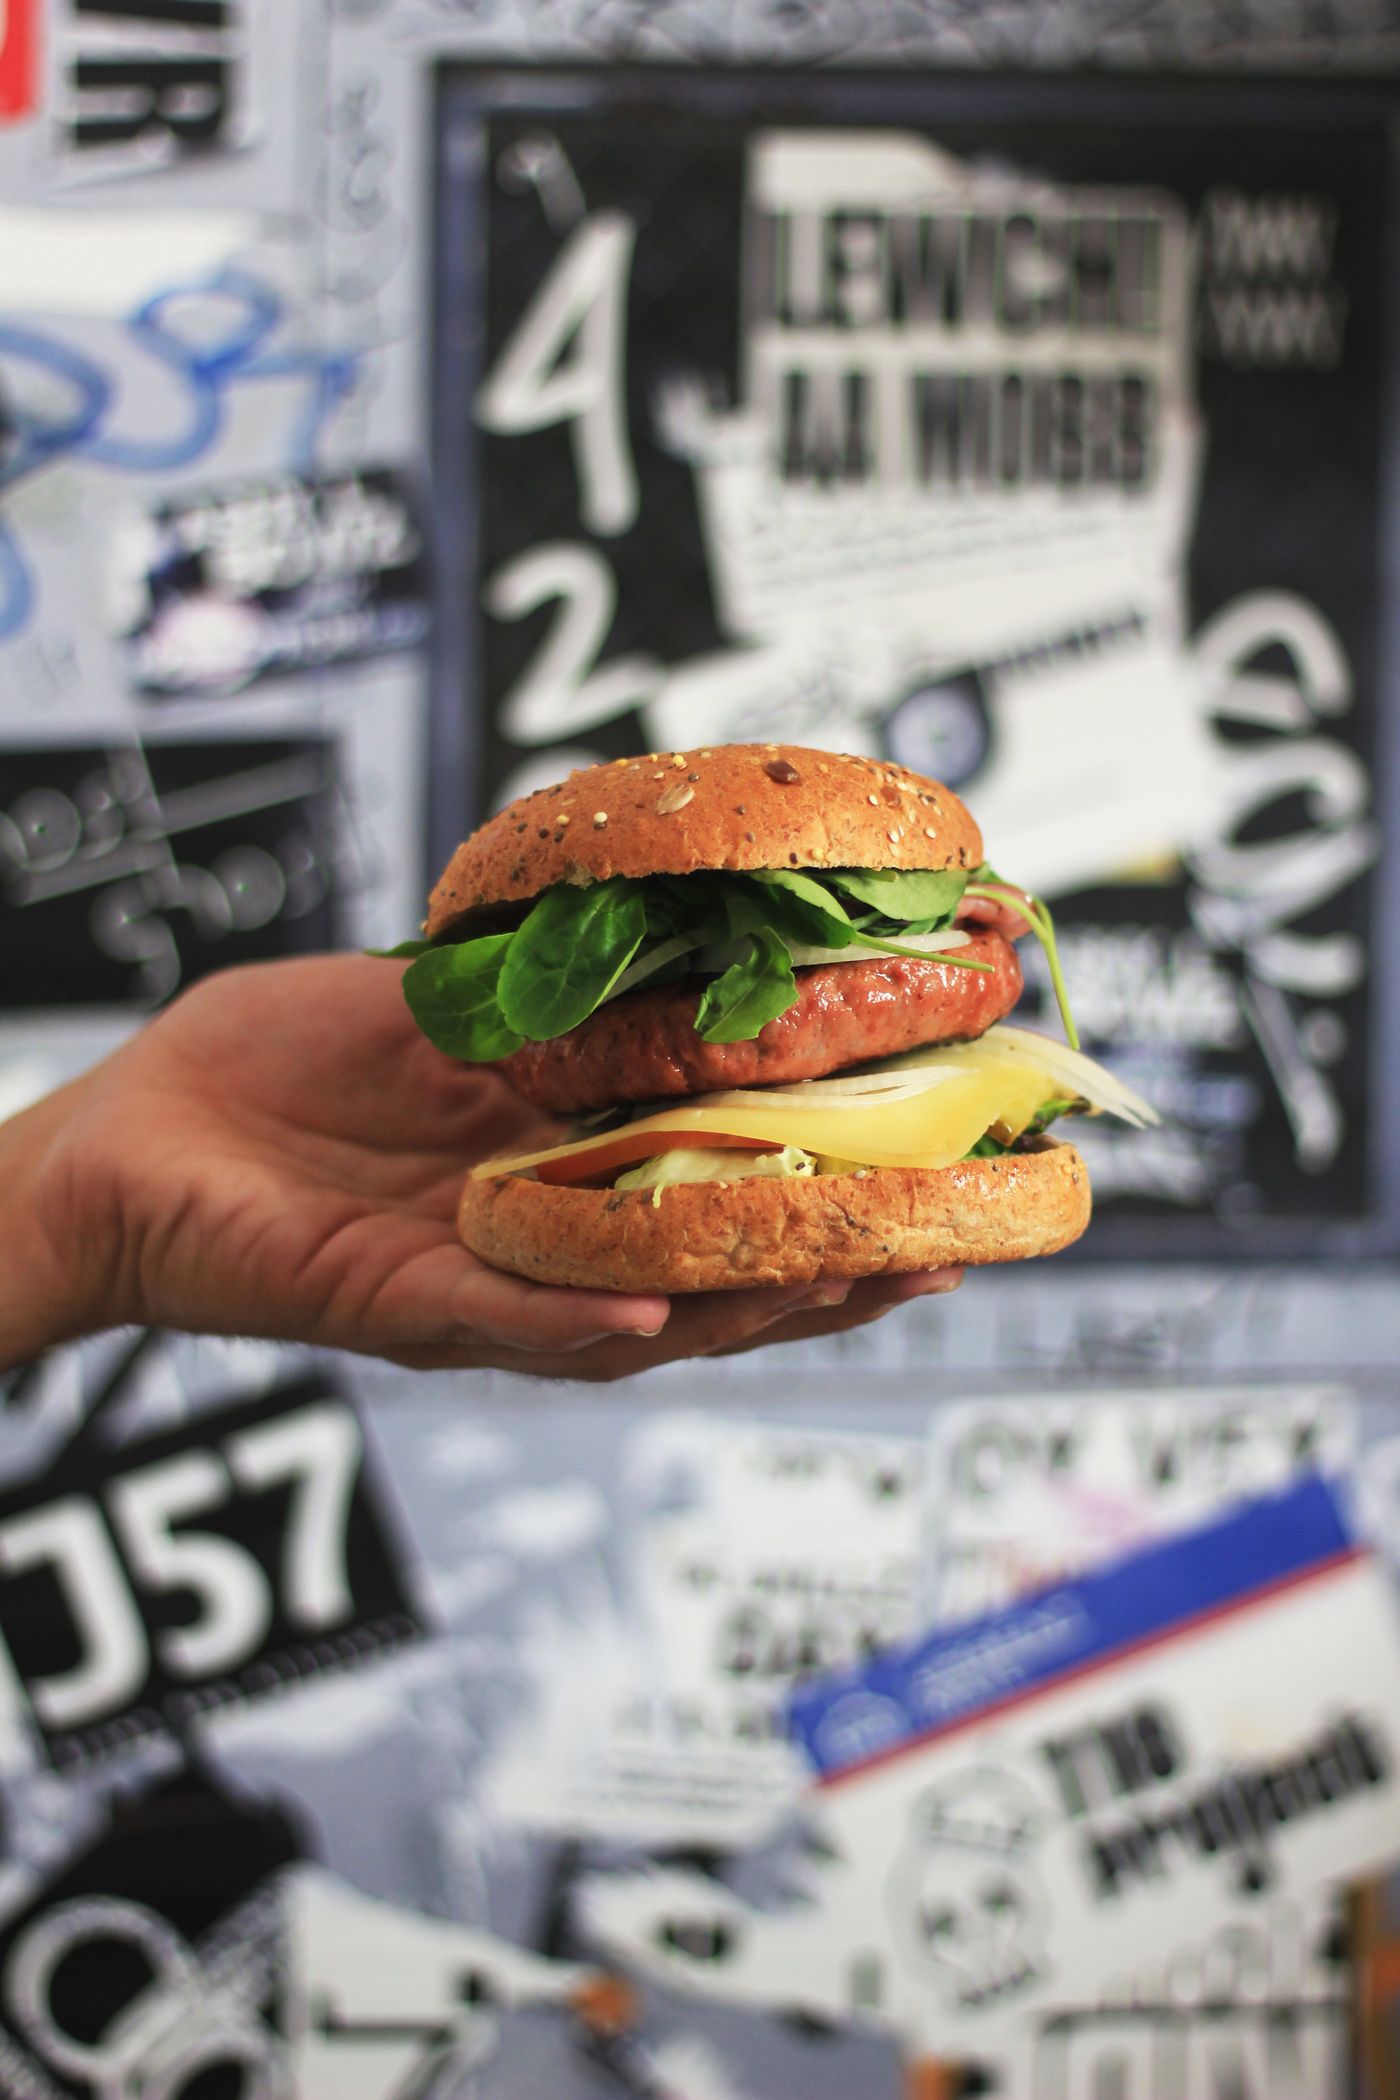
Salt, pepper, paprika, garlic and herbs can build savoury depth. Season the veg evenly before cooking or coating.
One clean sequence. Follow the order so the veg, coating, sauce and fresh toppings finish at the right moment.
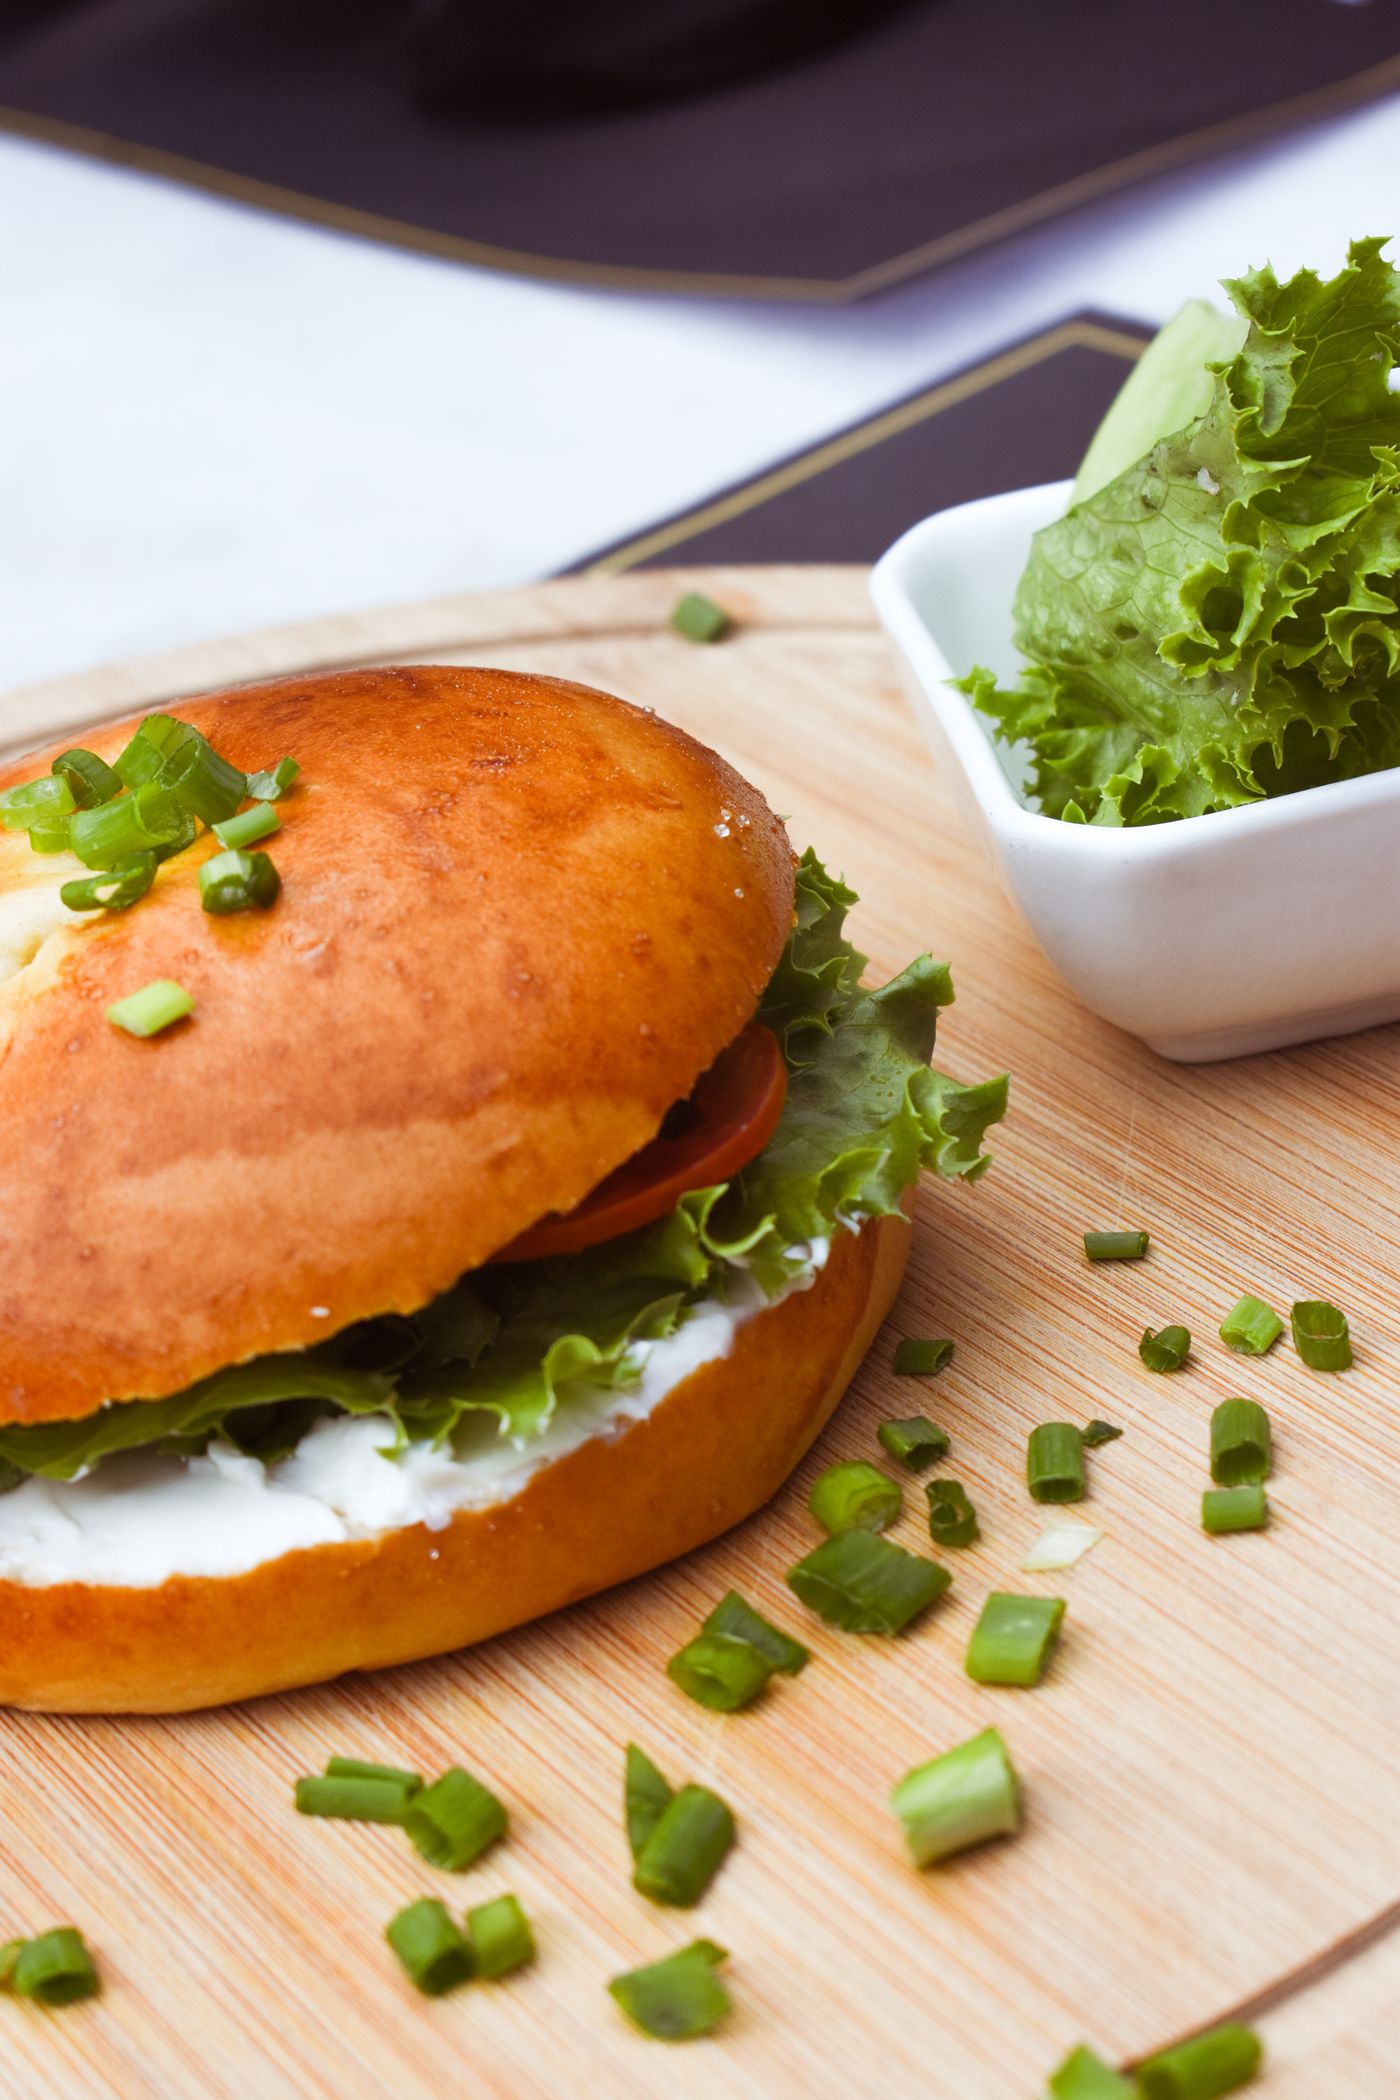
Trim and portion the veg, prepare the coating or marinade, slice toppings and ready the sauce before cooking.
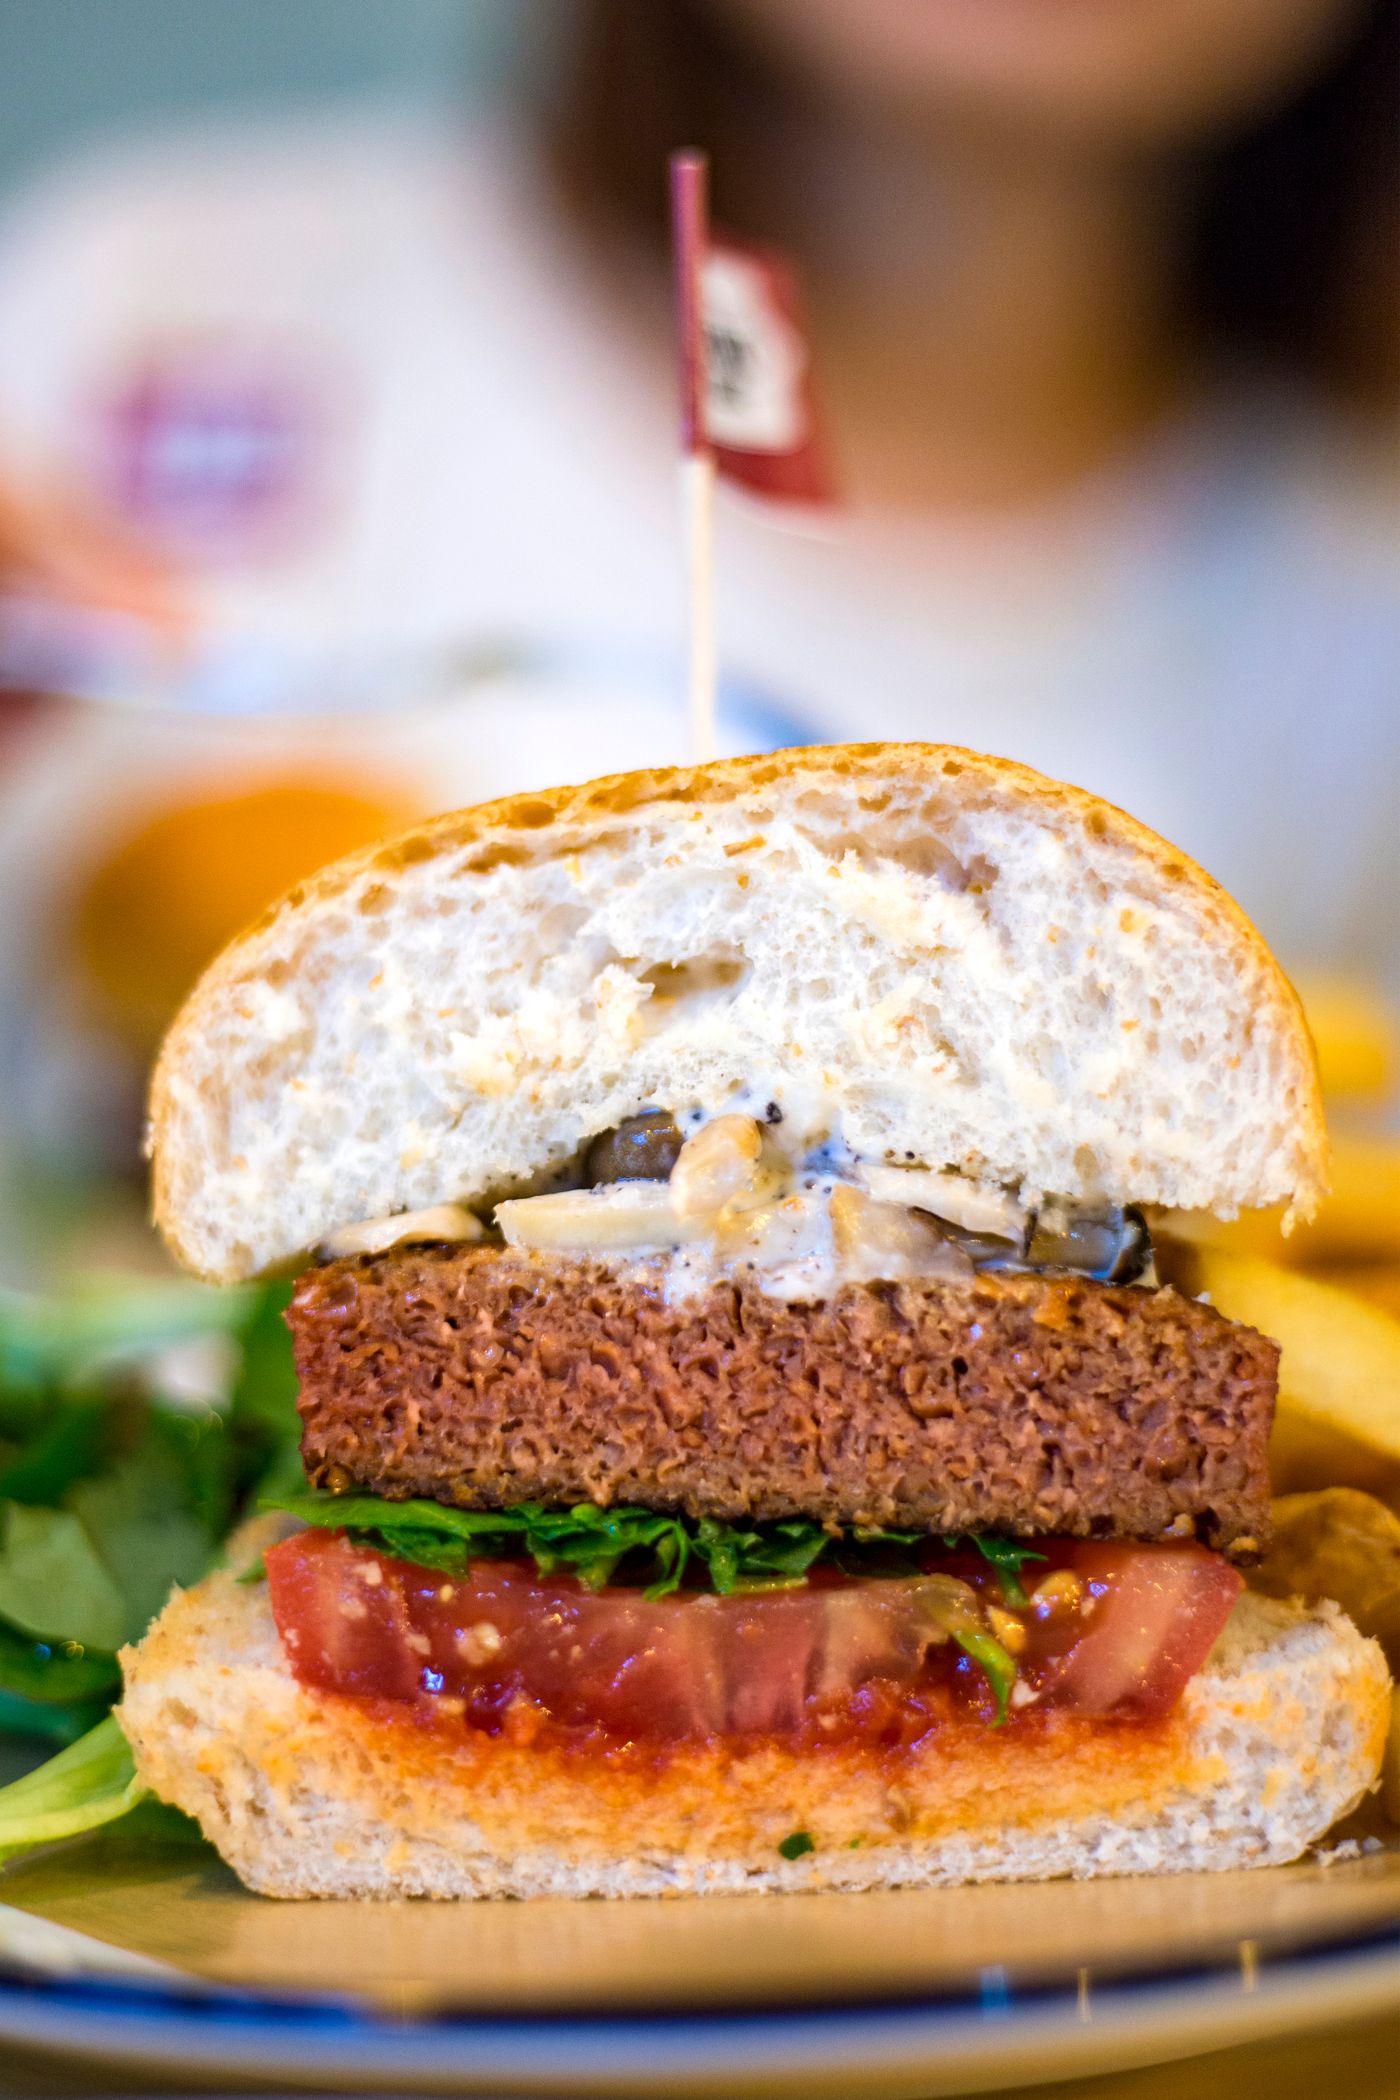
Season both sides or build seasoning into the coating. Avoid uneven salt pockets that can overpower the finished burger.
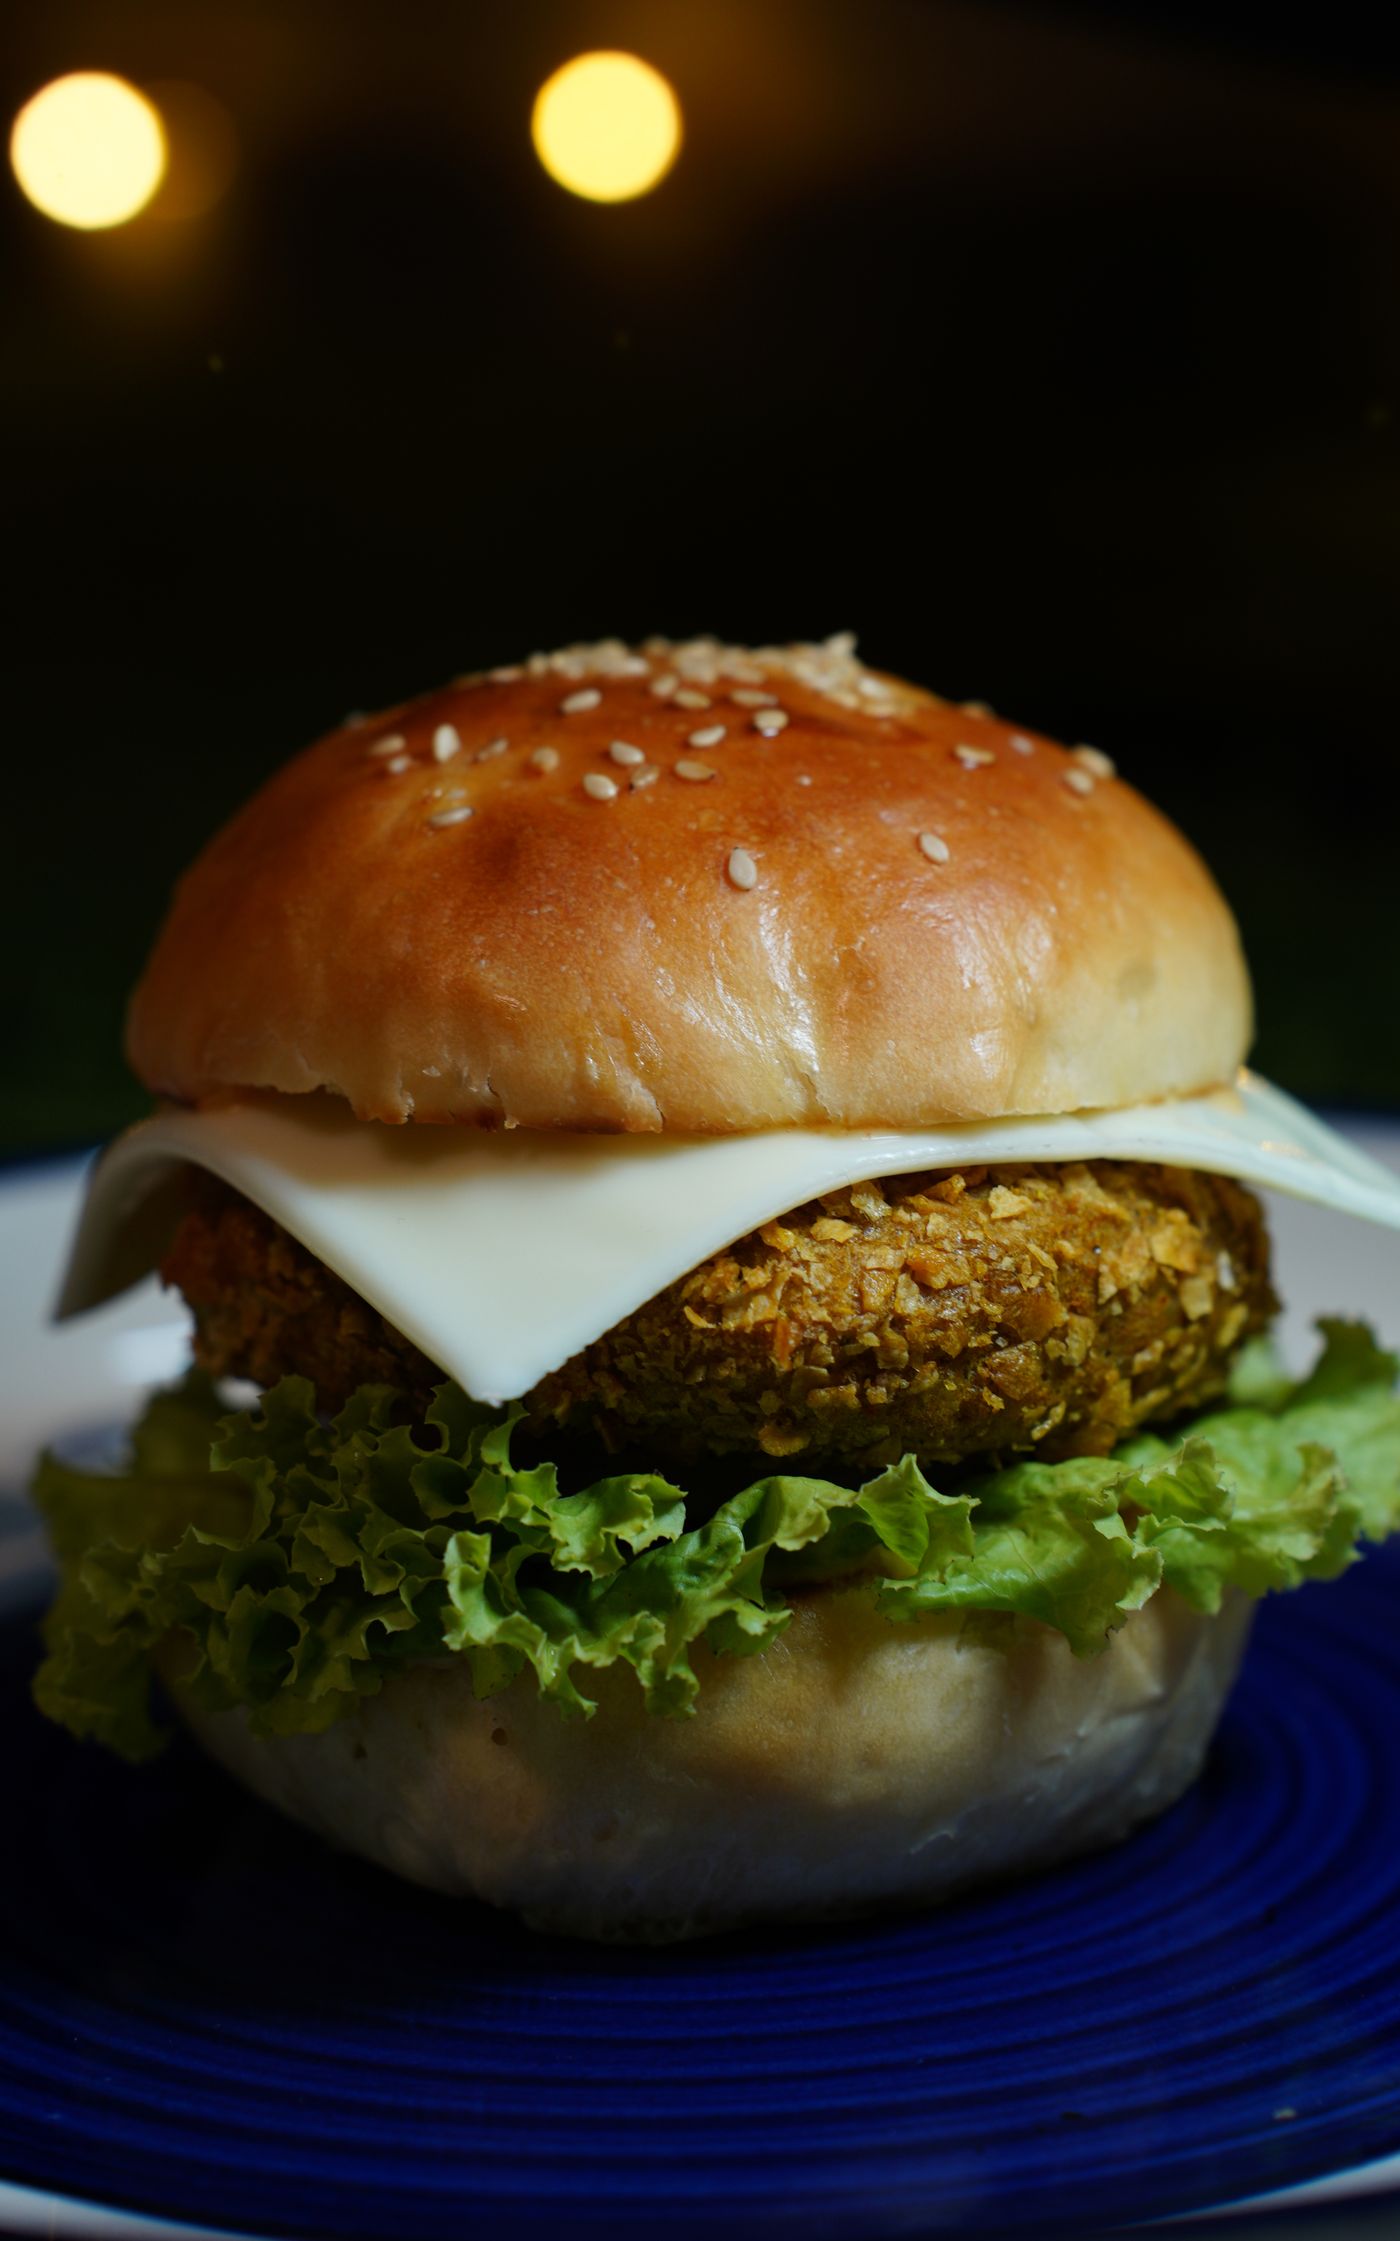
Fry, grill or pan-cook the veg until the exterior is browned and the centre reaches a safe temperature.
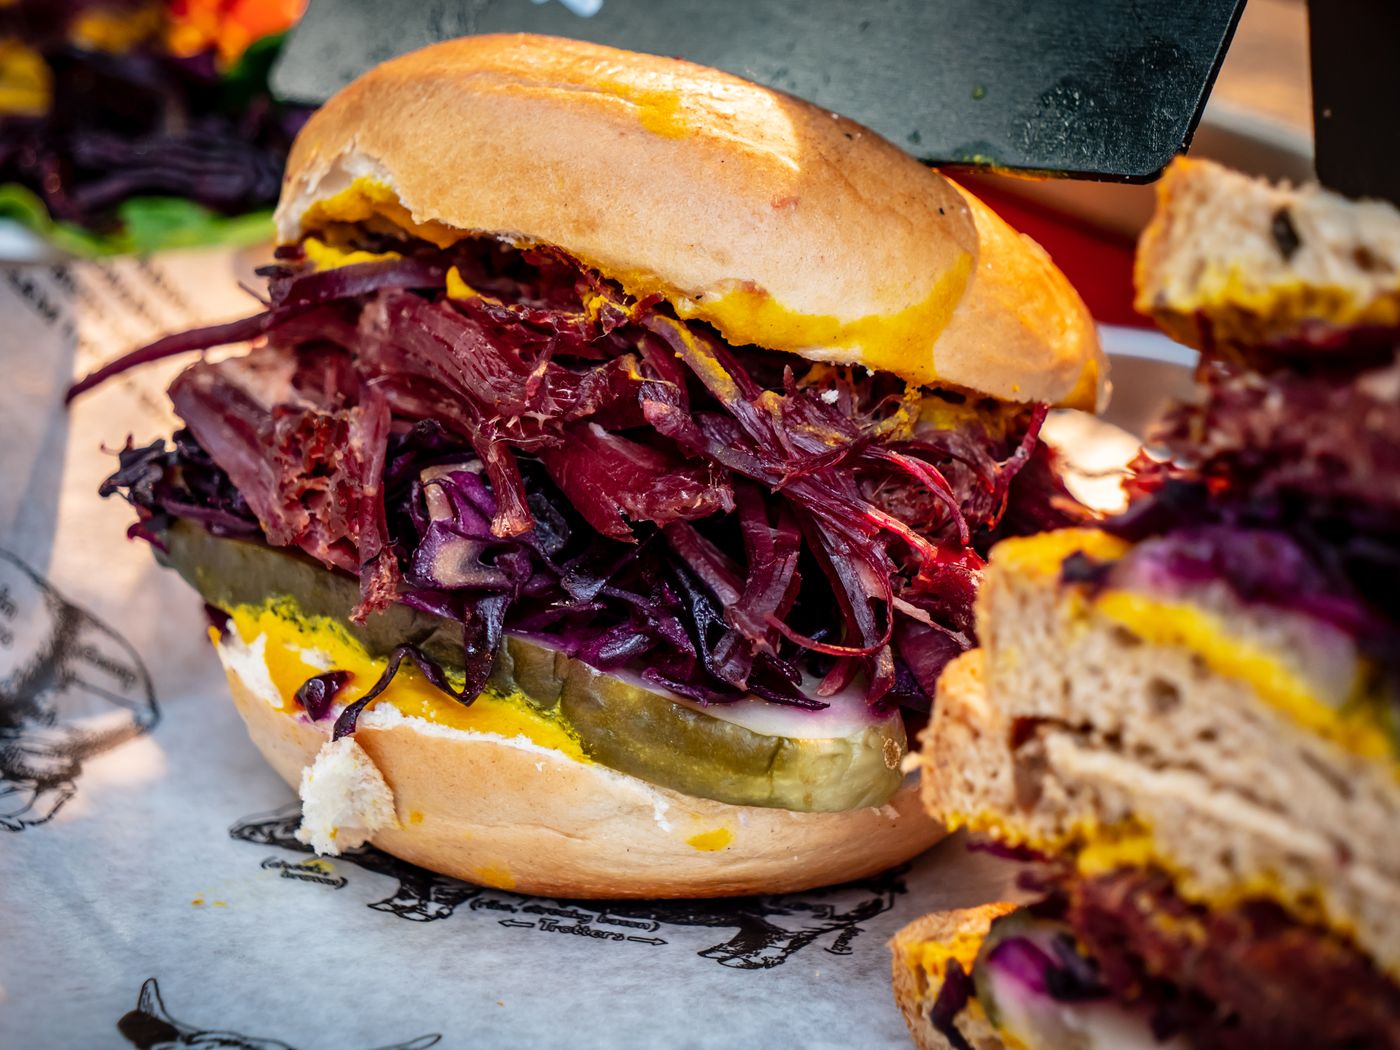
Look for an even golden crust or browned grilled surface. Avoid burning the exterior while the centre is still undercooked.
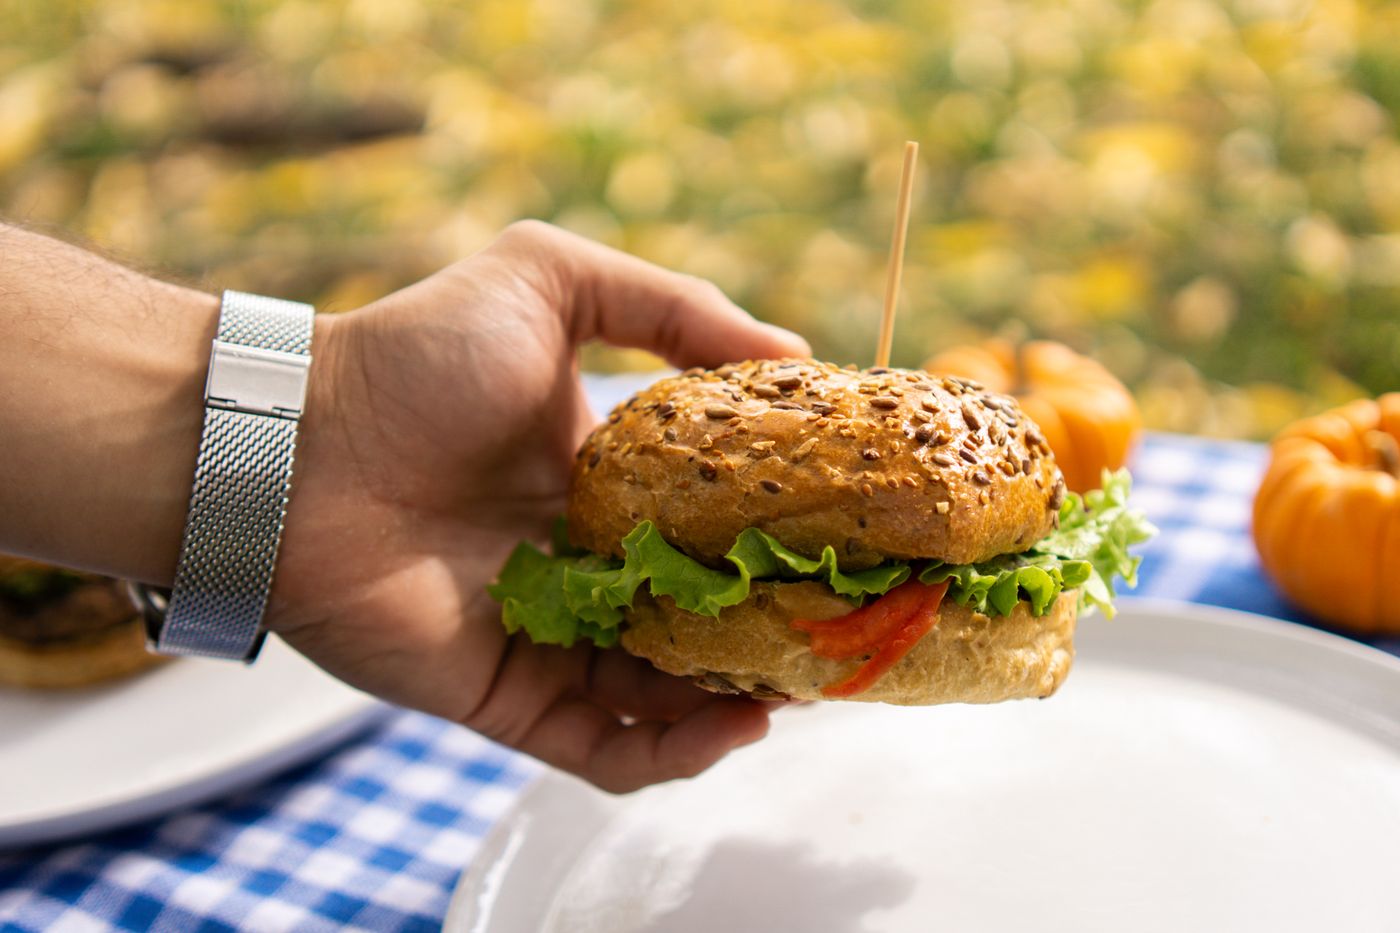
Toast the cut faces lightly. A warm golden surface gives structure and helps resist sauce and veg juices.
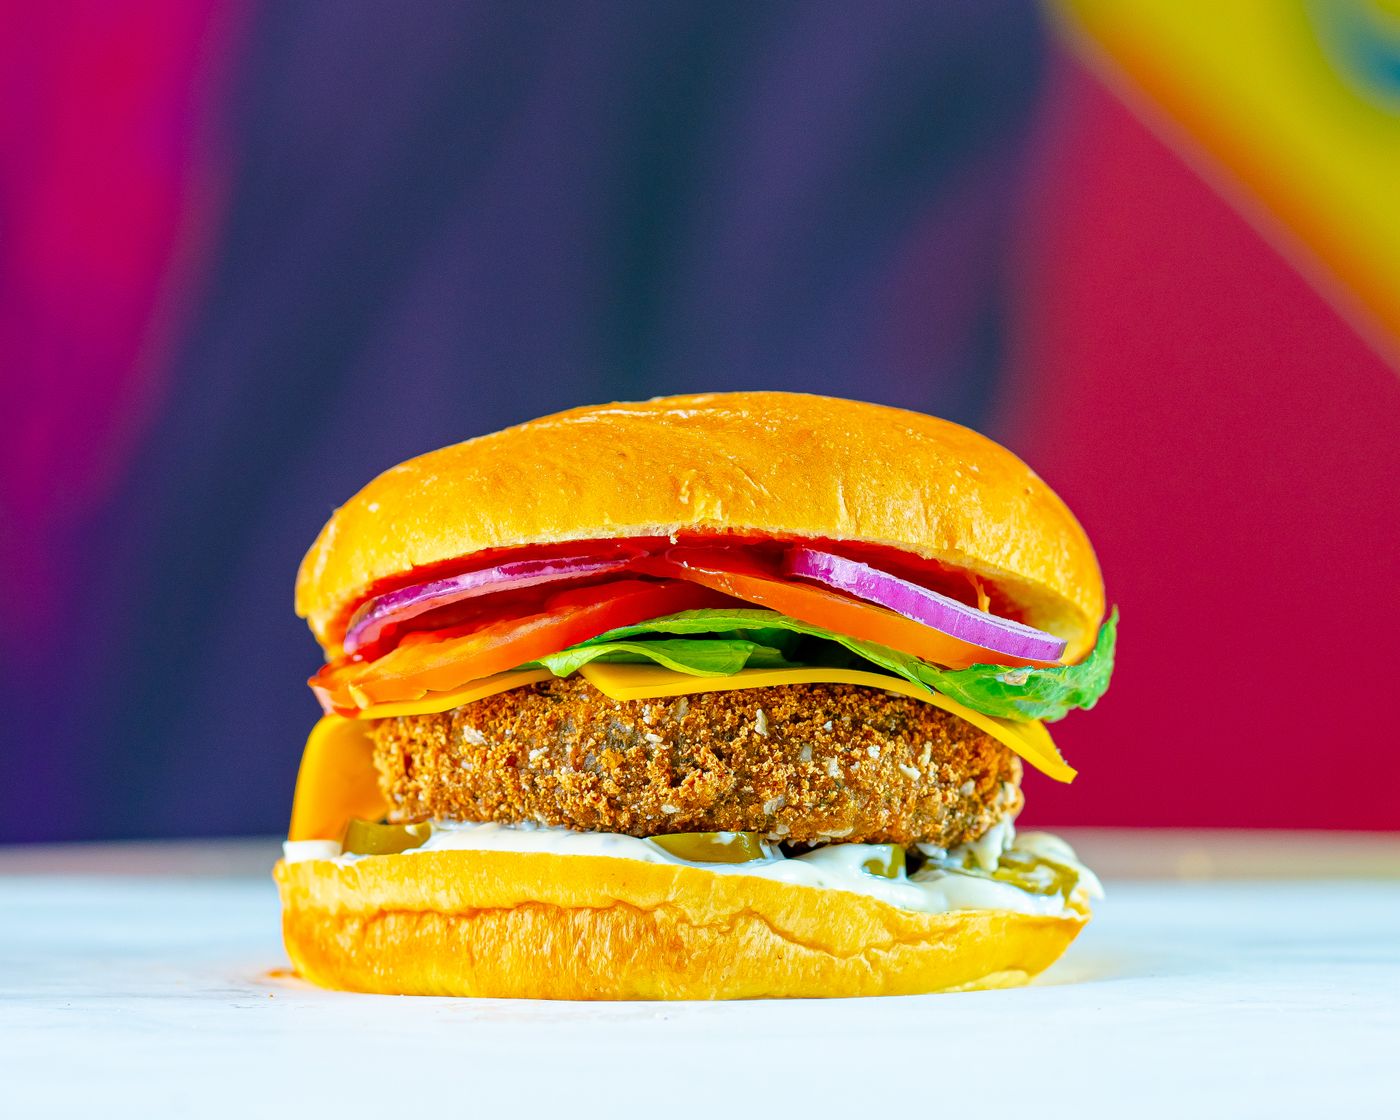
Use a thin, even layer of creamy or tangy sauce. Keep it within the bun footprint for better control.
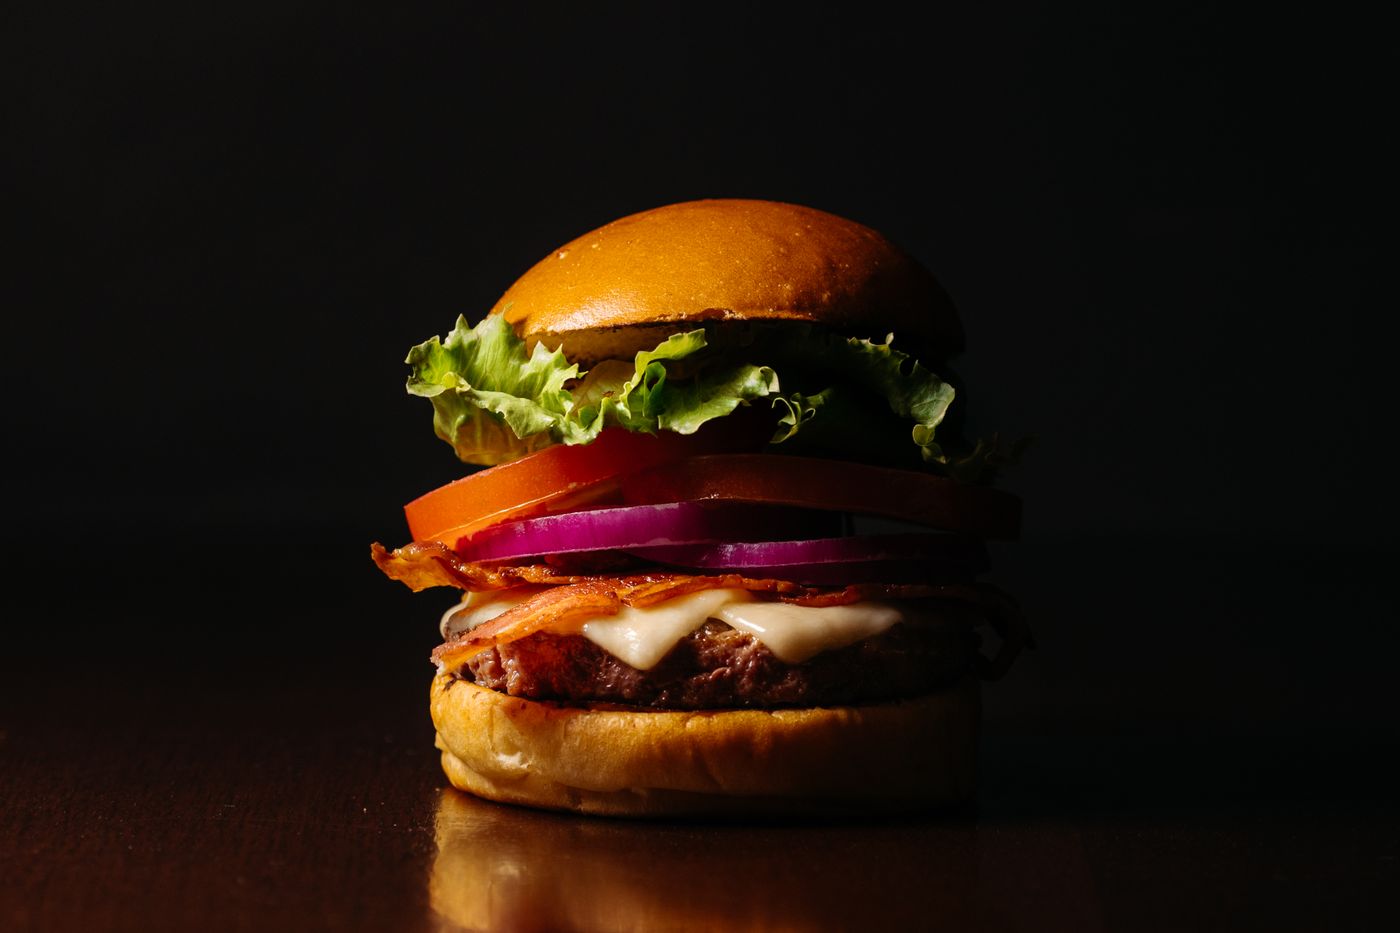
Layer sauce, lettuce or slaw, veg, pickles and top bun. Centre bulky toppings so the burger stays stable.
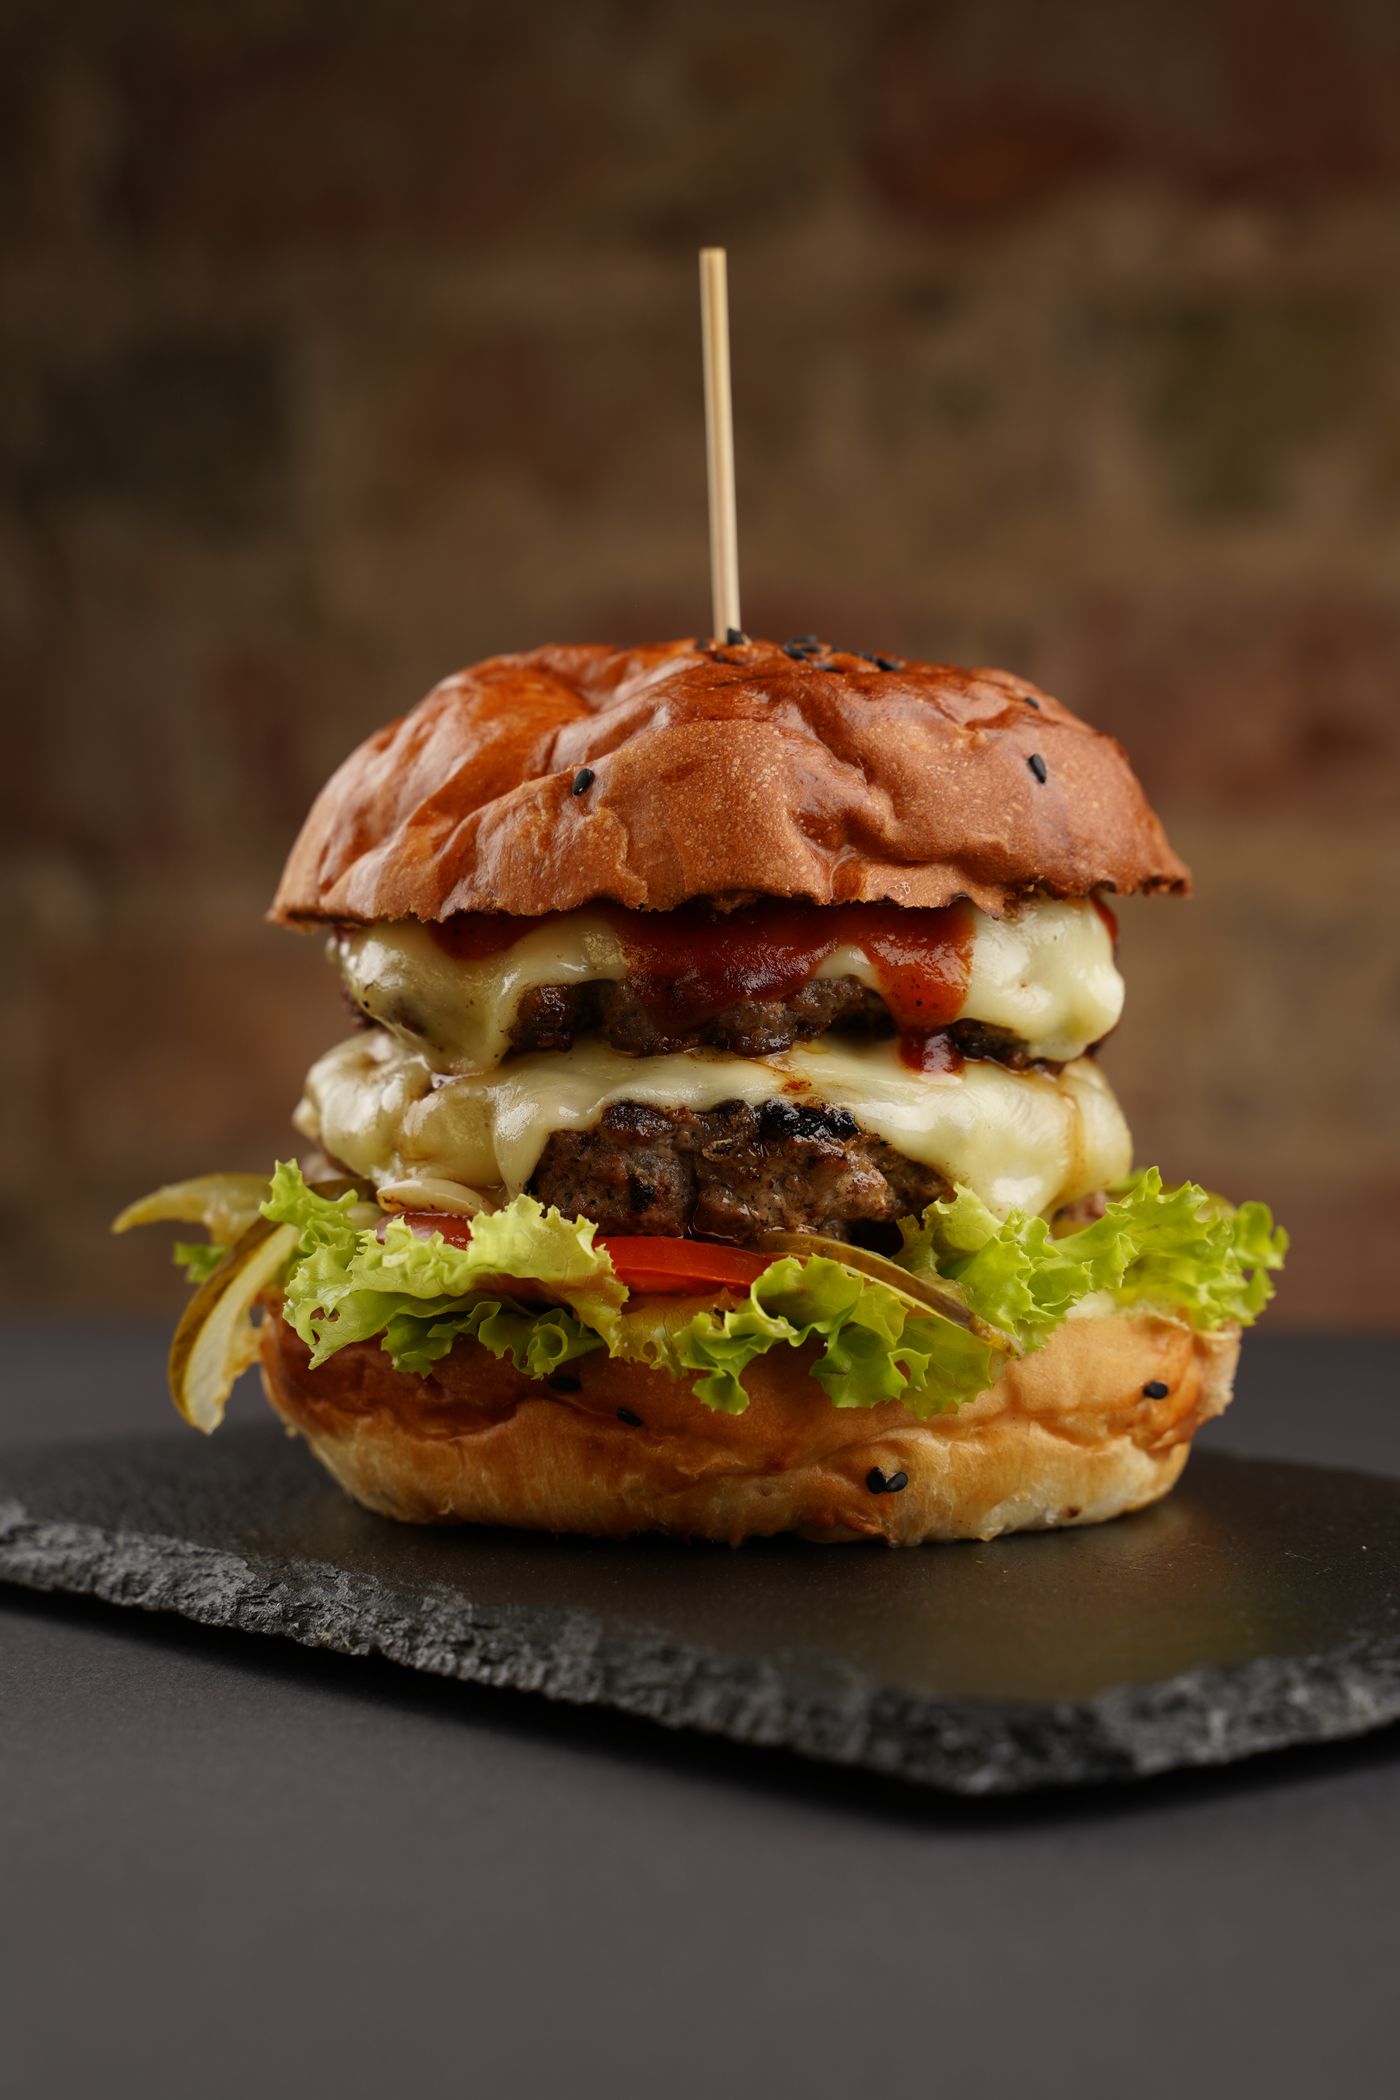
Check crispness, sauce balance, bun integrity and topping placement. For veg, verify the centre with a food thermometer and follow applicable food-safety guidance.
Pass: evenly browned patty, cheese fully softened, toasted but tender bun, controlled sauce, crisp toppings and a stable stack. Fail: dry patty, unmelted cheese, soggy bun, overloaded sauce or toppings that slide out immediately.
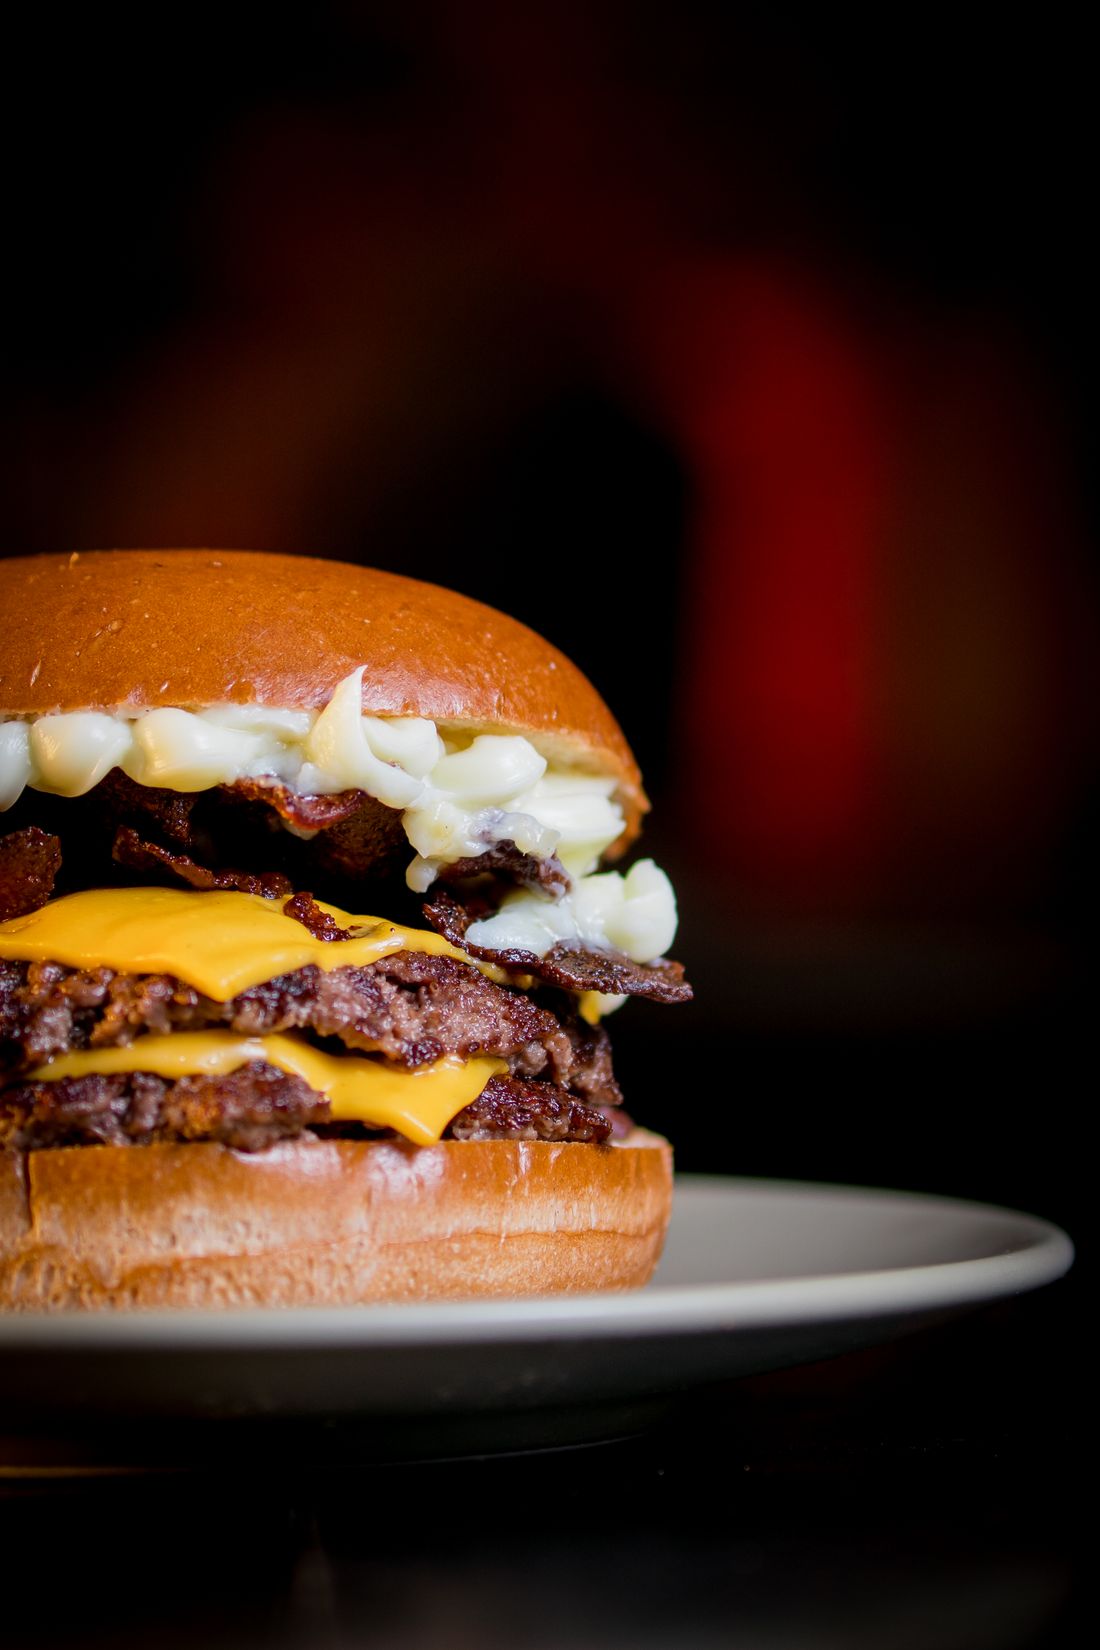
A dedicated loaded build built around a stacked beef patty, melted cheese, crisp bacon, crunchy onion, pickles, fresh lettuce and controlled sauce. Every numbered detail uses its own dedicated photograph.
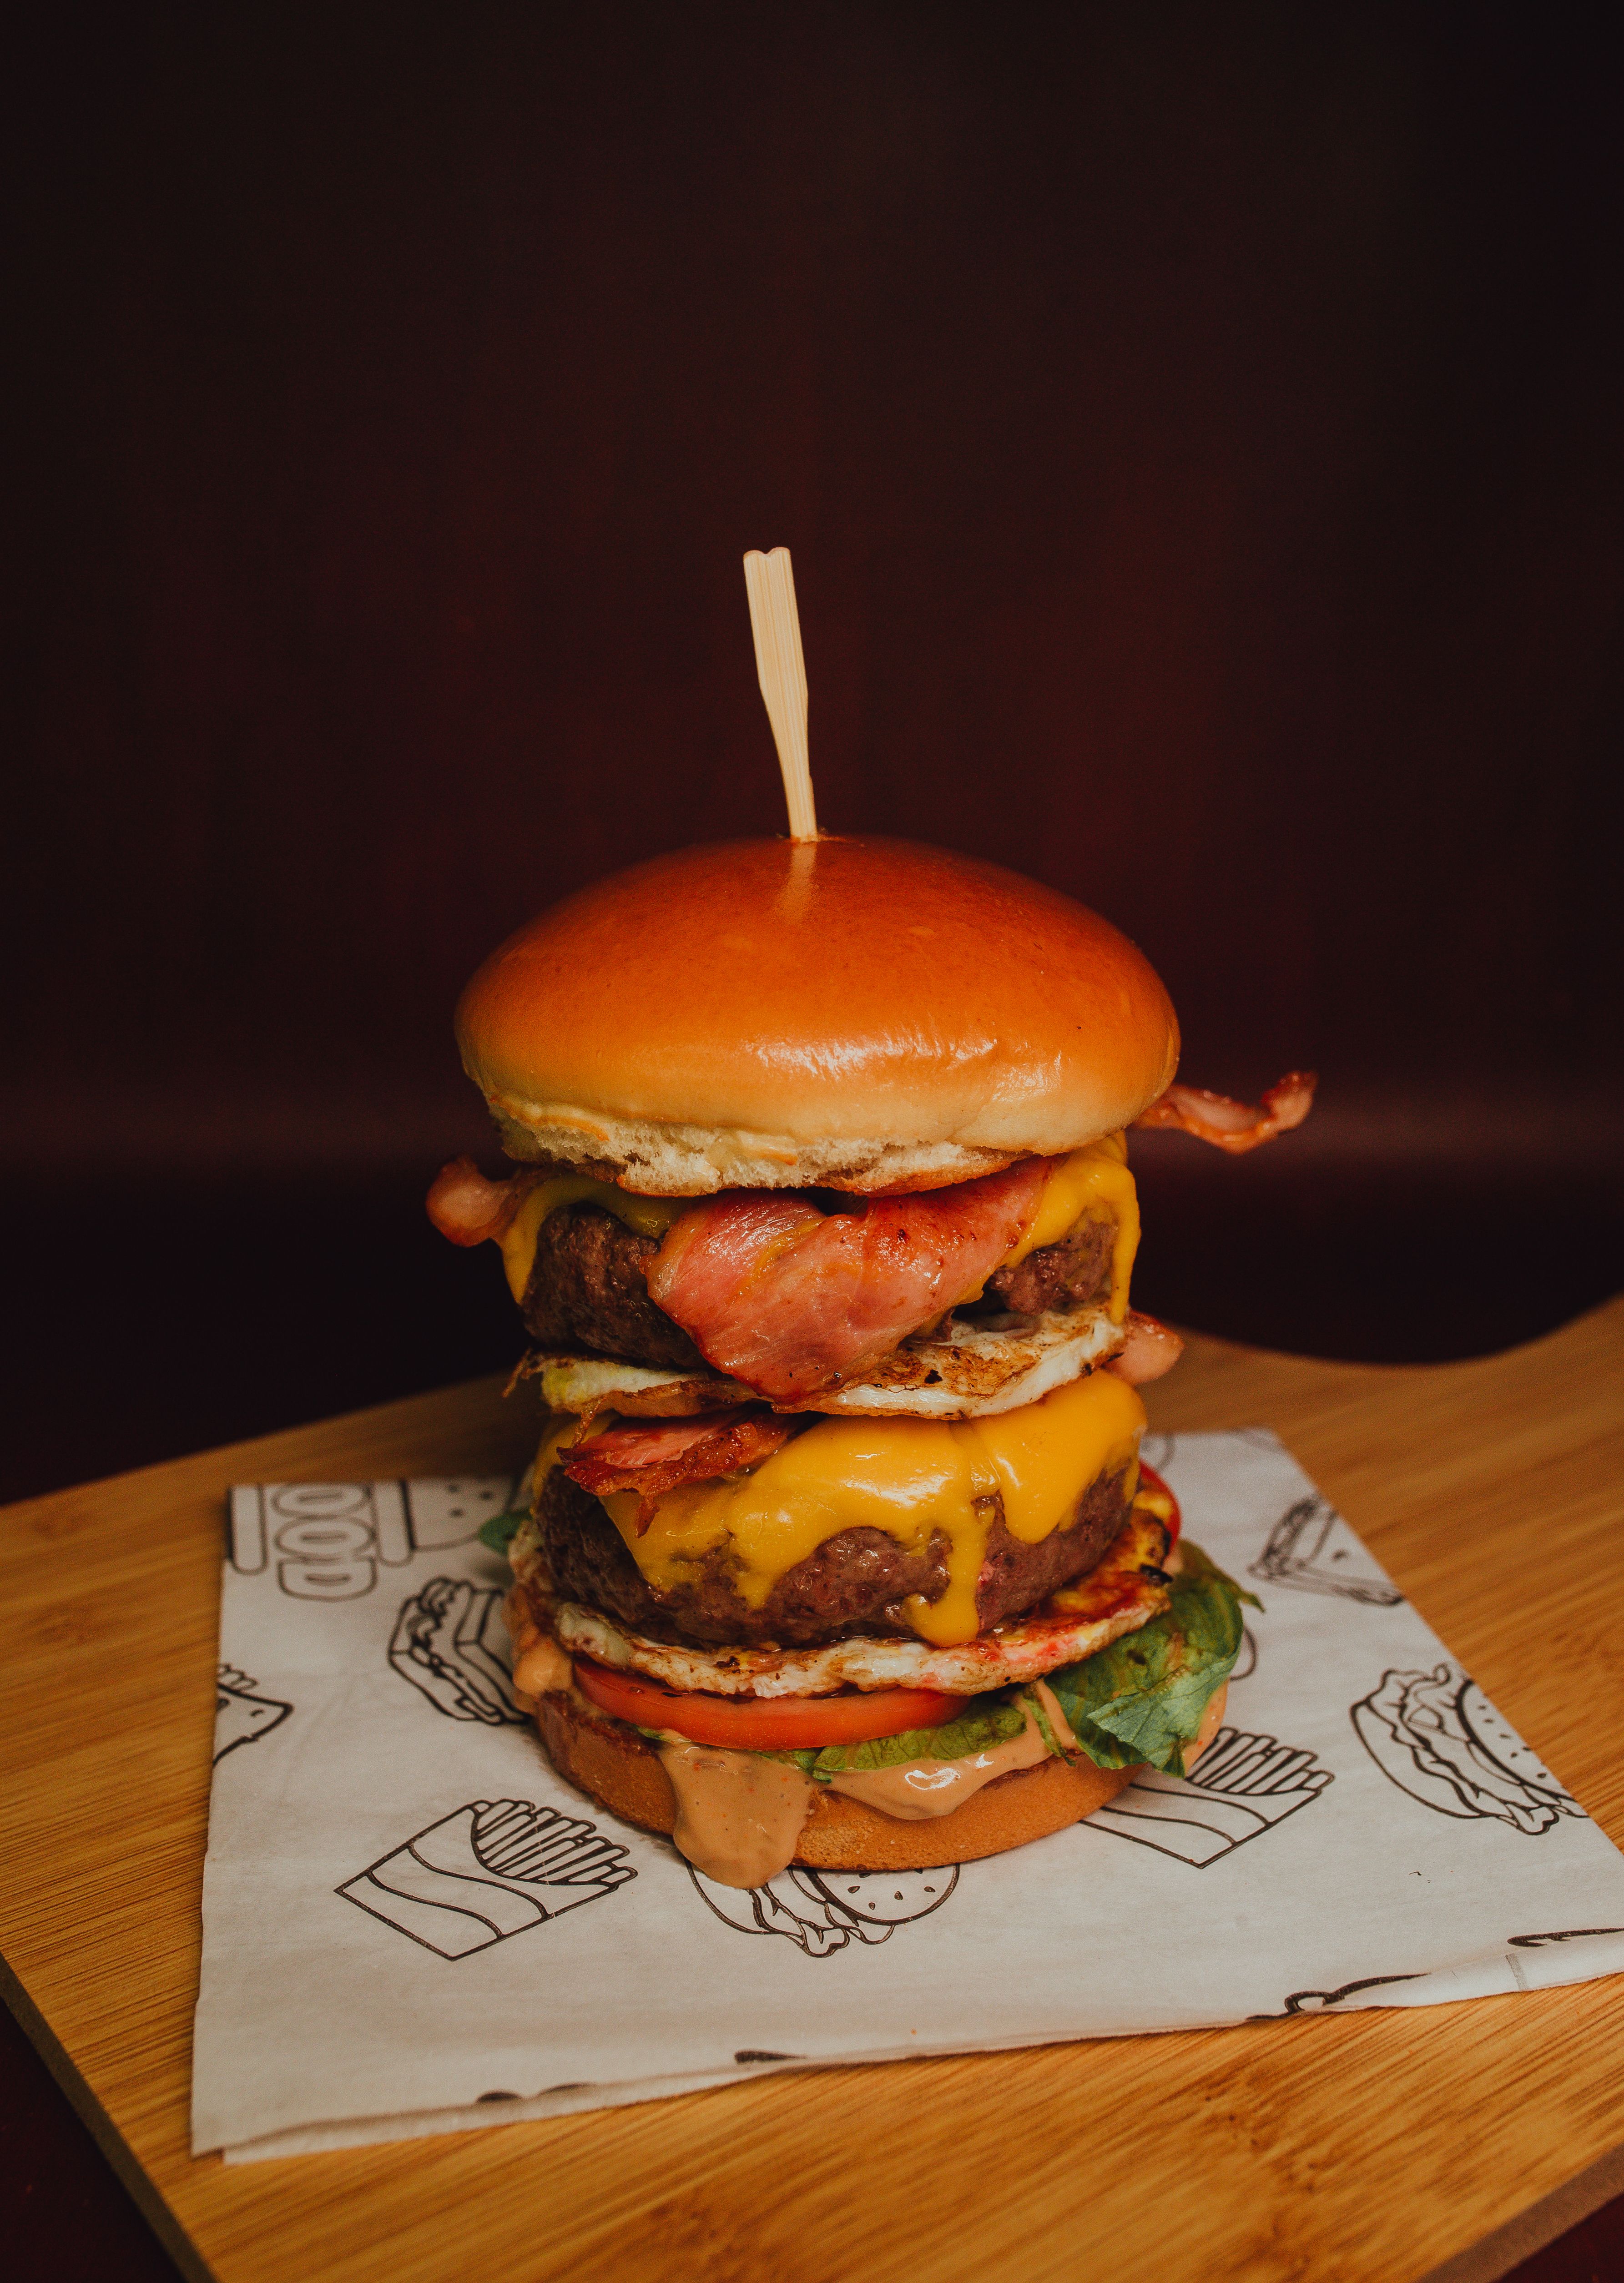
The loaded style works by stacking rich and fresh components in controlled layers. Keep the patties hot, the cheese melted, the bacon crisp and the wet toppings measured.
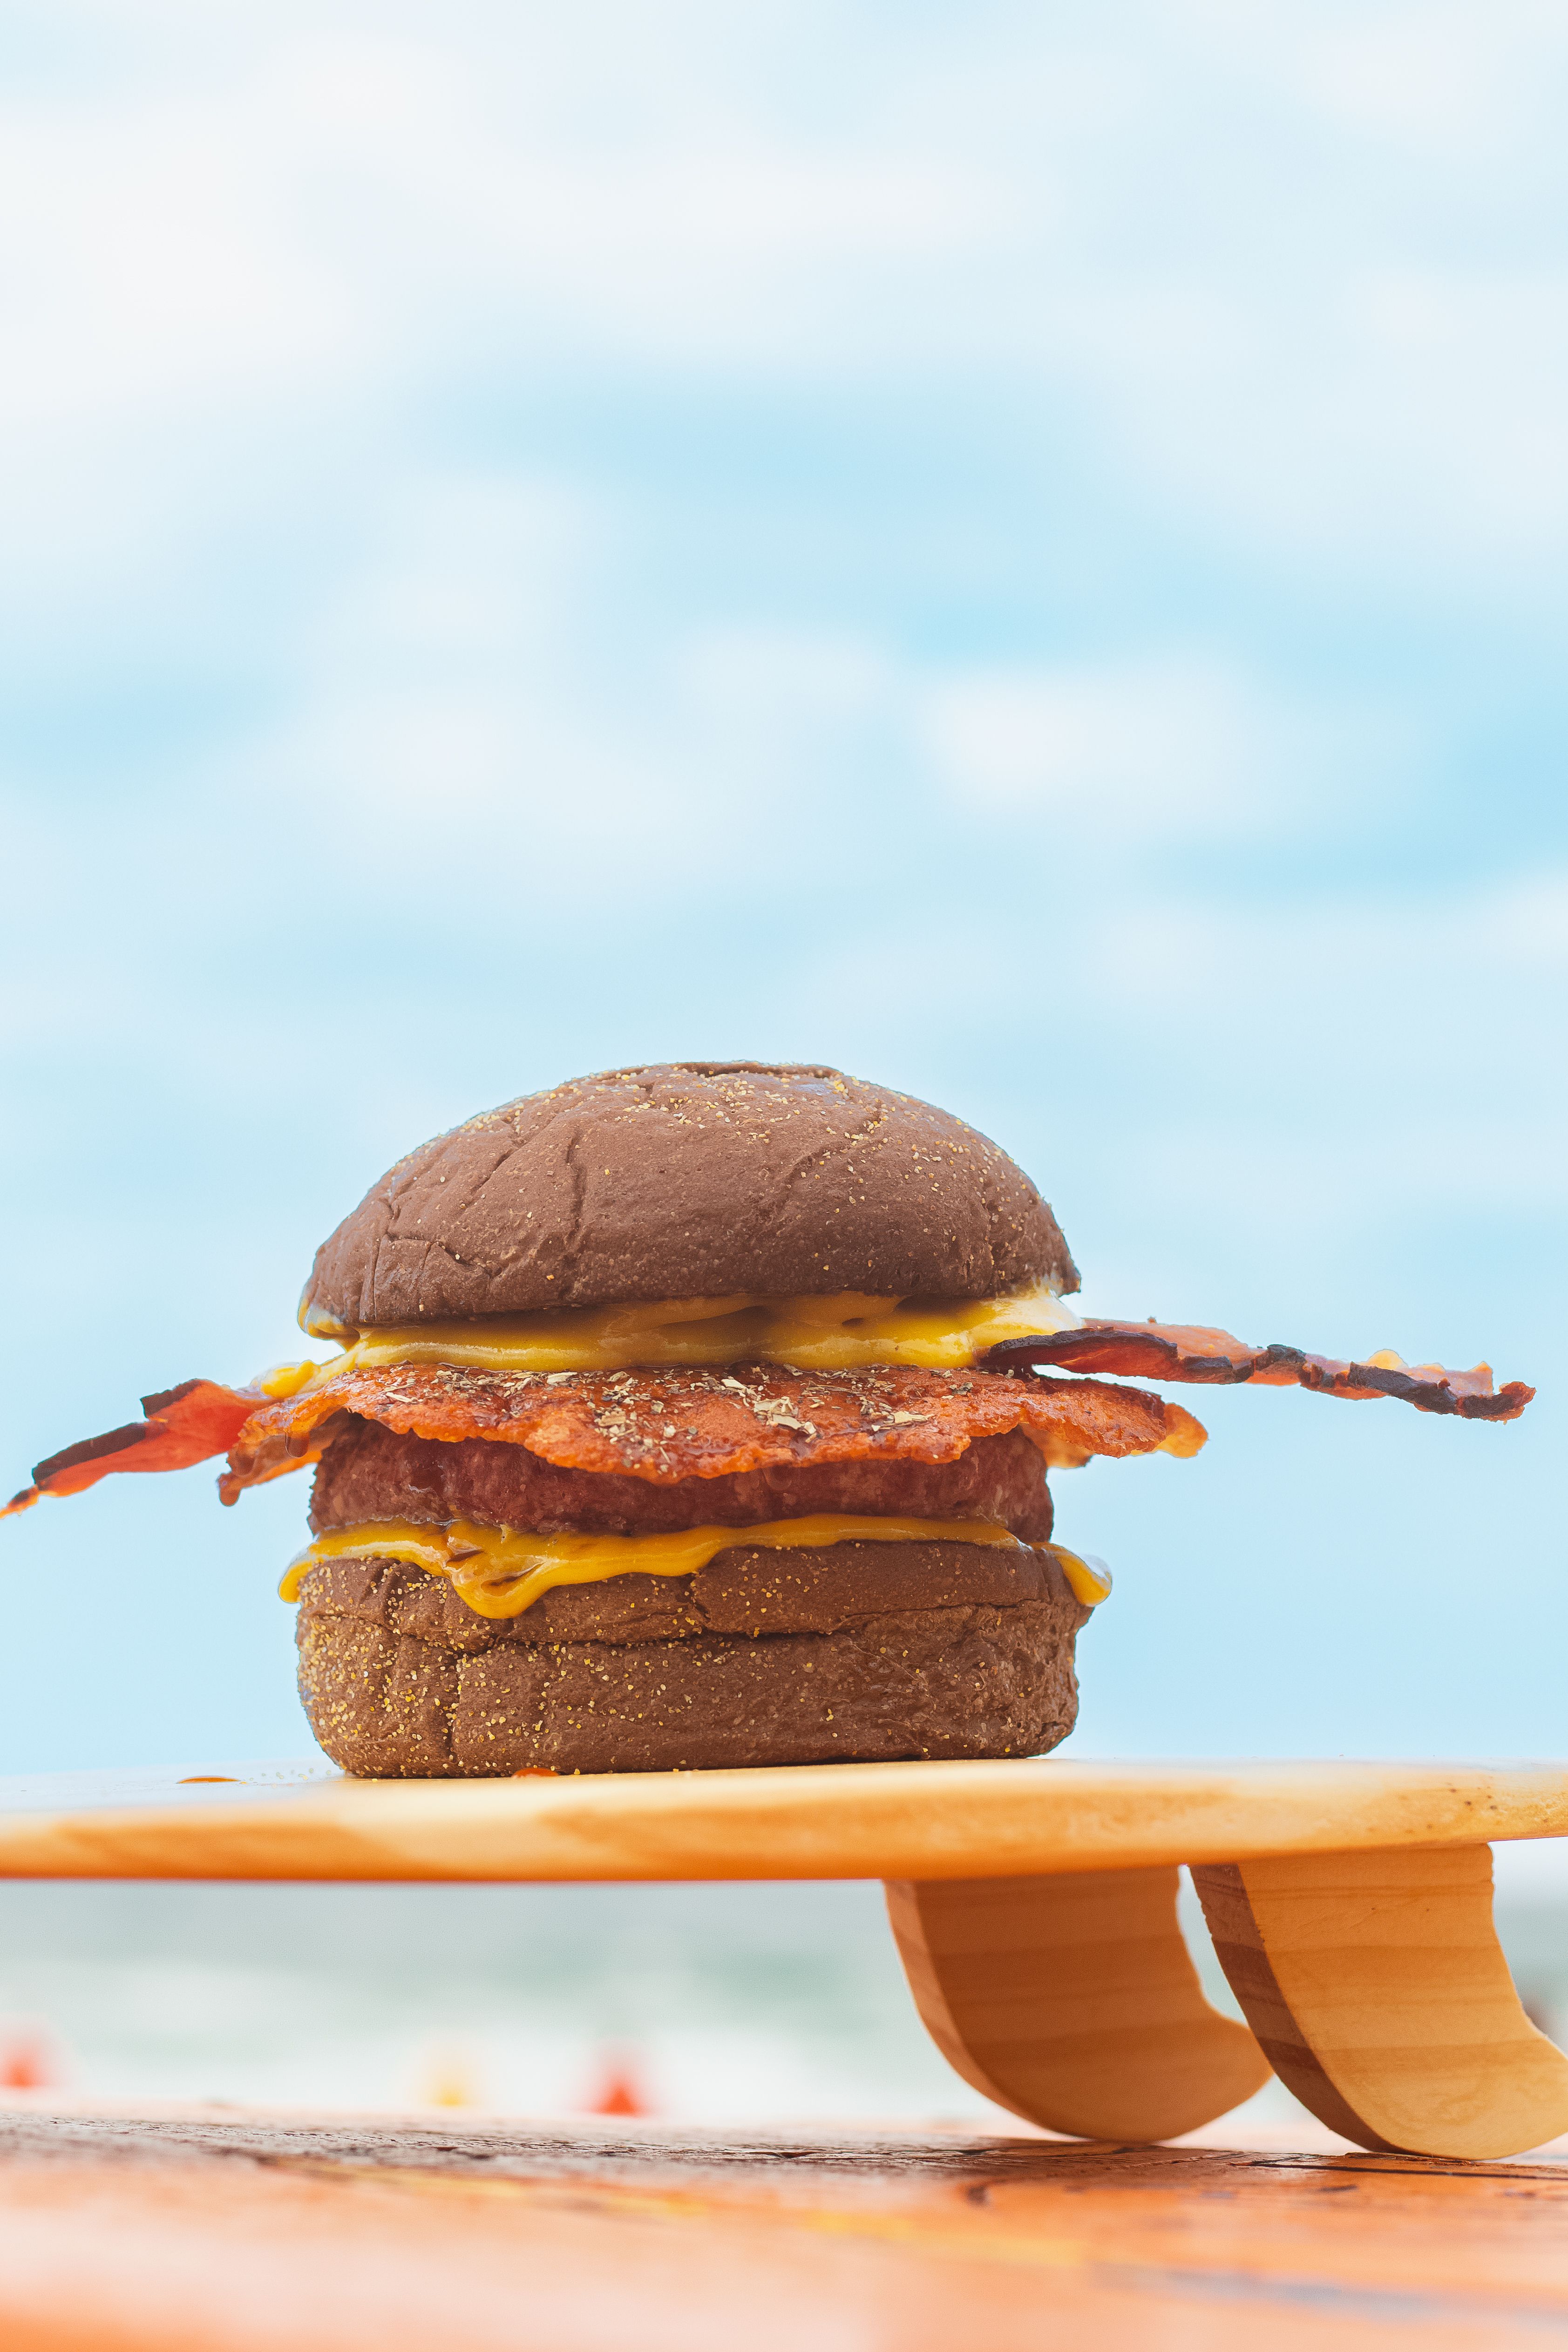
Use two evenly shaped beef patties for a taller loaded profile. Thin patties develop more browned surface while keeping the stack manageable.
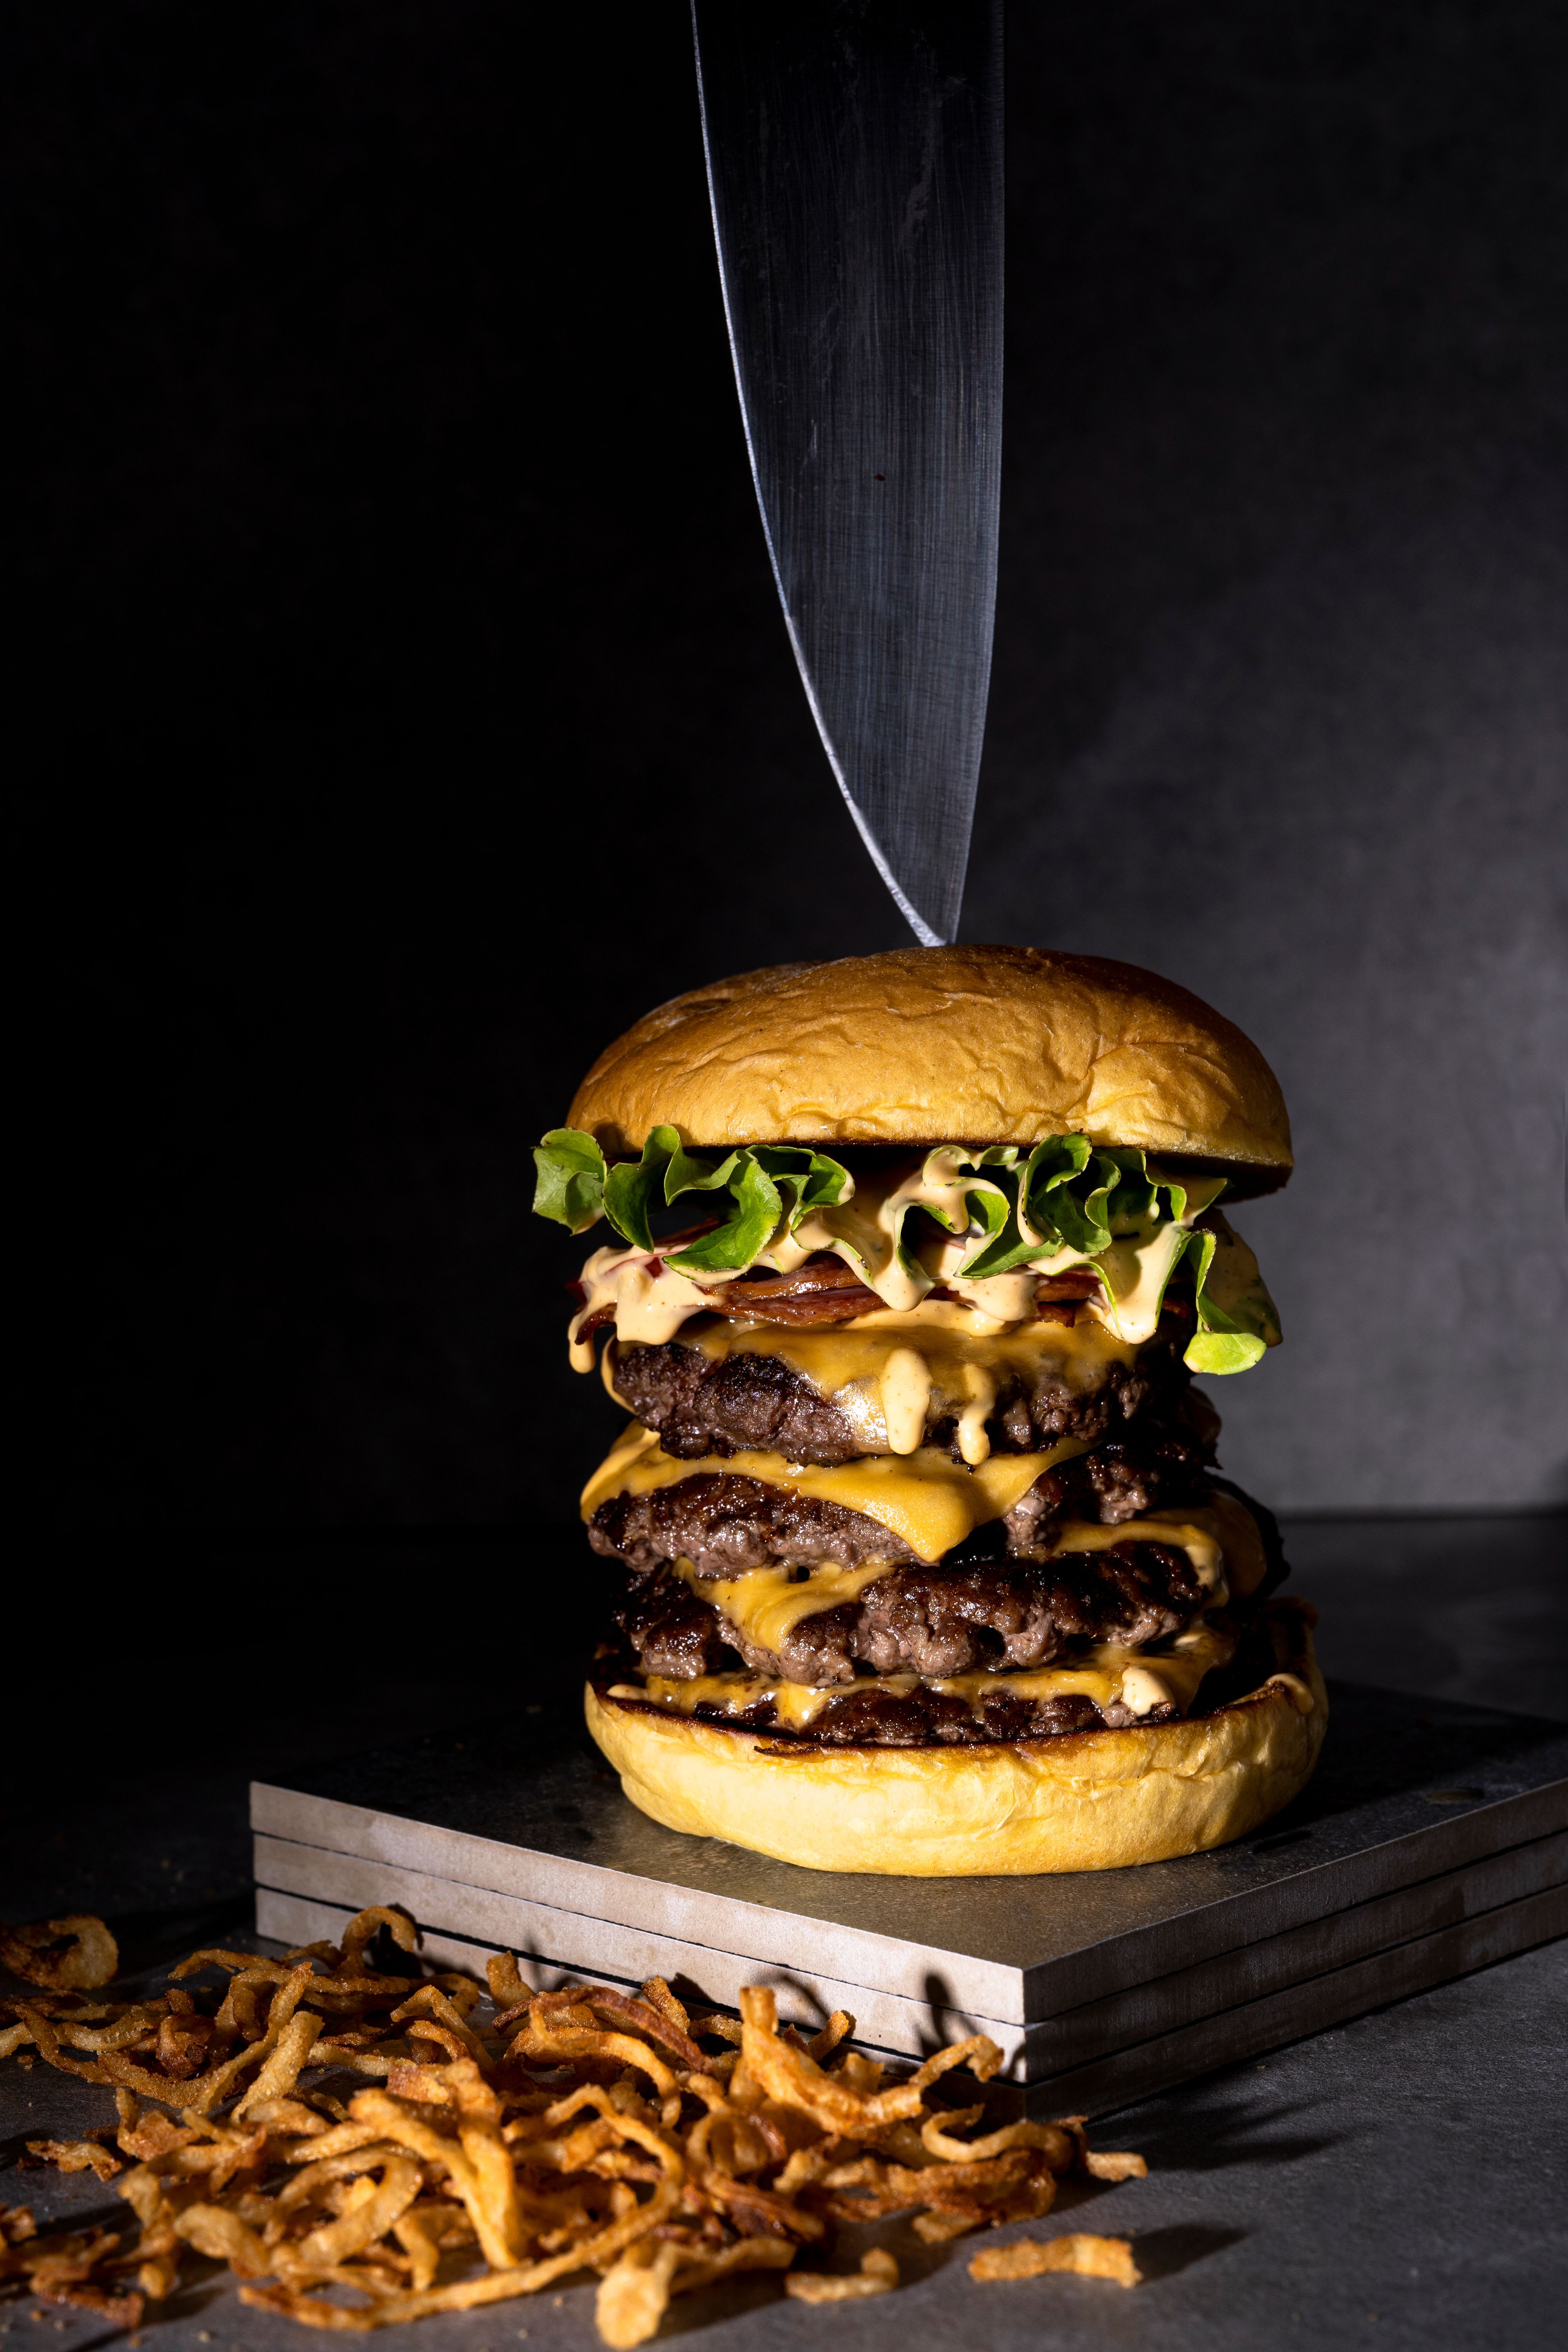
Use cheese between the hot patties so it melts into the stack. Add it near the end of cooking to keep the meat from drying while waiting for the melt.
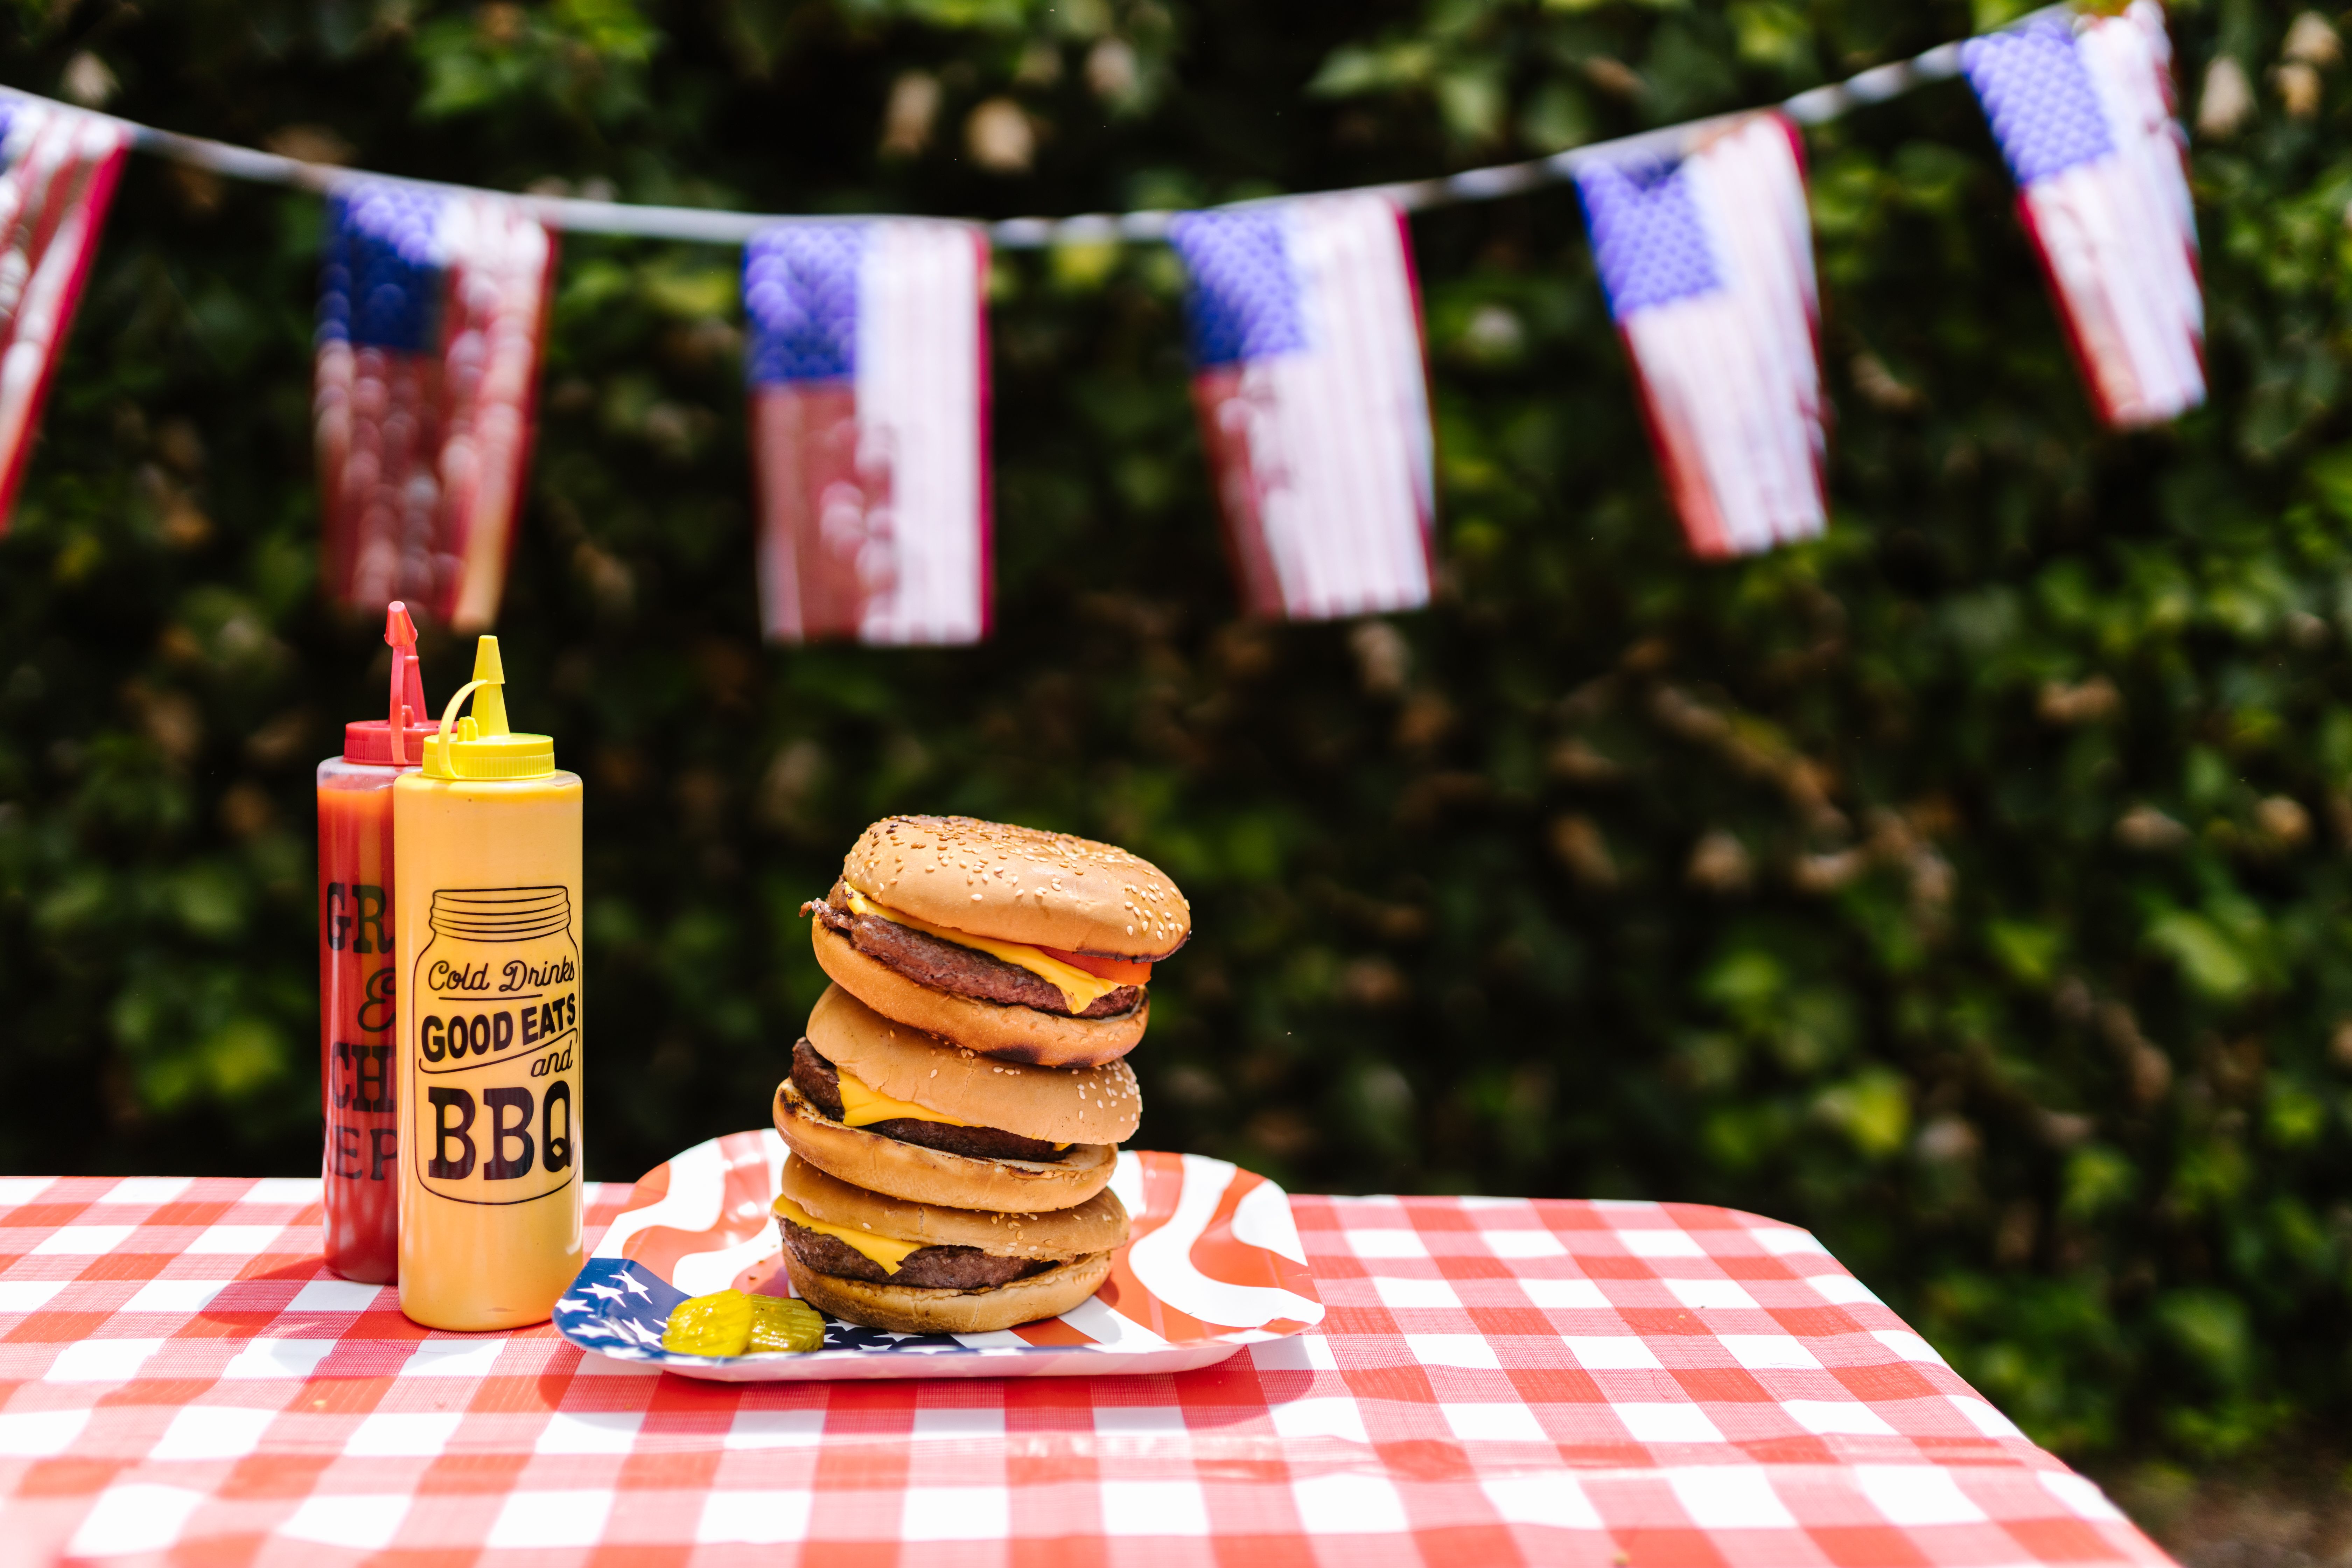
A sturdy sesame or brioche-style bun gives the tall stack a stable base. Toast the cut sides lightly so they resist sauce without becoming hard.
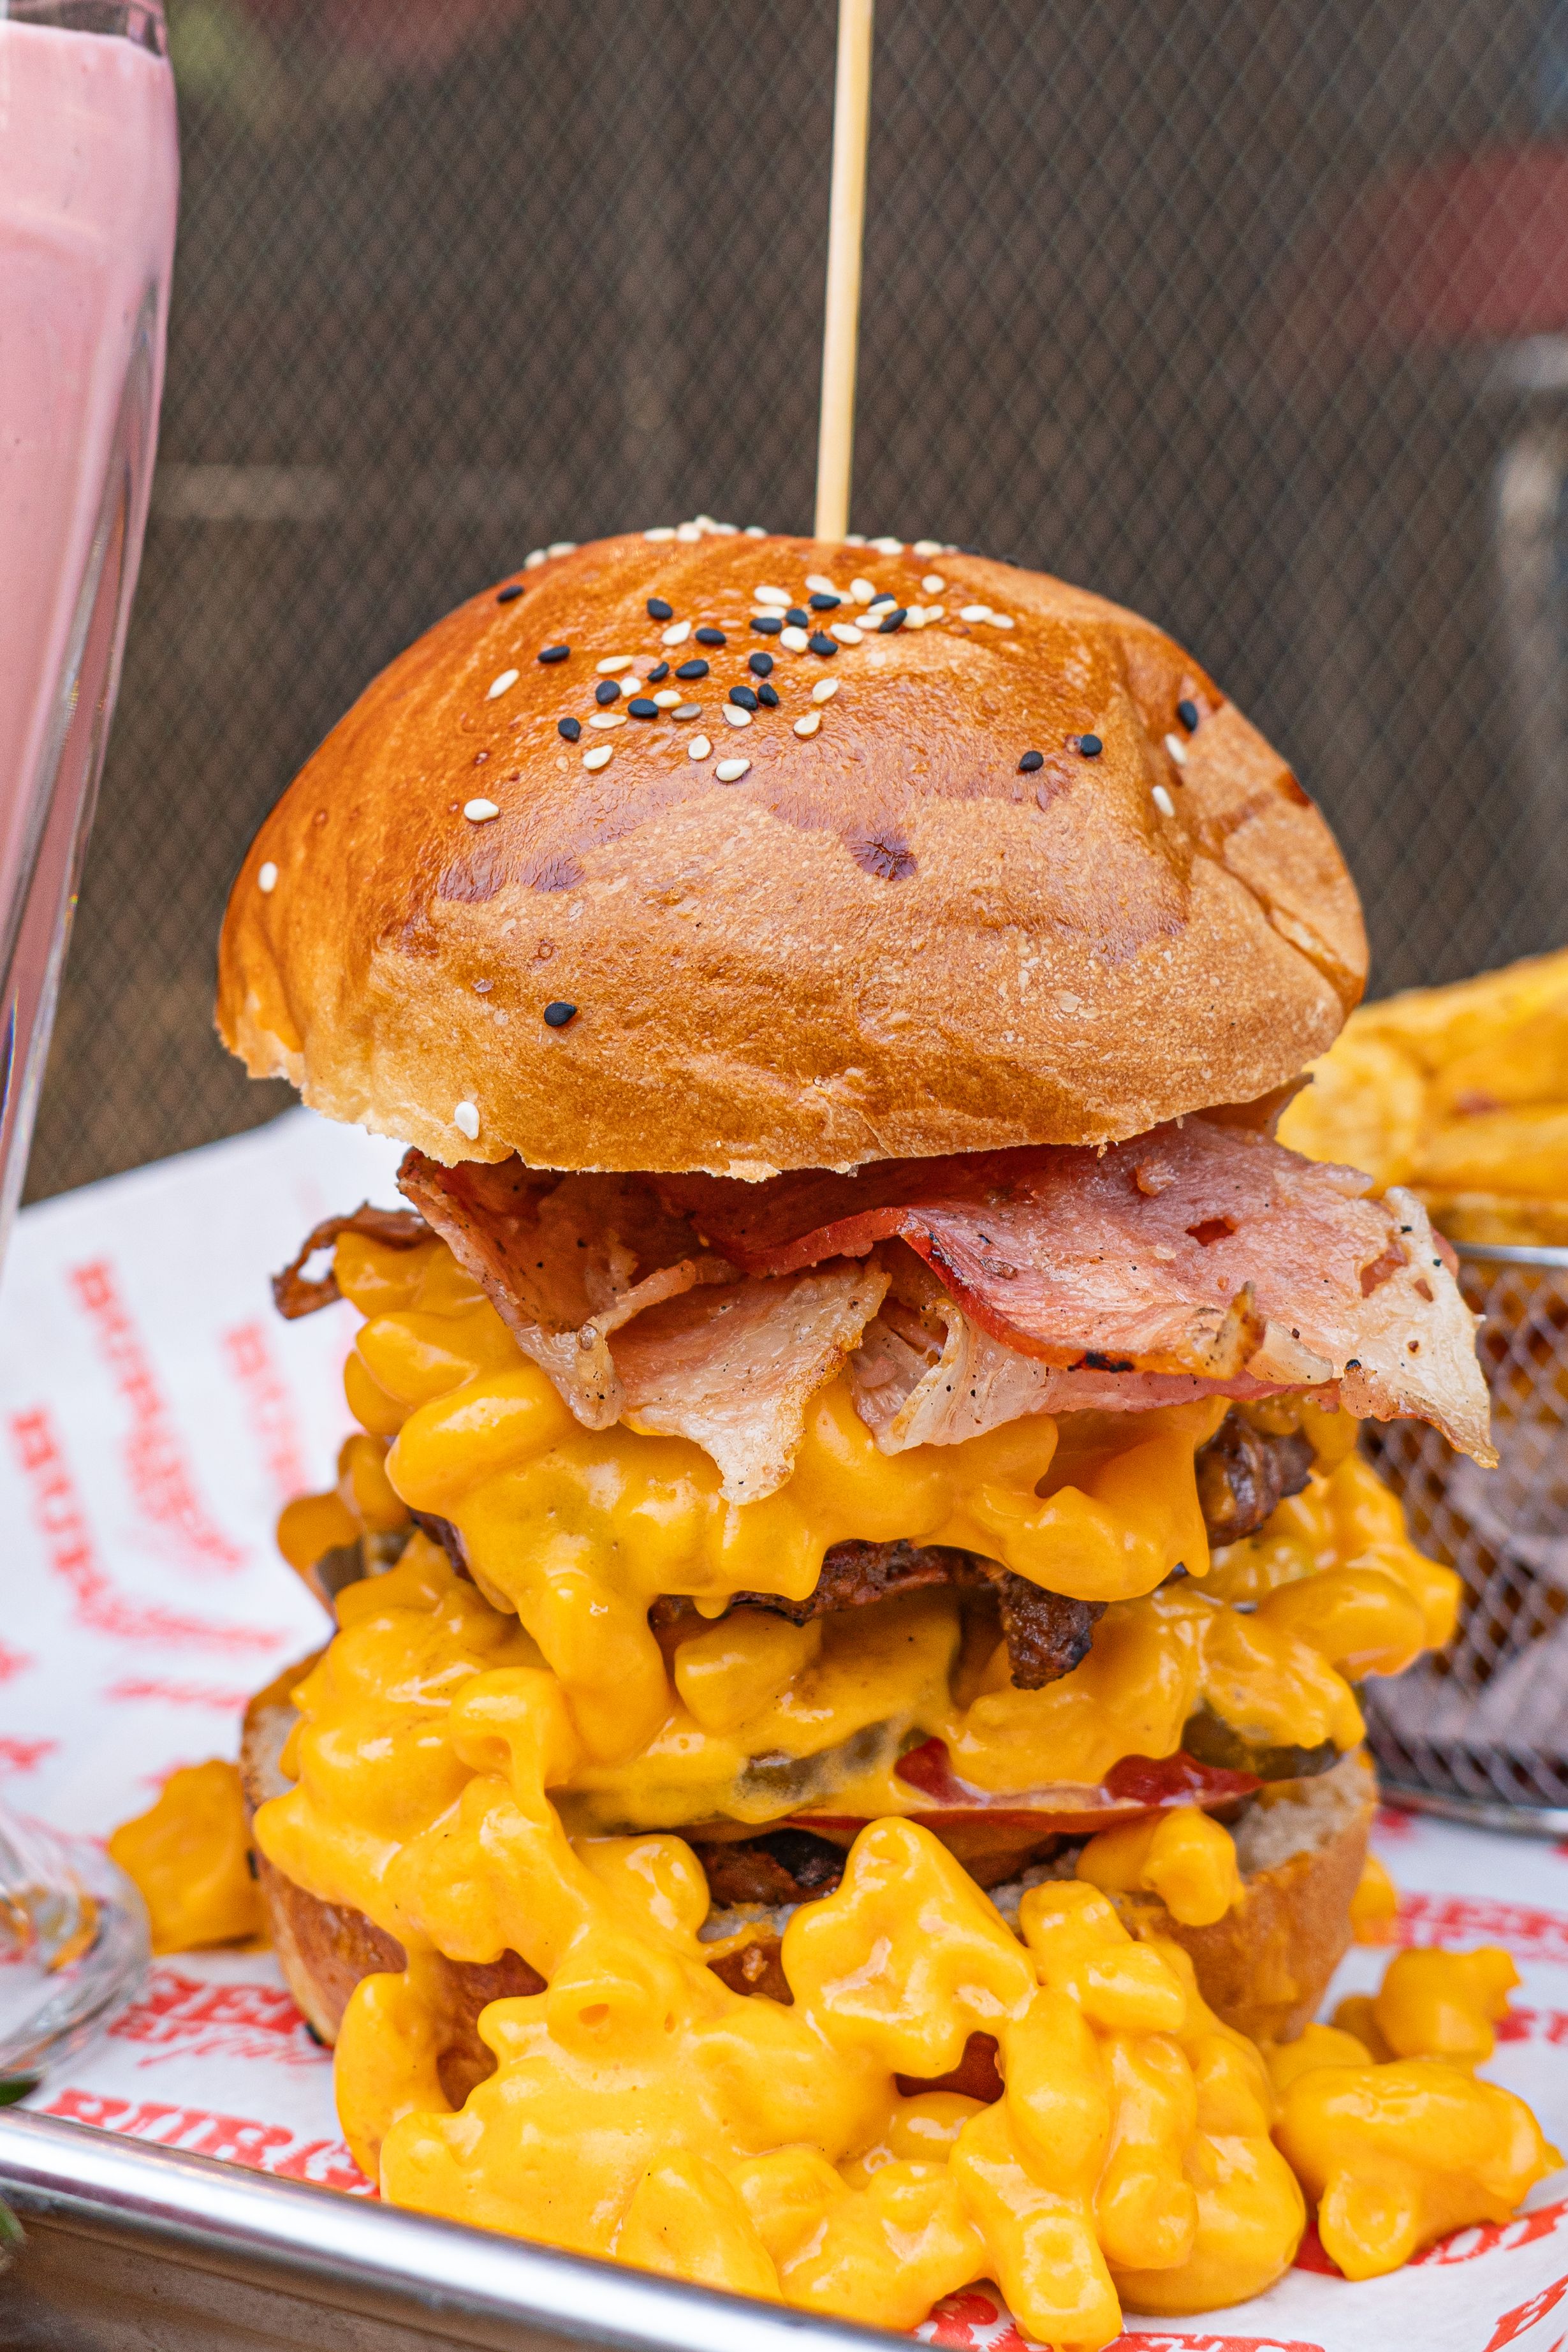
Use a creamy burger sauce, mustard or barbecue-style sauce in a thin layer. Too much sauce can make a tall burger slide apart.
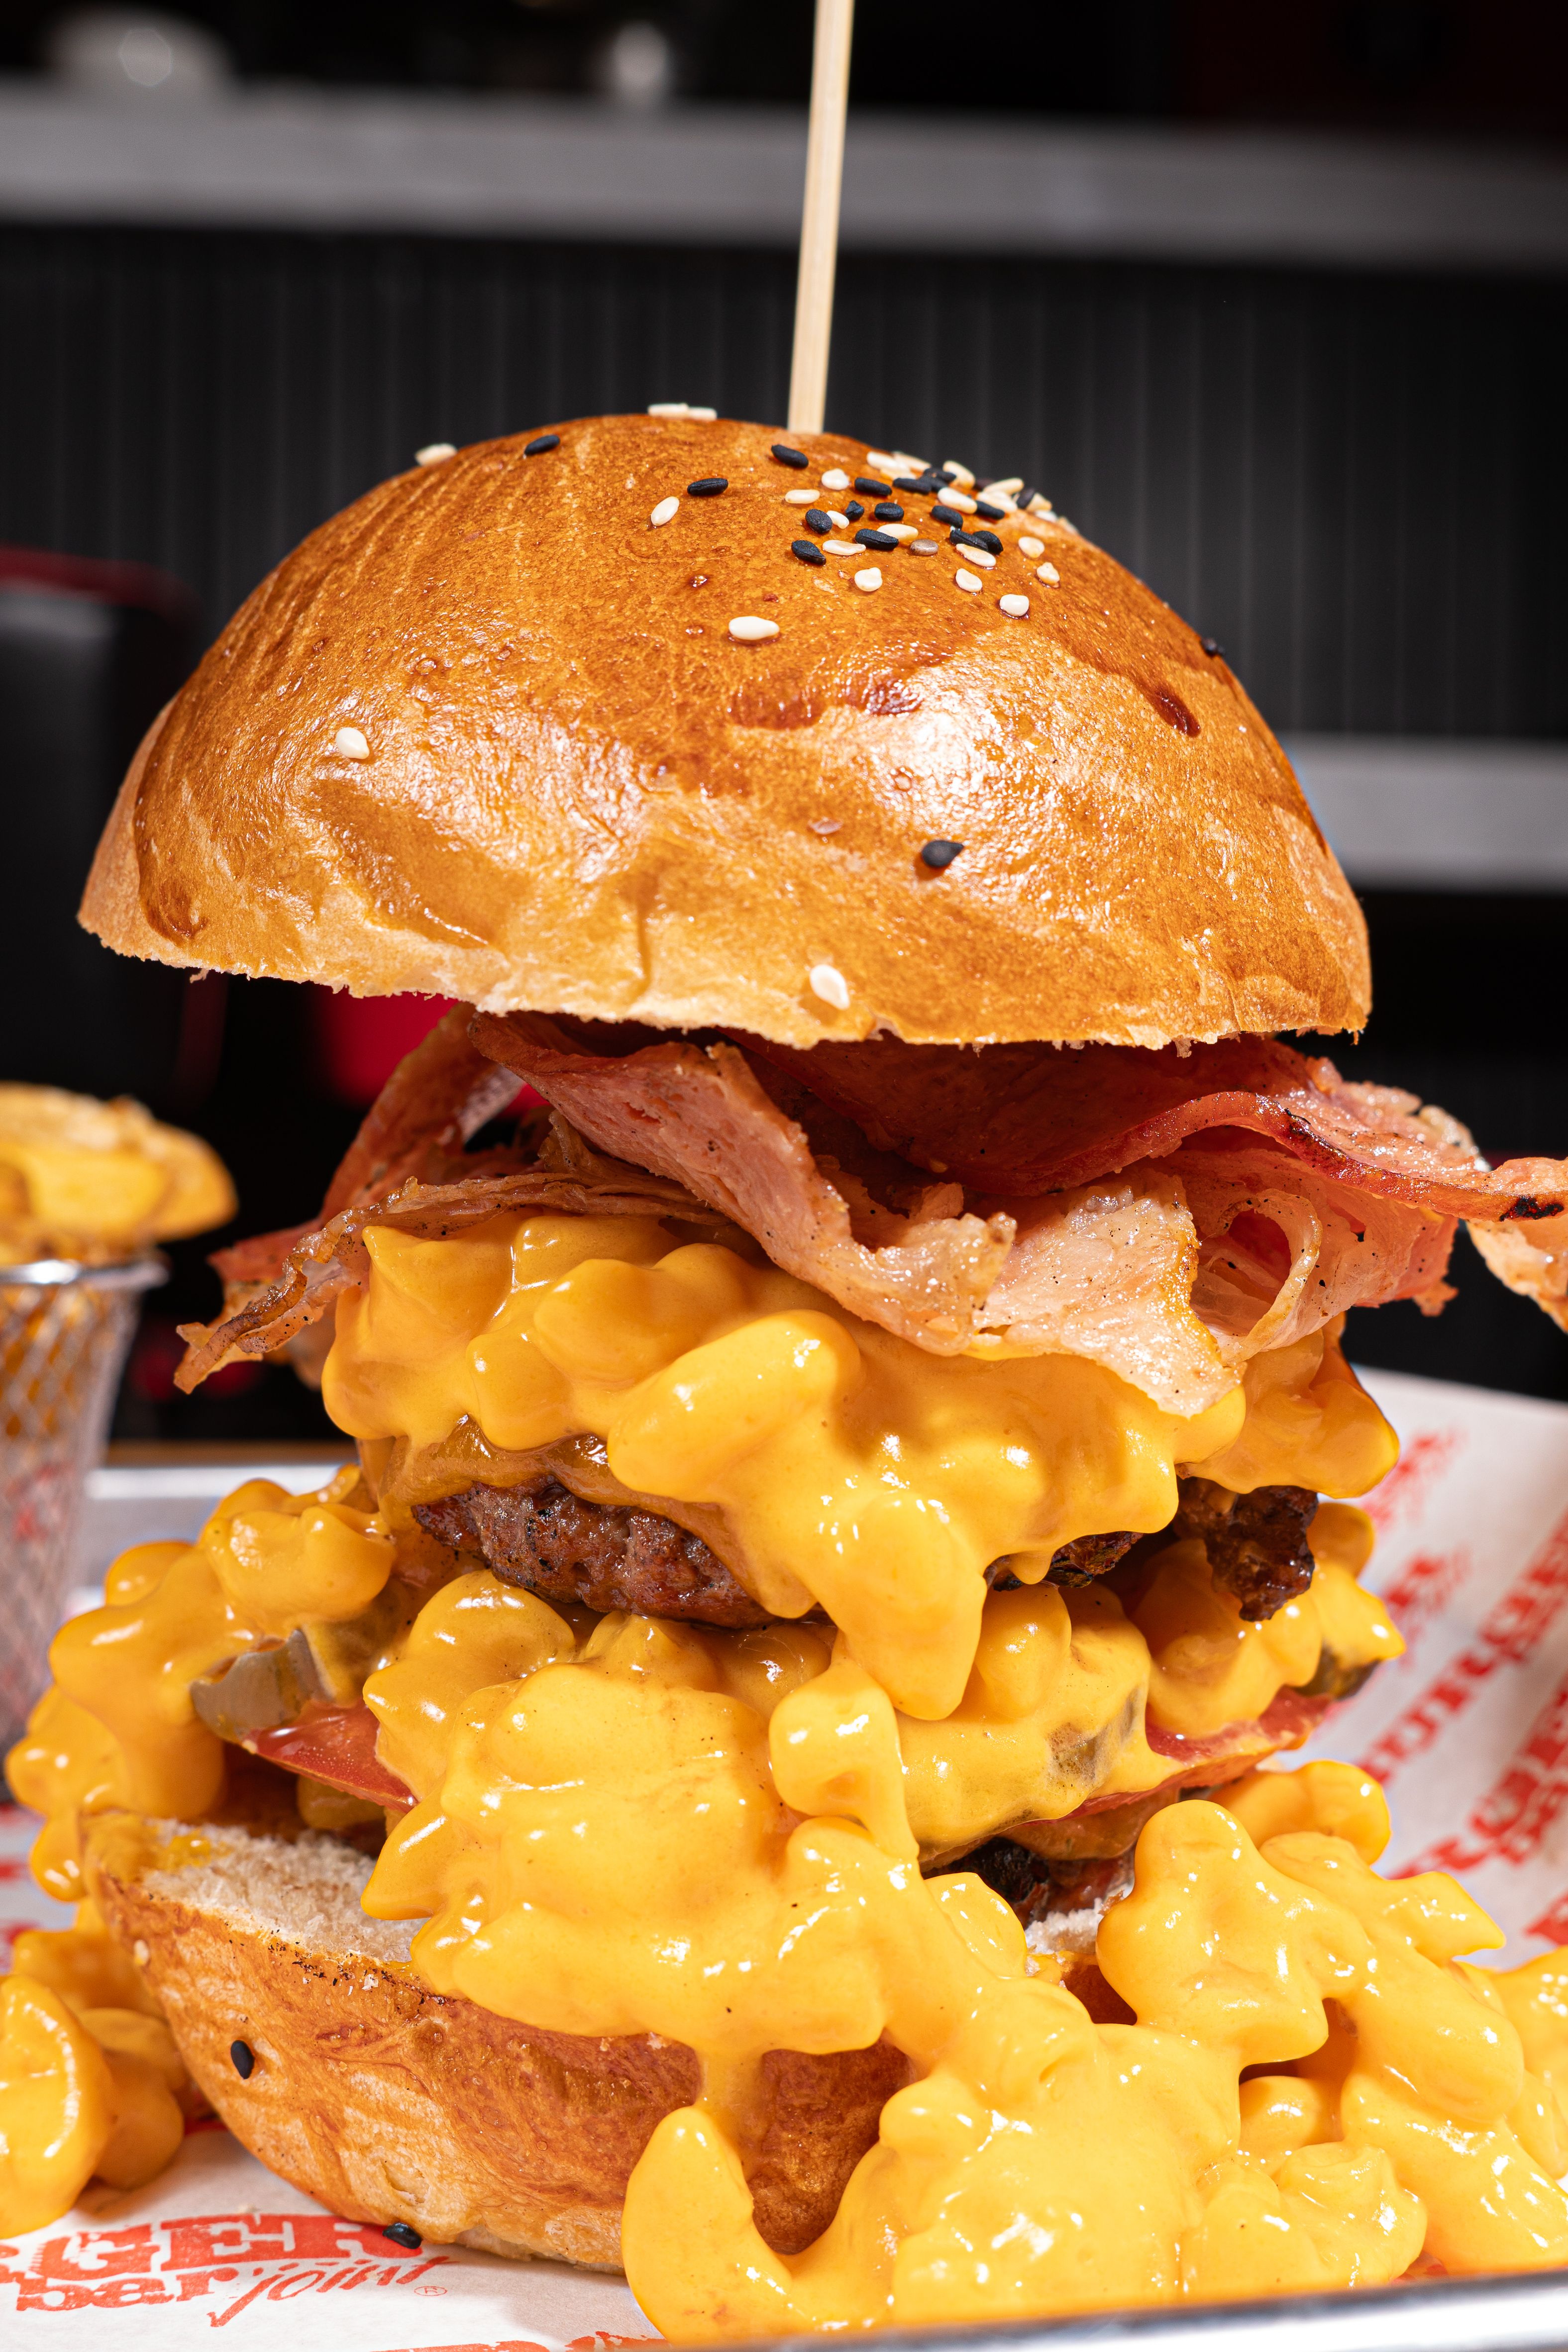
Crisp bacon adds texture while lettuce, pickles, onion or tomato provide freshness and acidity. Drain wet toppings before stacking.
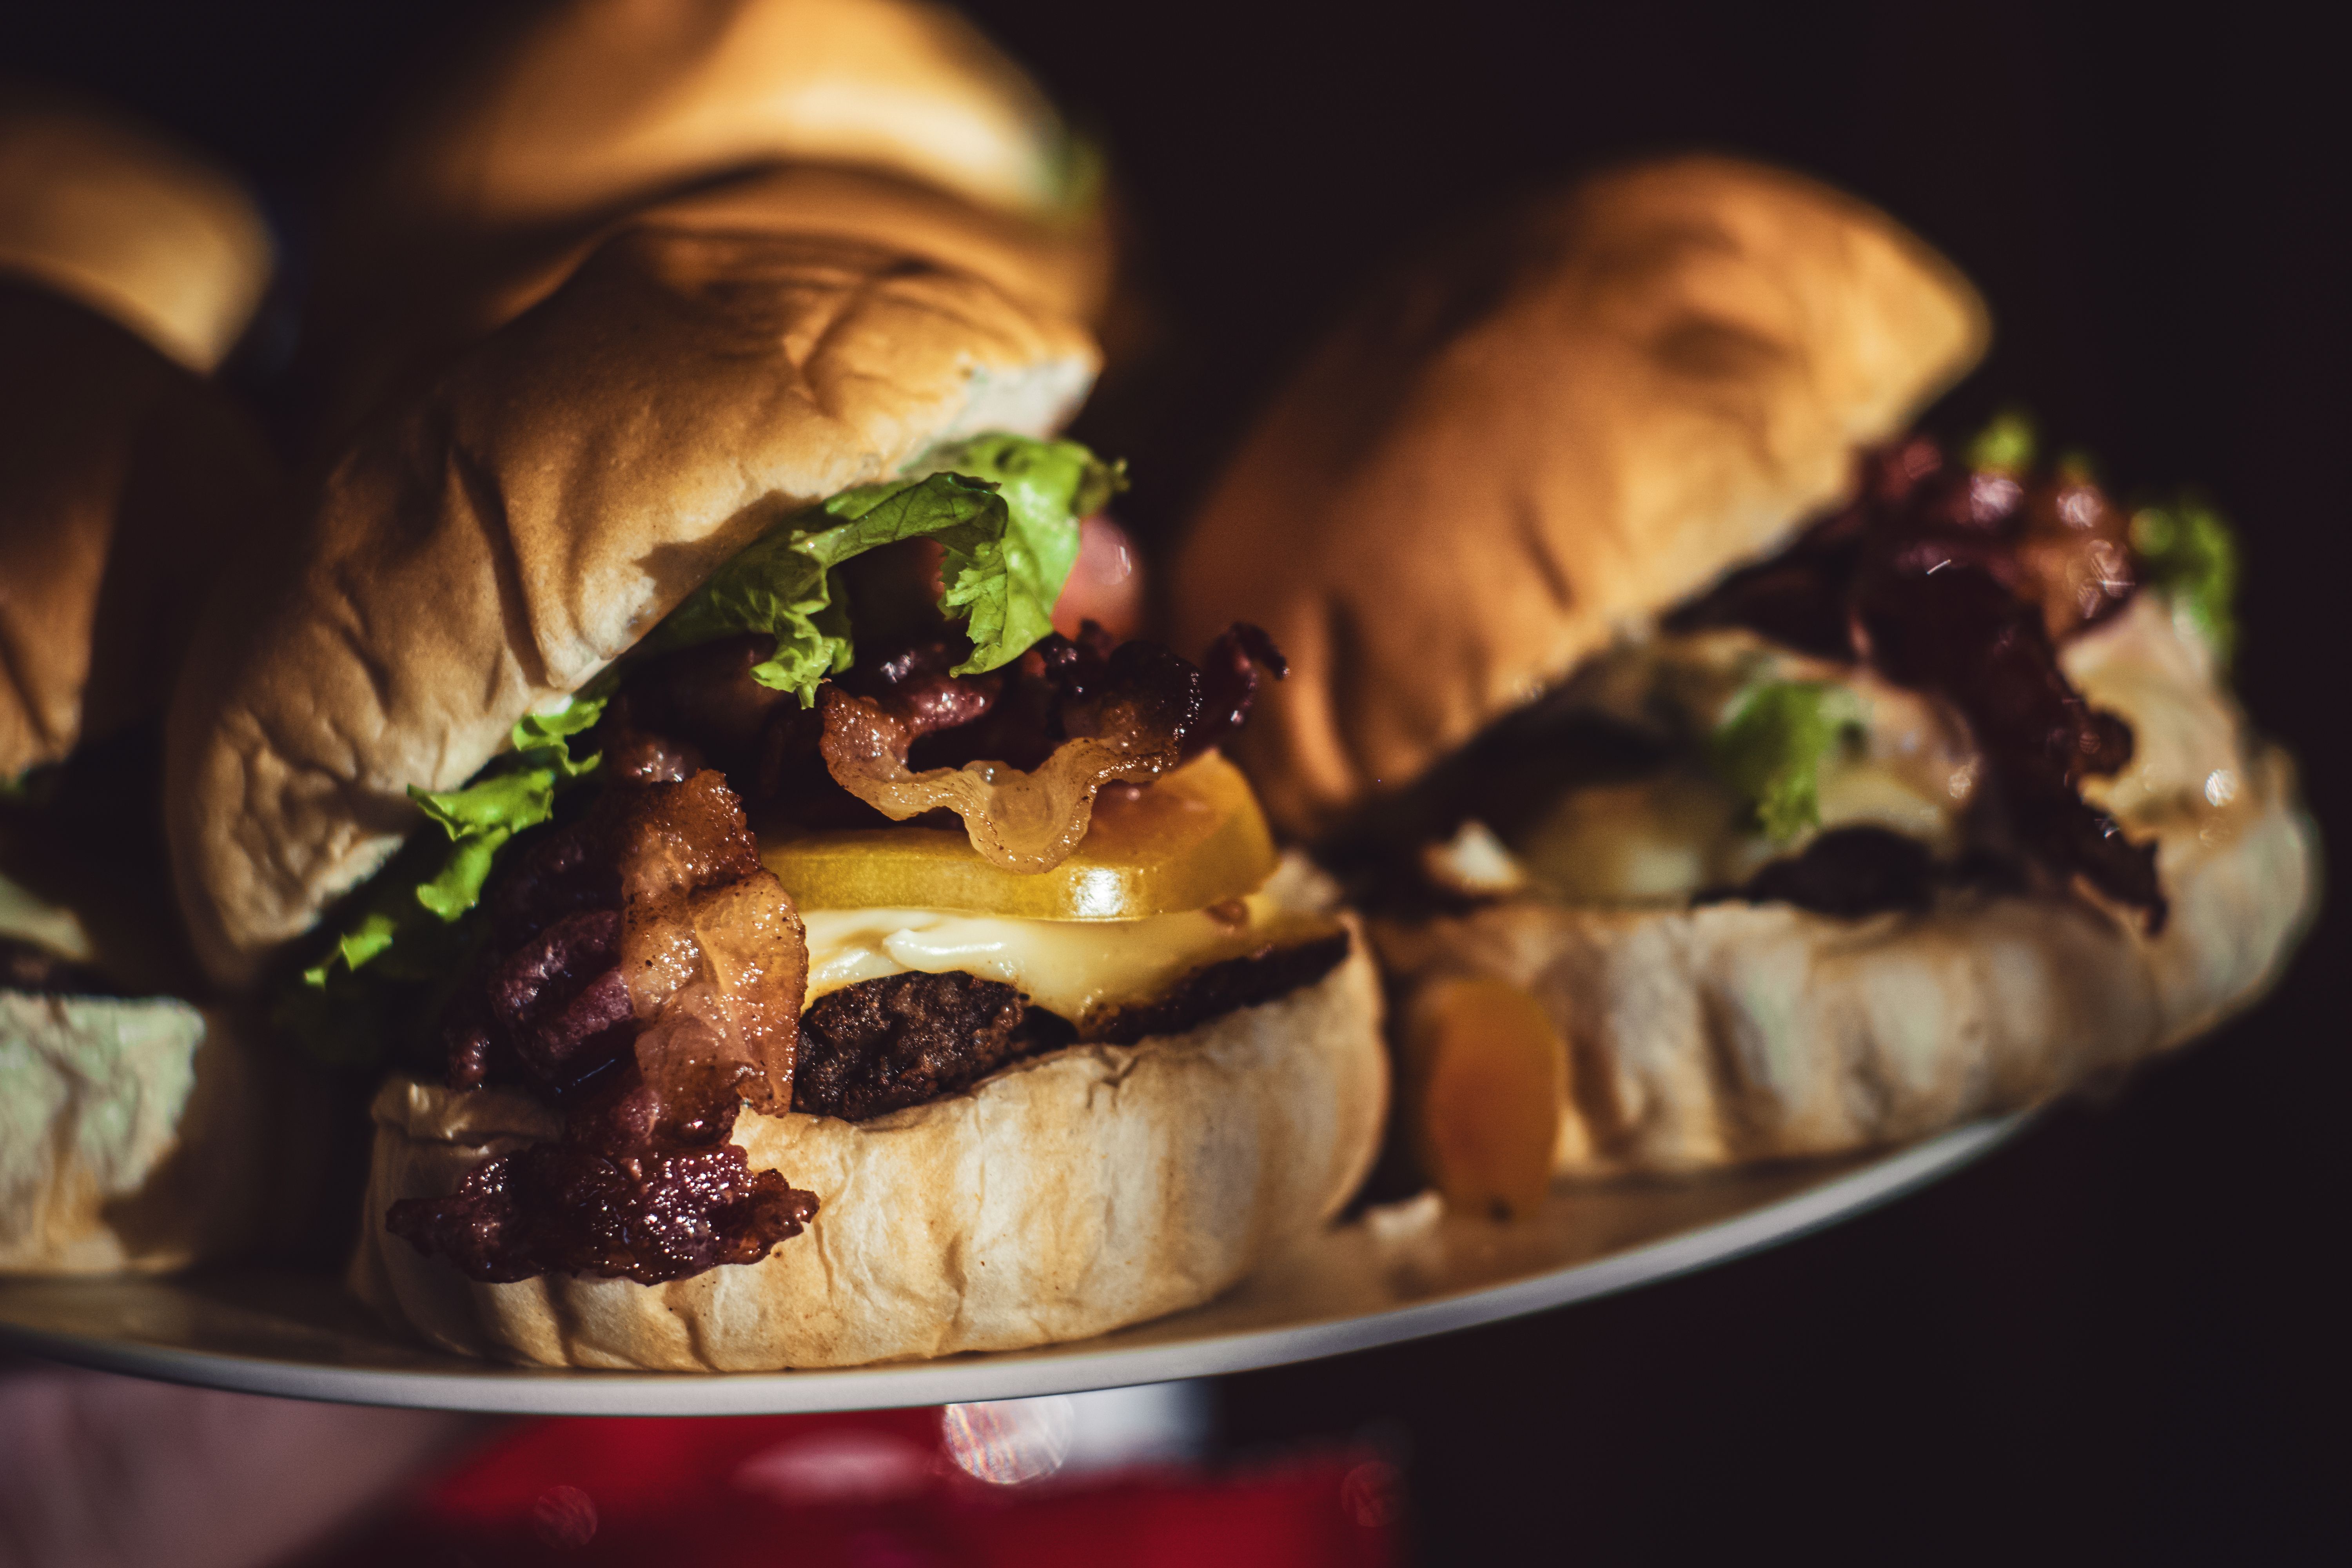
Season the beef simply with salt and pepper, then let cheese, bacon and sauce supply their own salt and flavour. Avoid oversalting every layer.
Keep the rich components under control and assemble quickly while the patties and cheese are hot.
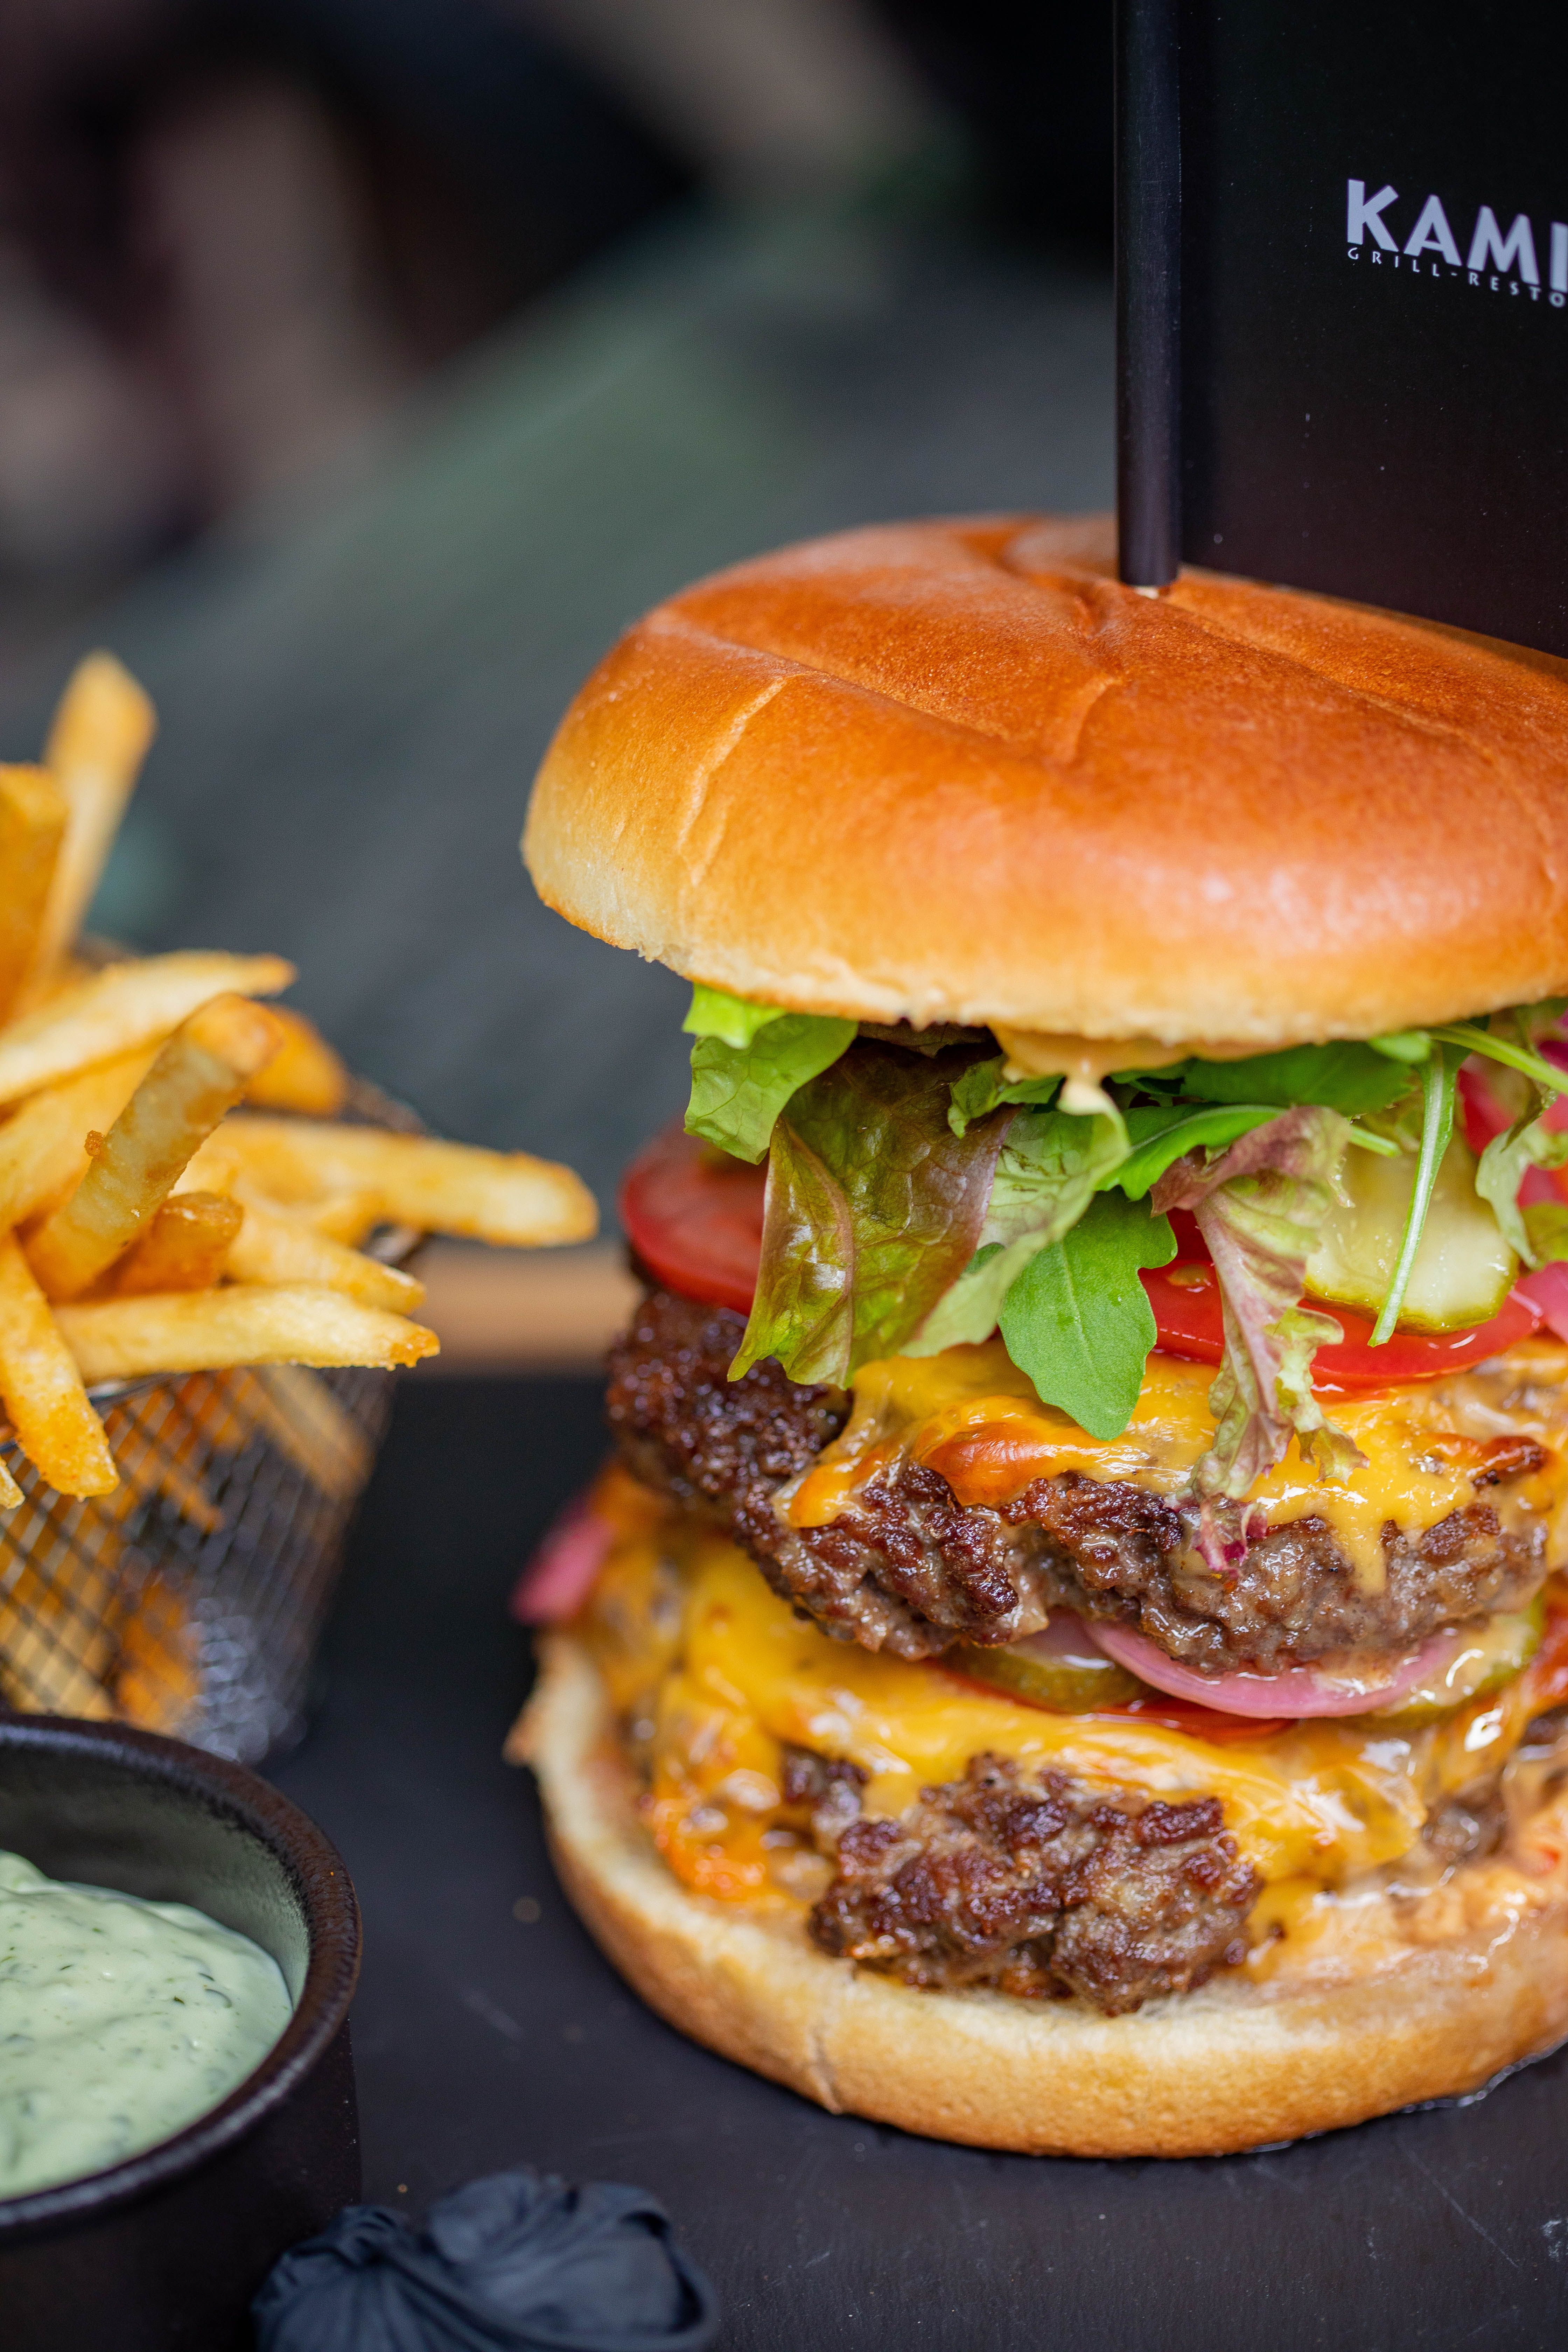
Shape the patties, cook the bacon until crisp, slice the vegetables, prepare the pickles and portion the sauce before the beef reaches the pan.
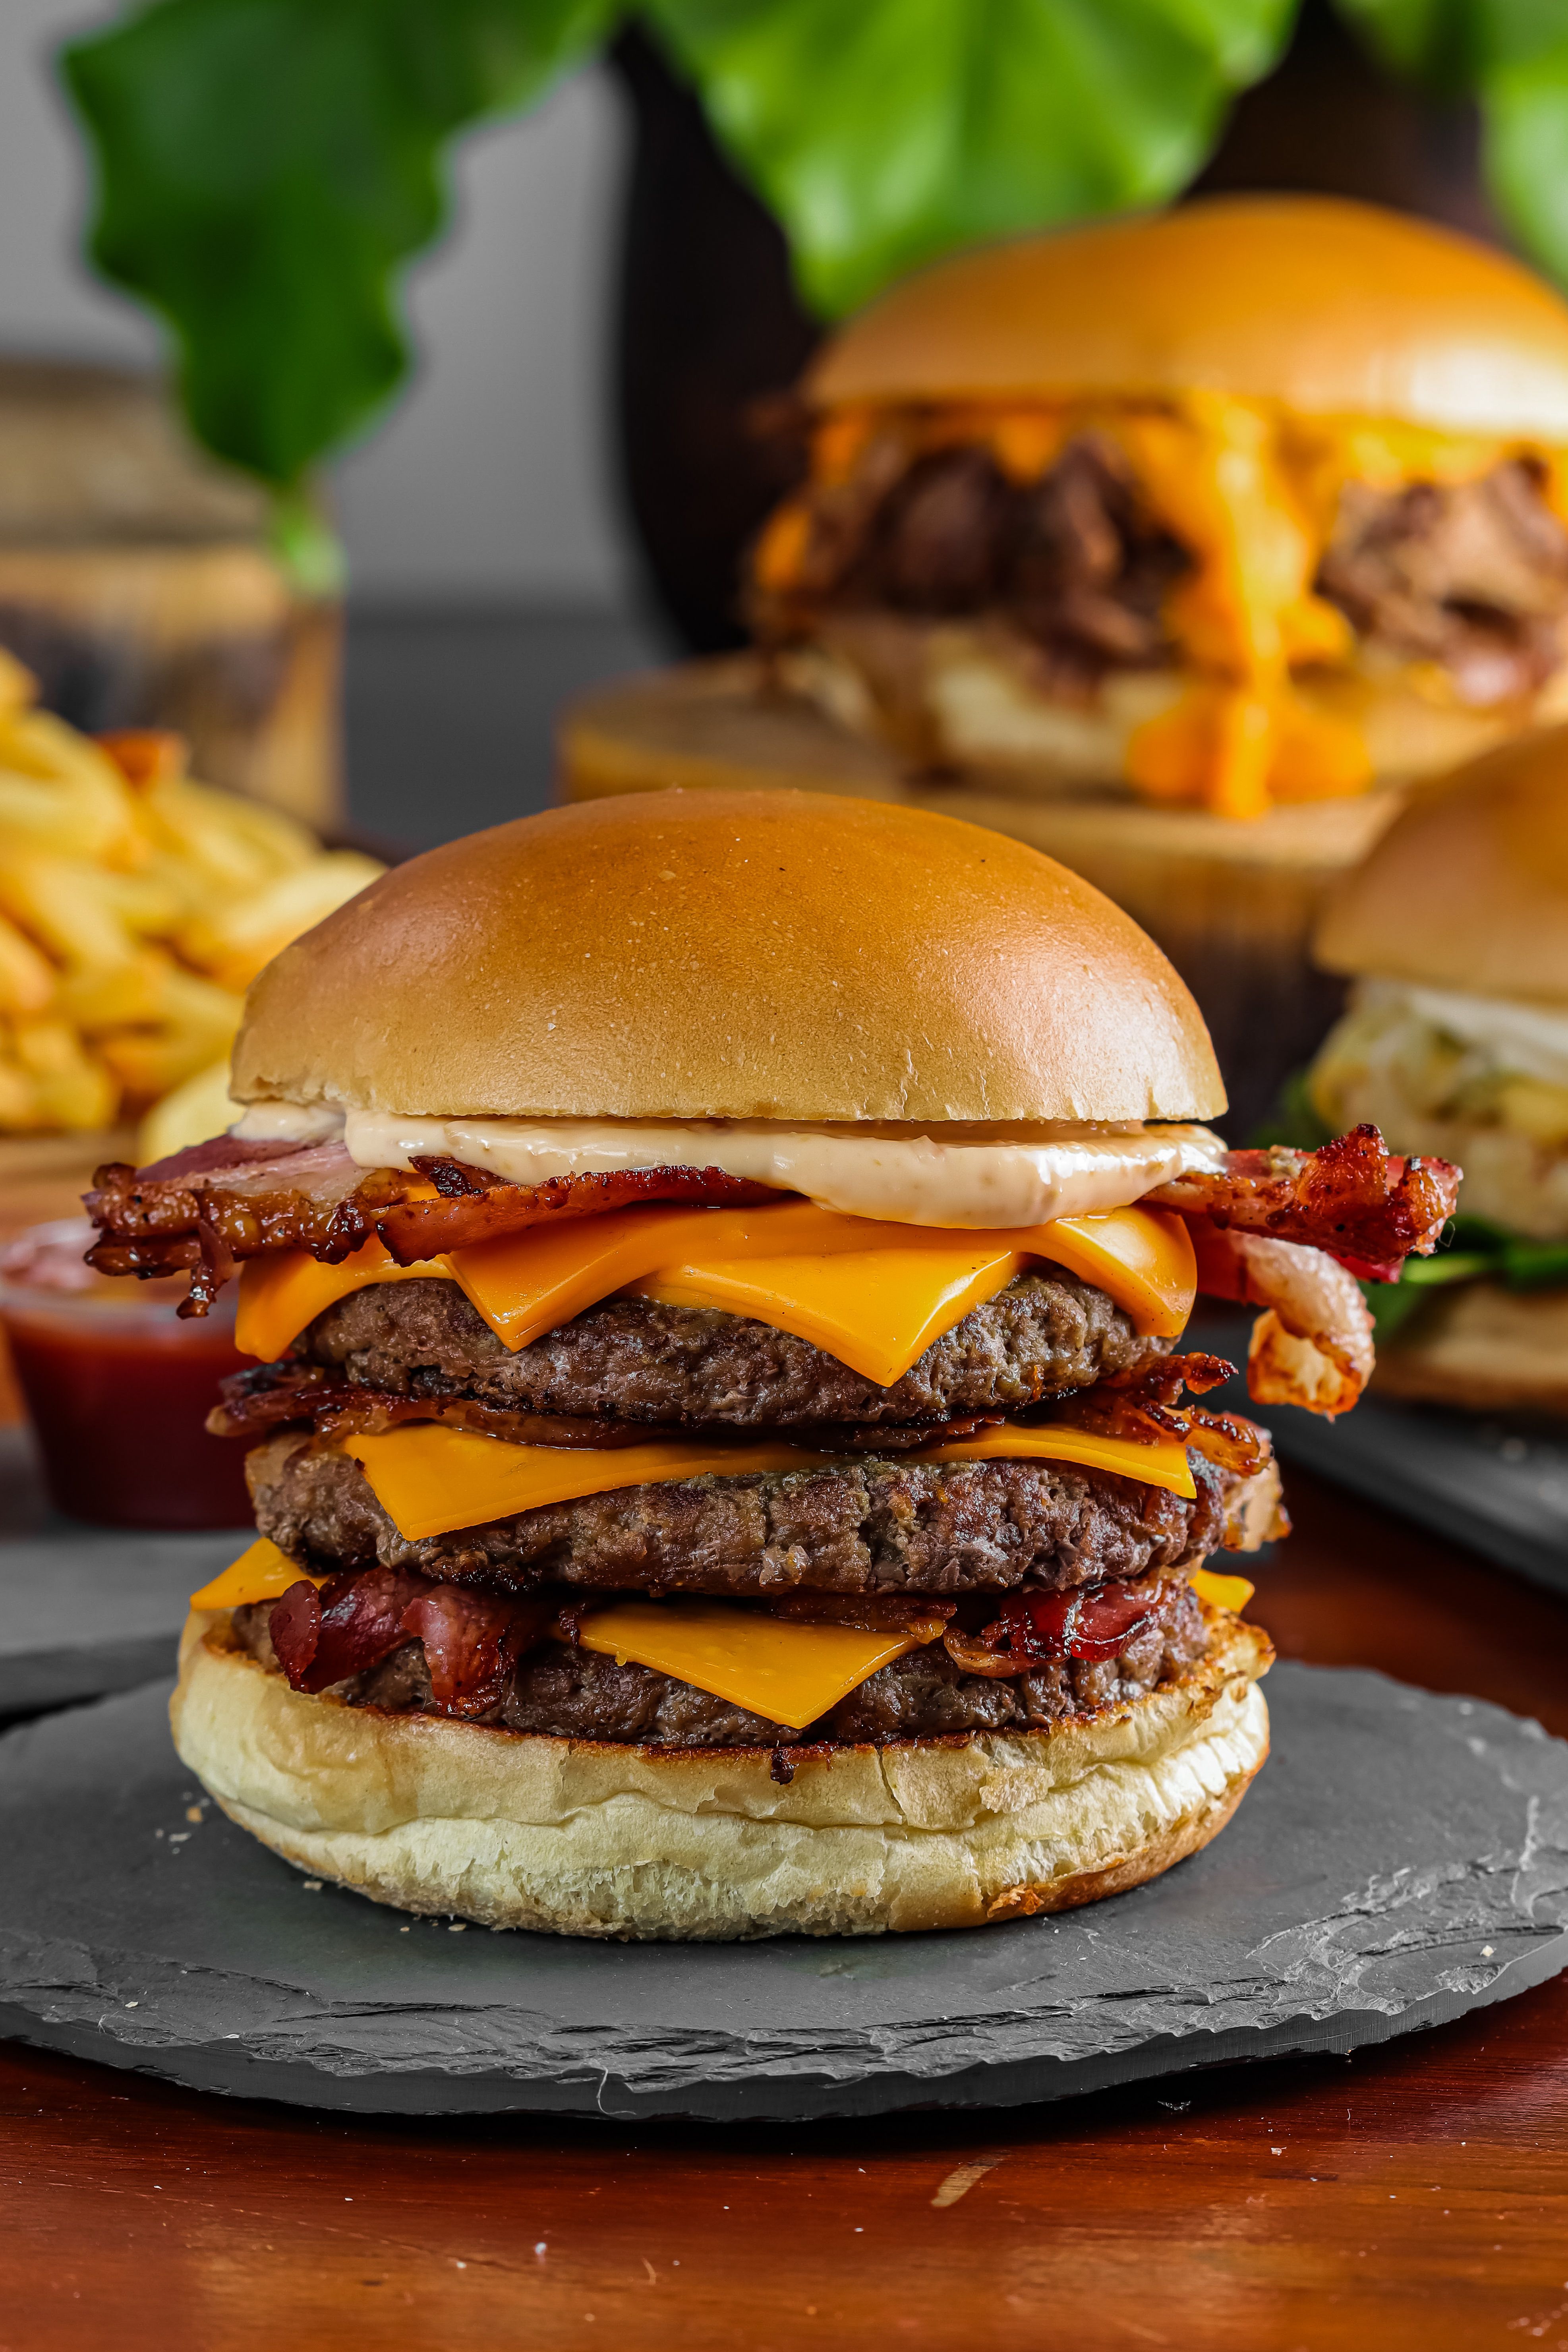
Season the exposed surfaces immediately before cooking with salt and black pepper. Keep the seasoning even because the finished stack already contains salty cheese, bacon and sauce.
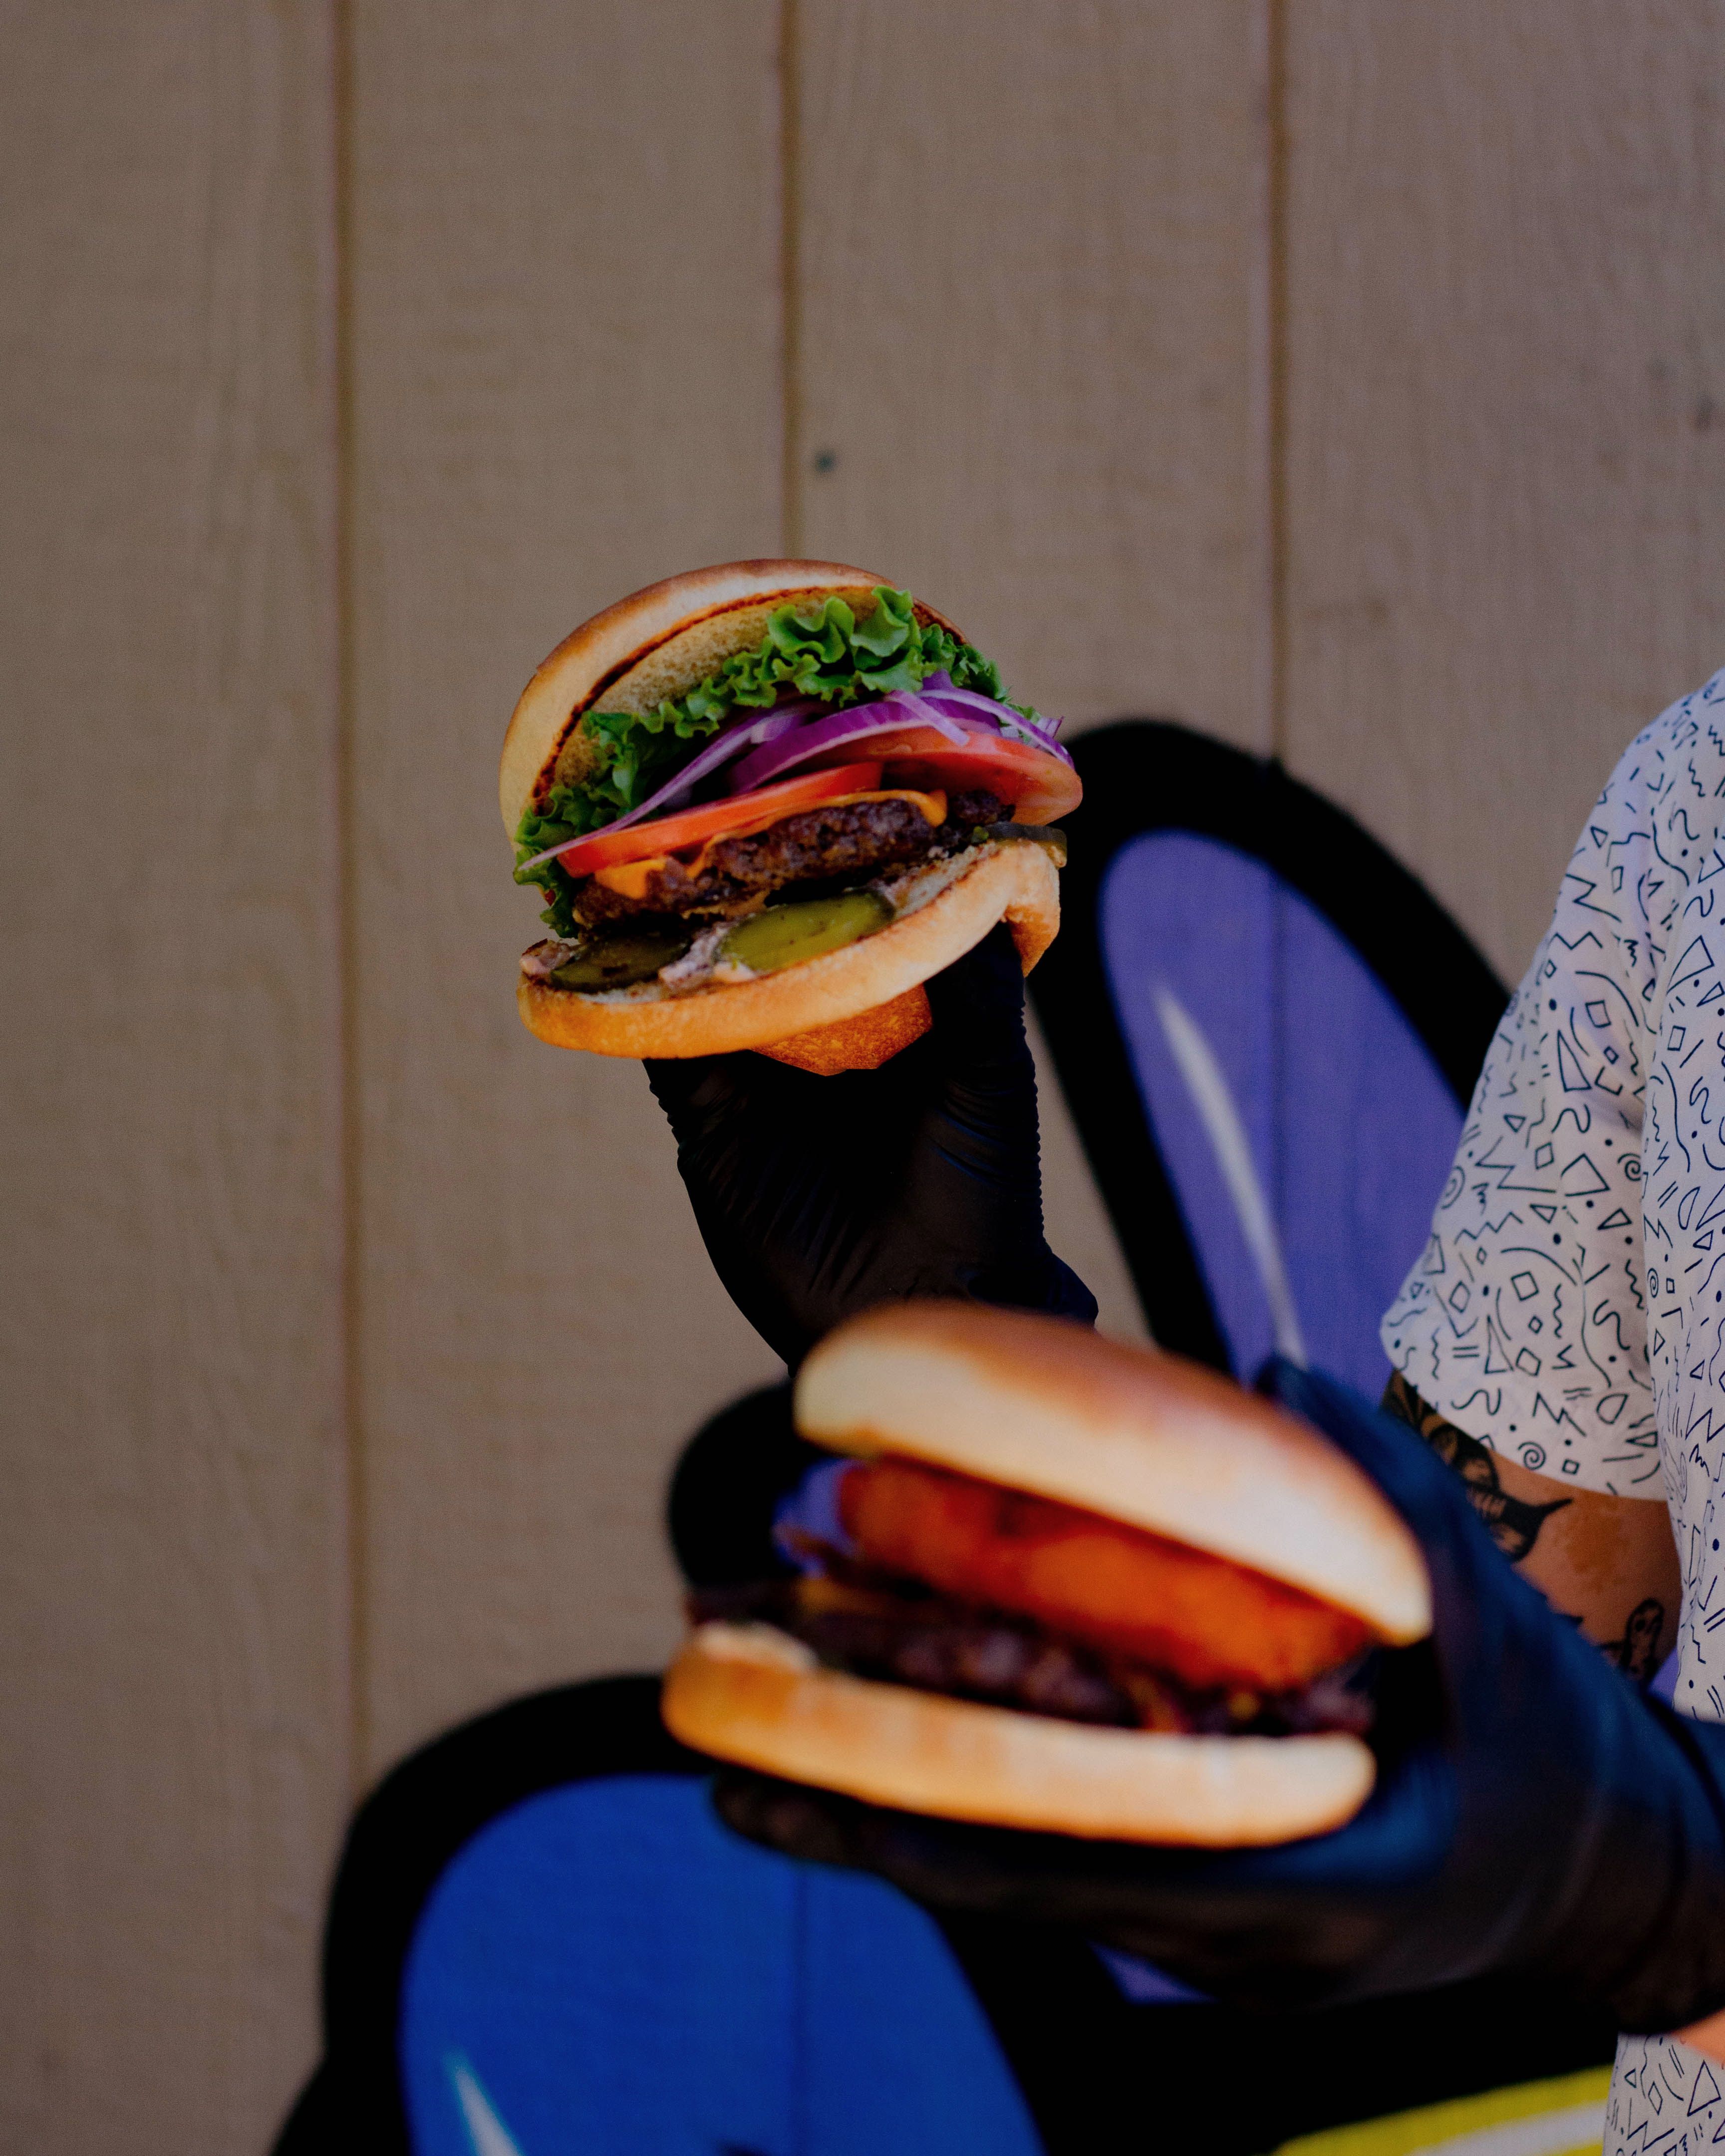
Cook the patties on a properly hot surface and allow firm contact to develop browning. Avoid repeatedly pressing or moving the meat while the crust forms.
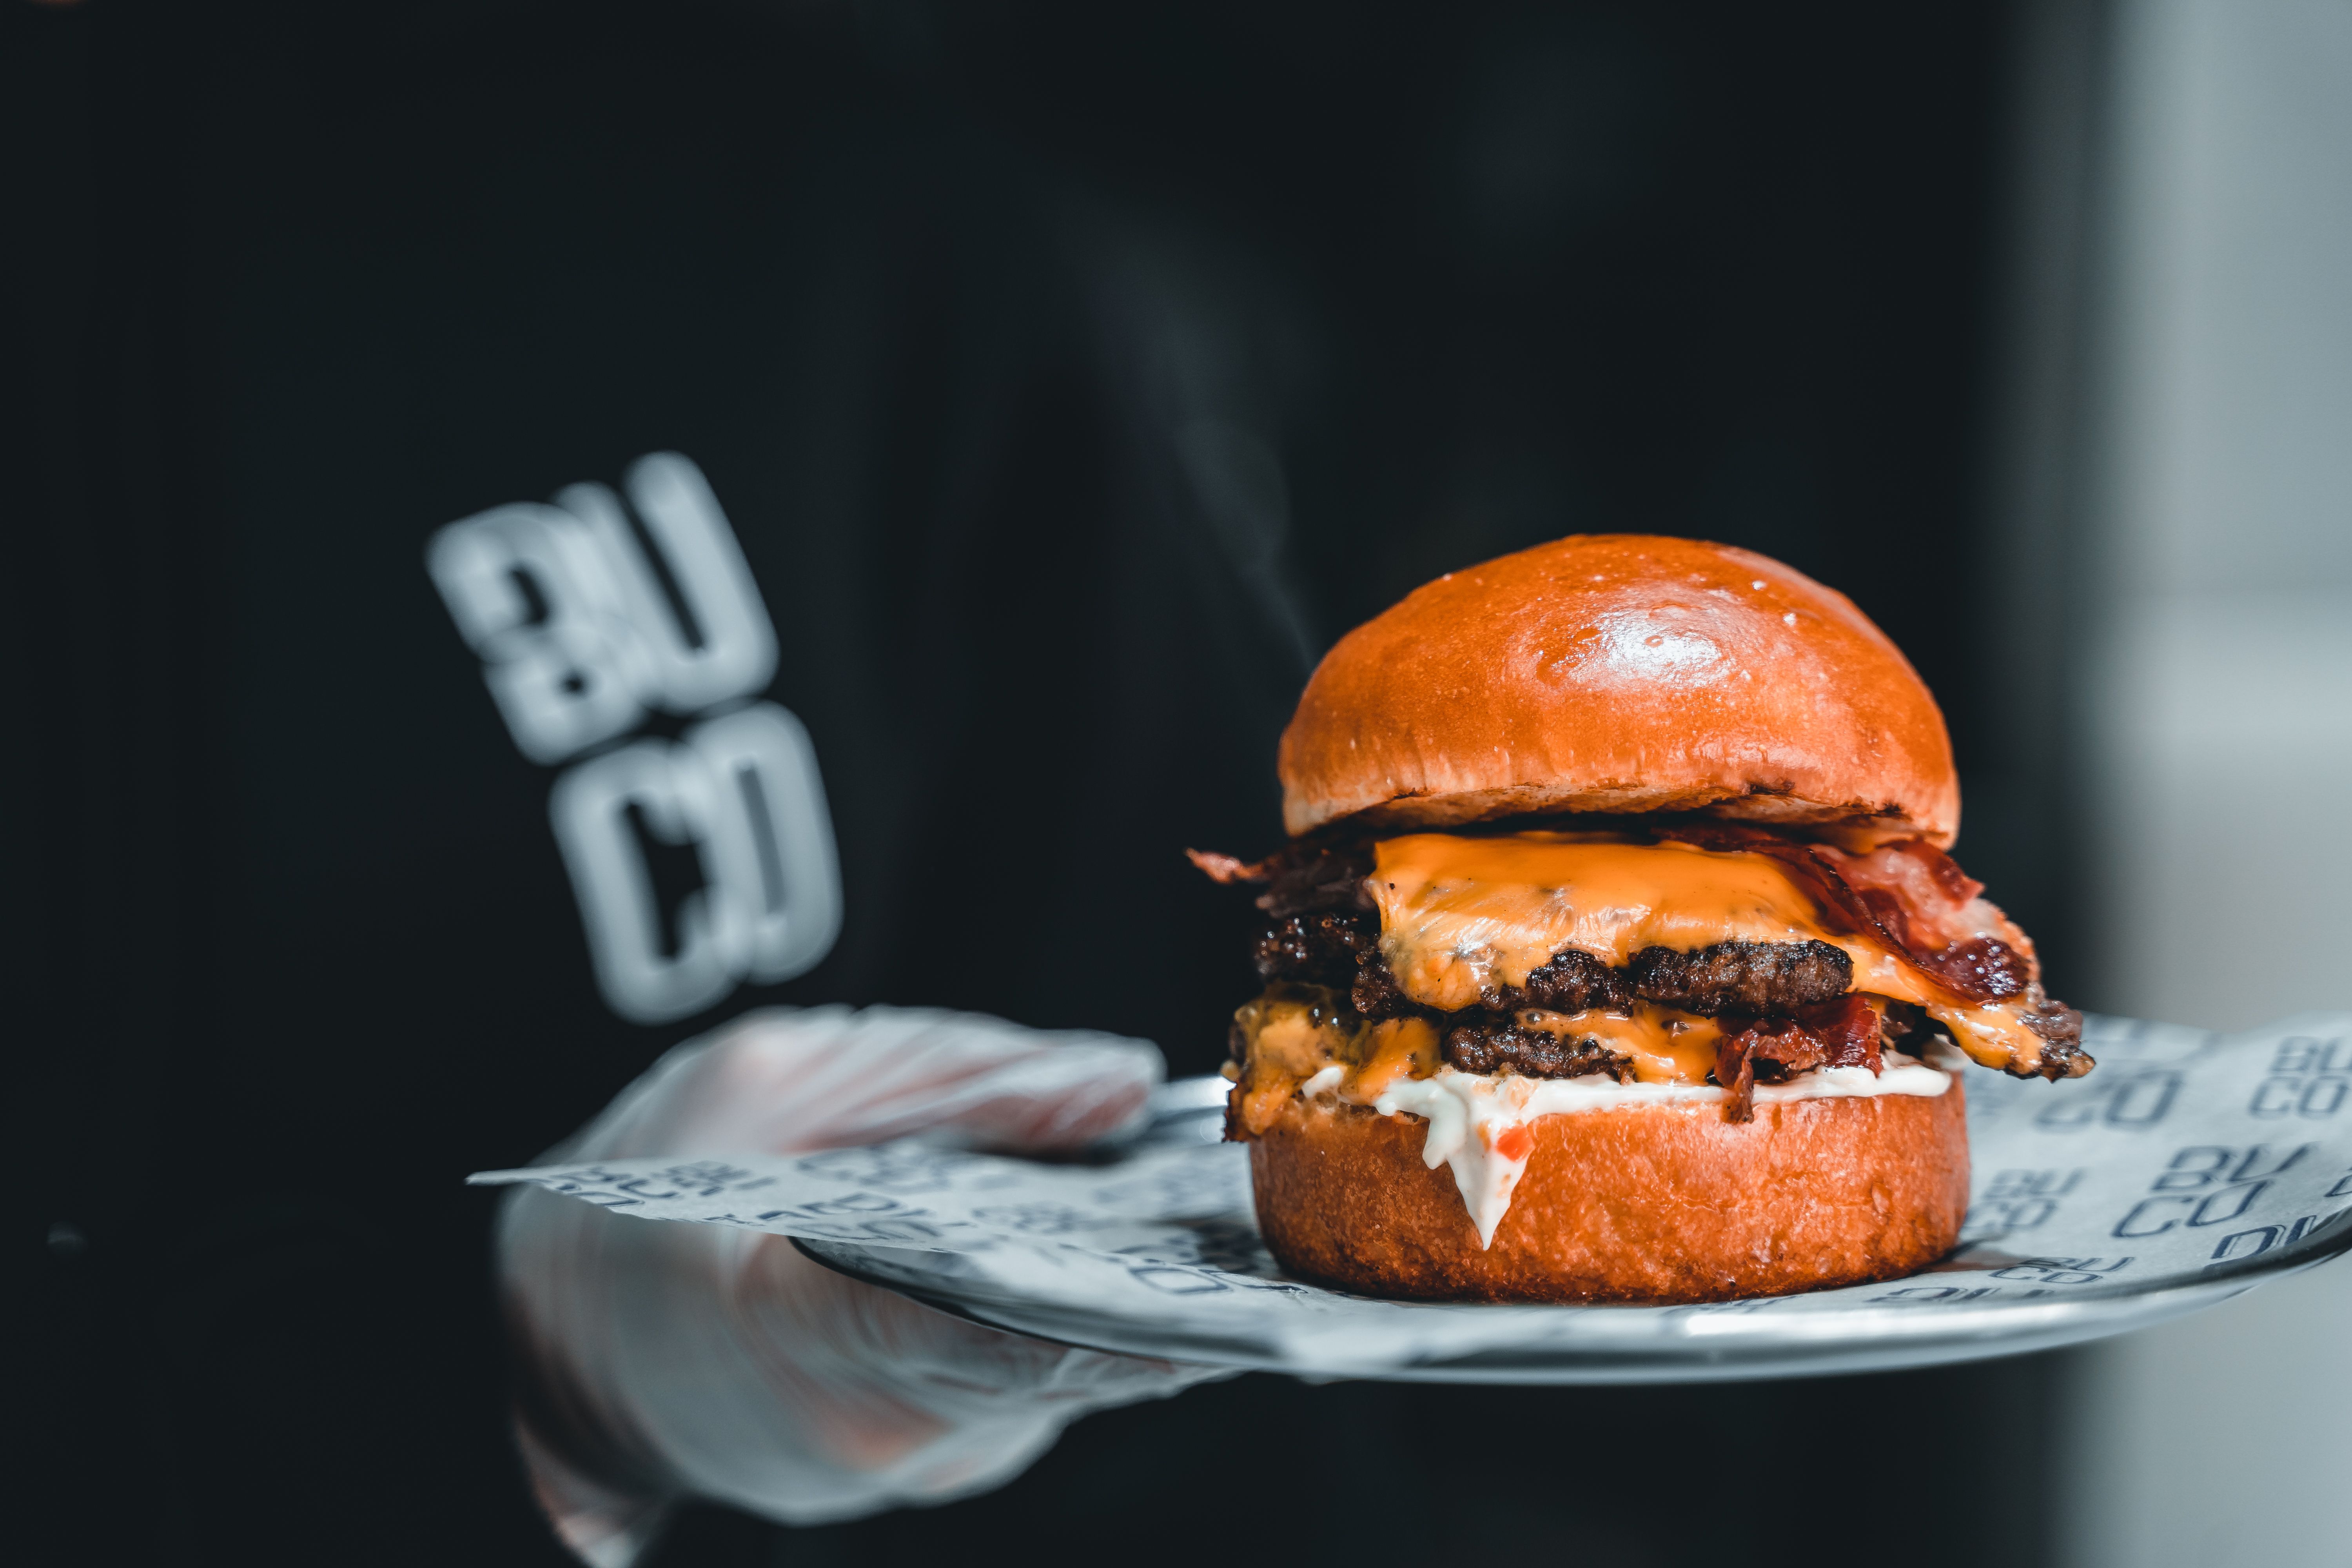
Add cheese near the end of cooking and let it soften over the patty surface. The cheese should connect the layers without becoming scorched or dried.
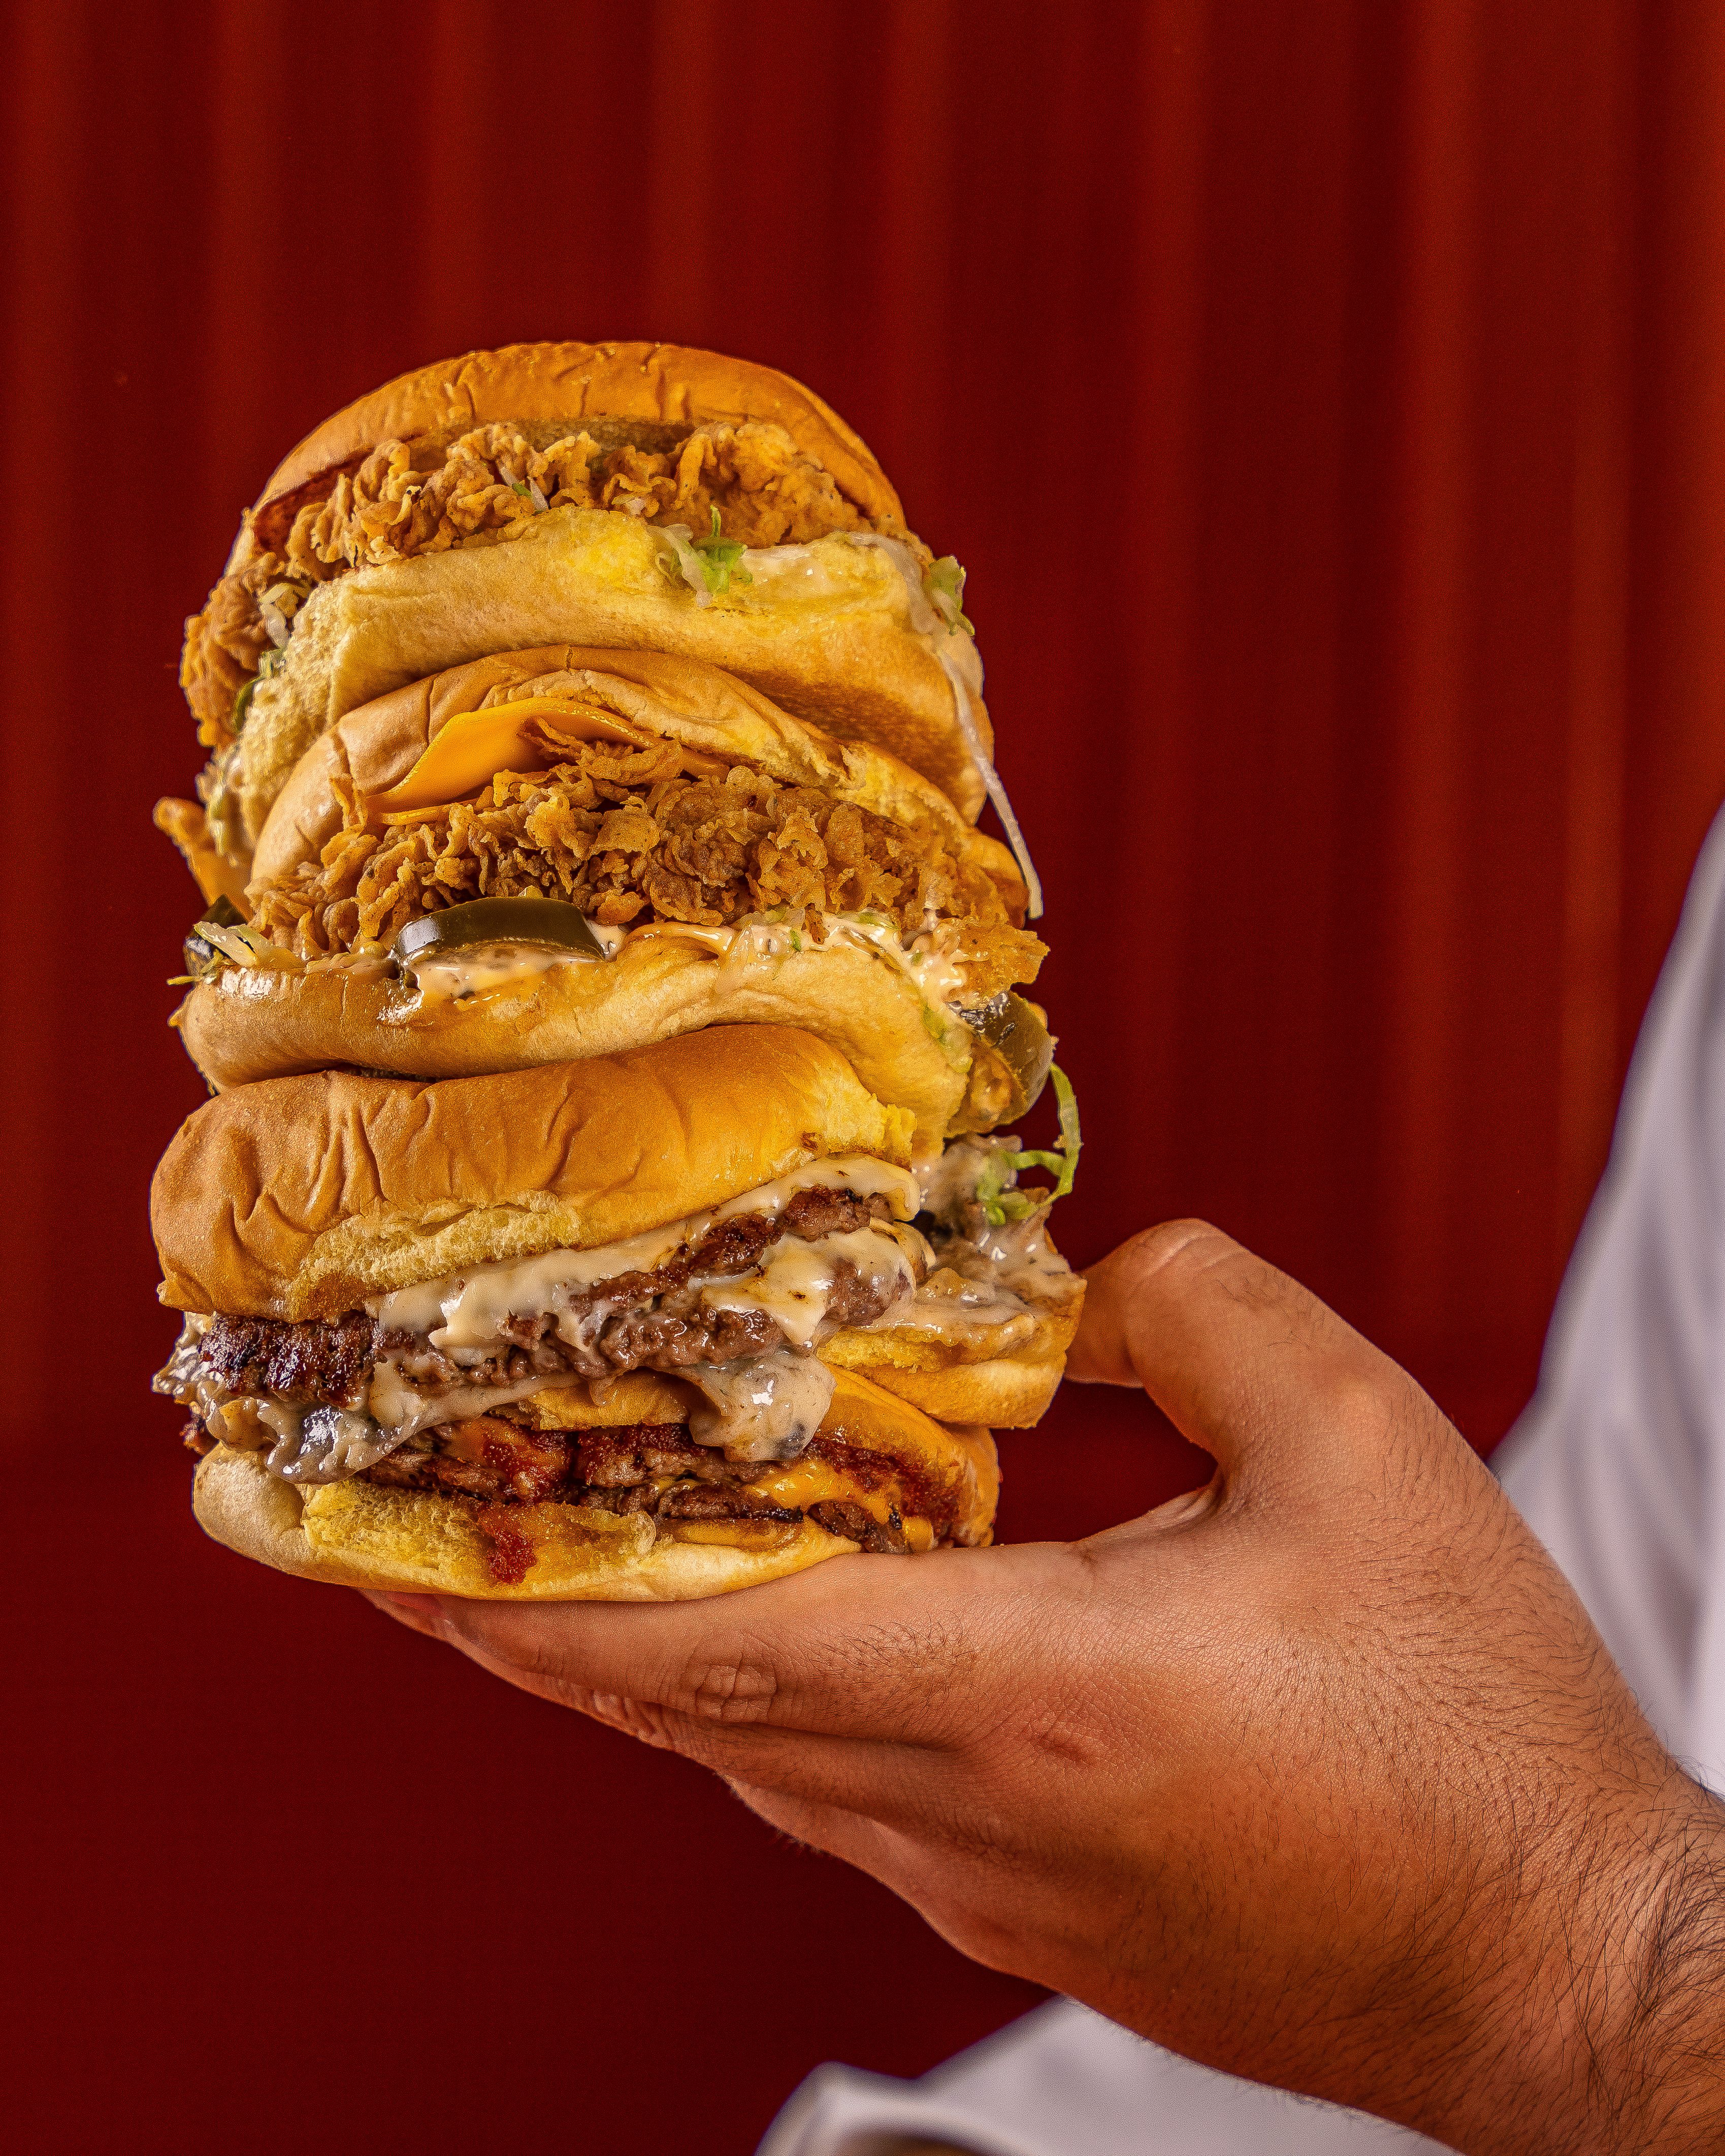
Toast the cut faces lightly until warm and golden. A crisp inner surface gives the tall stack support and slows moisture transfer.
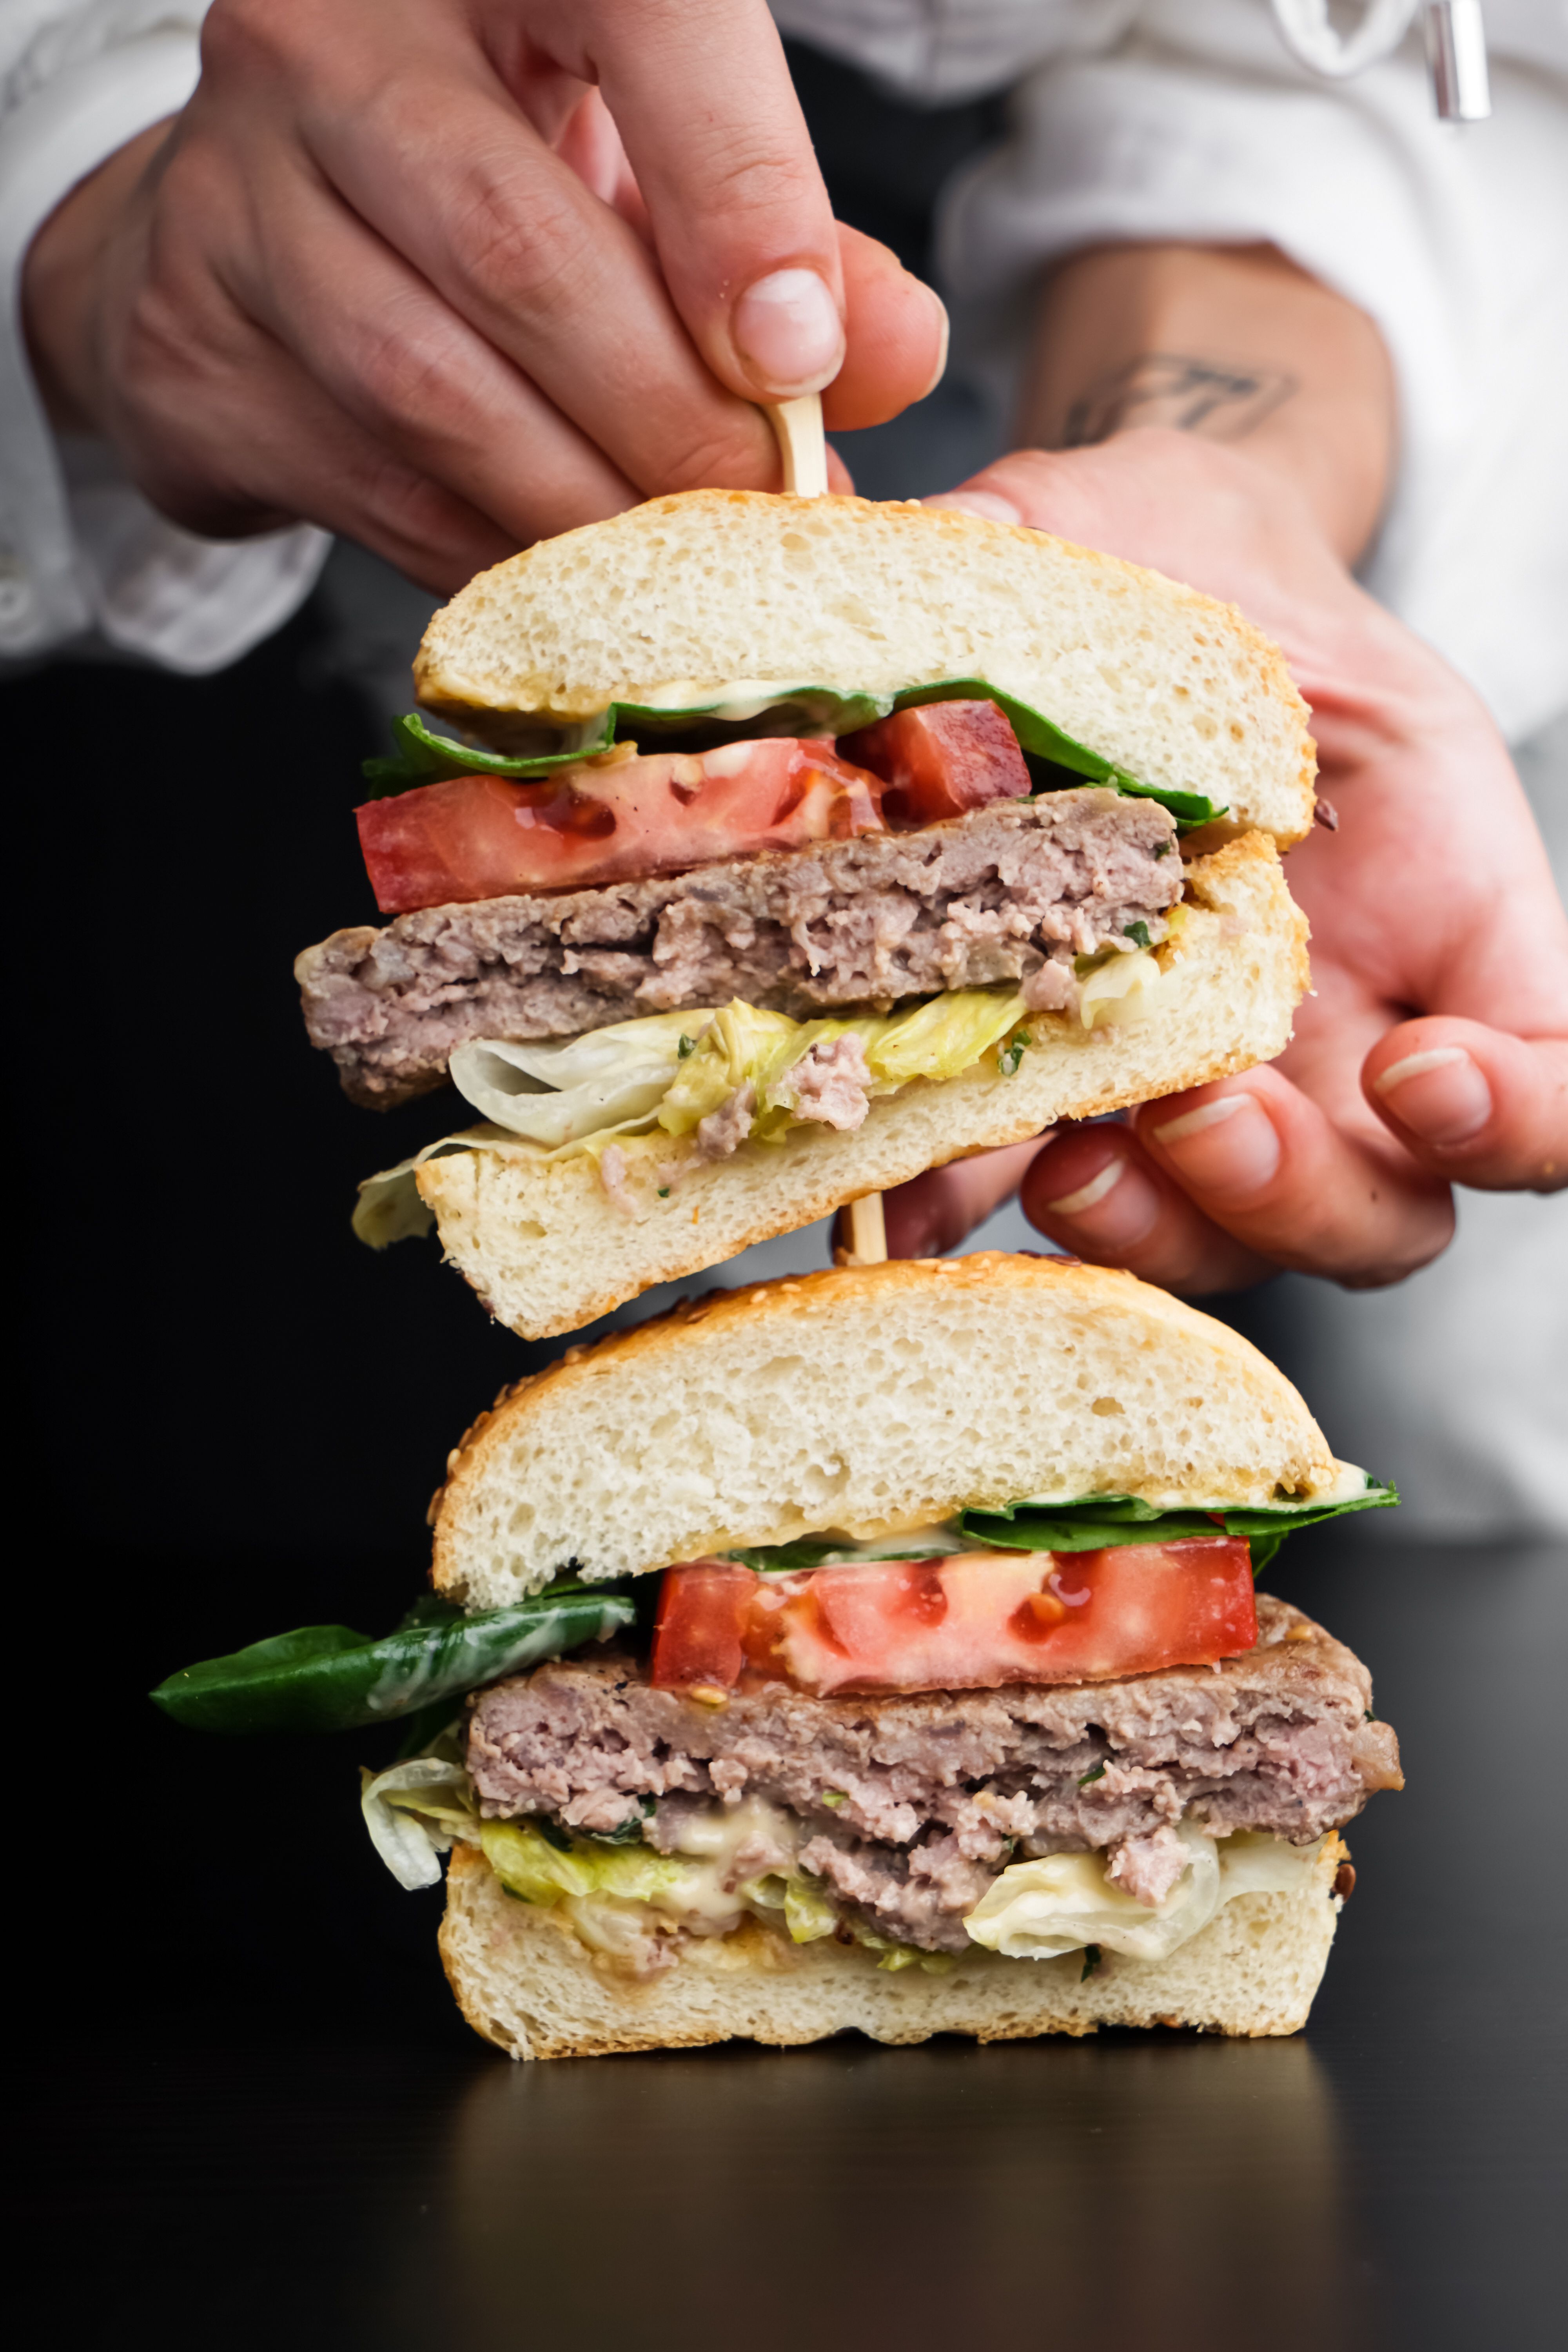
Apply sauce evenly to the bun without flooding the centre. Keep the layer thin enough that the patties and toppings remain stable.
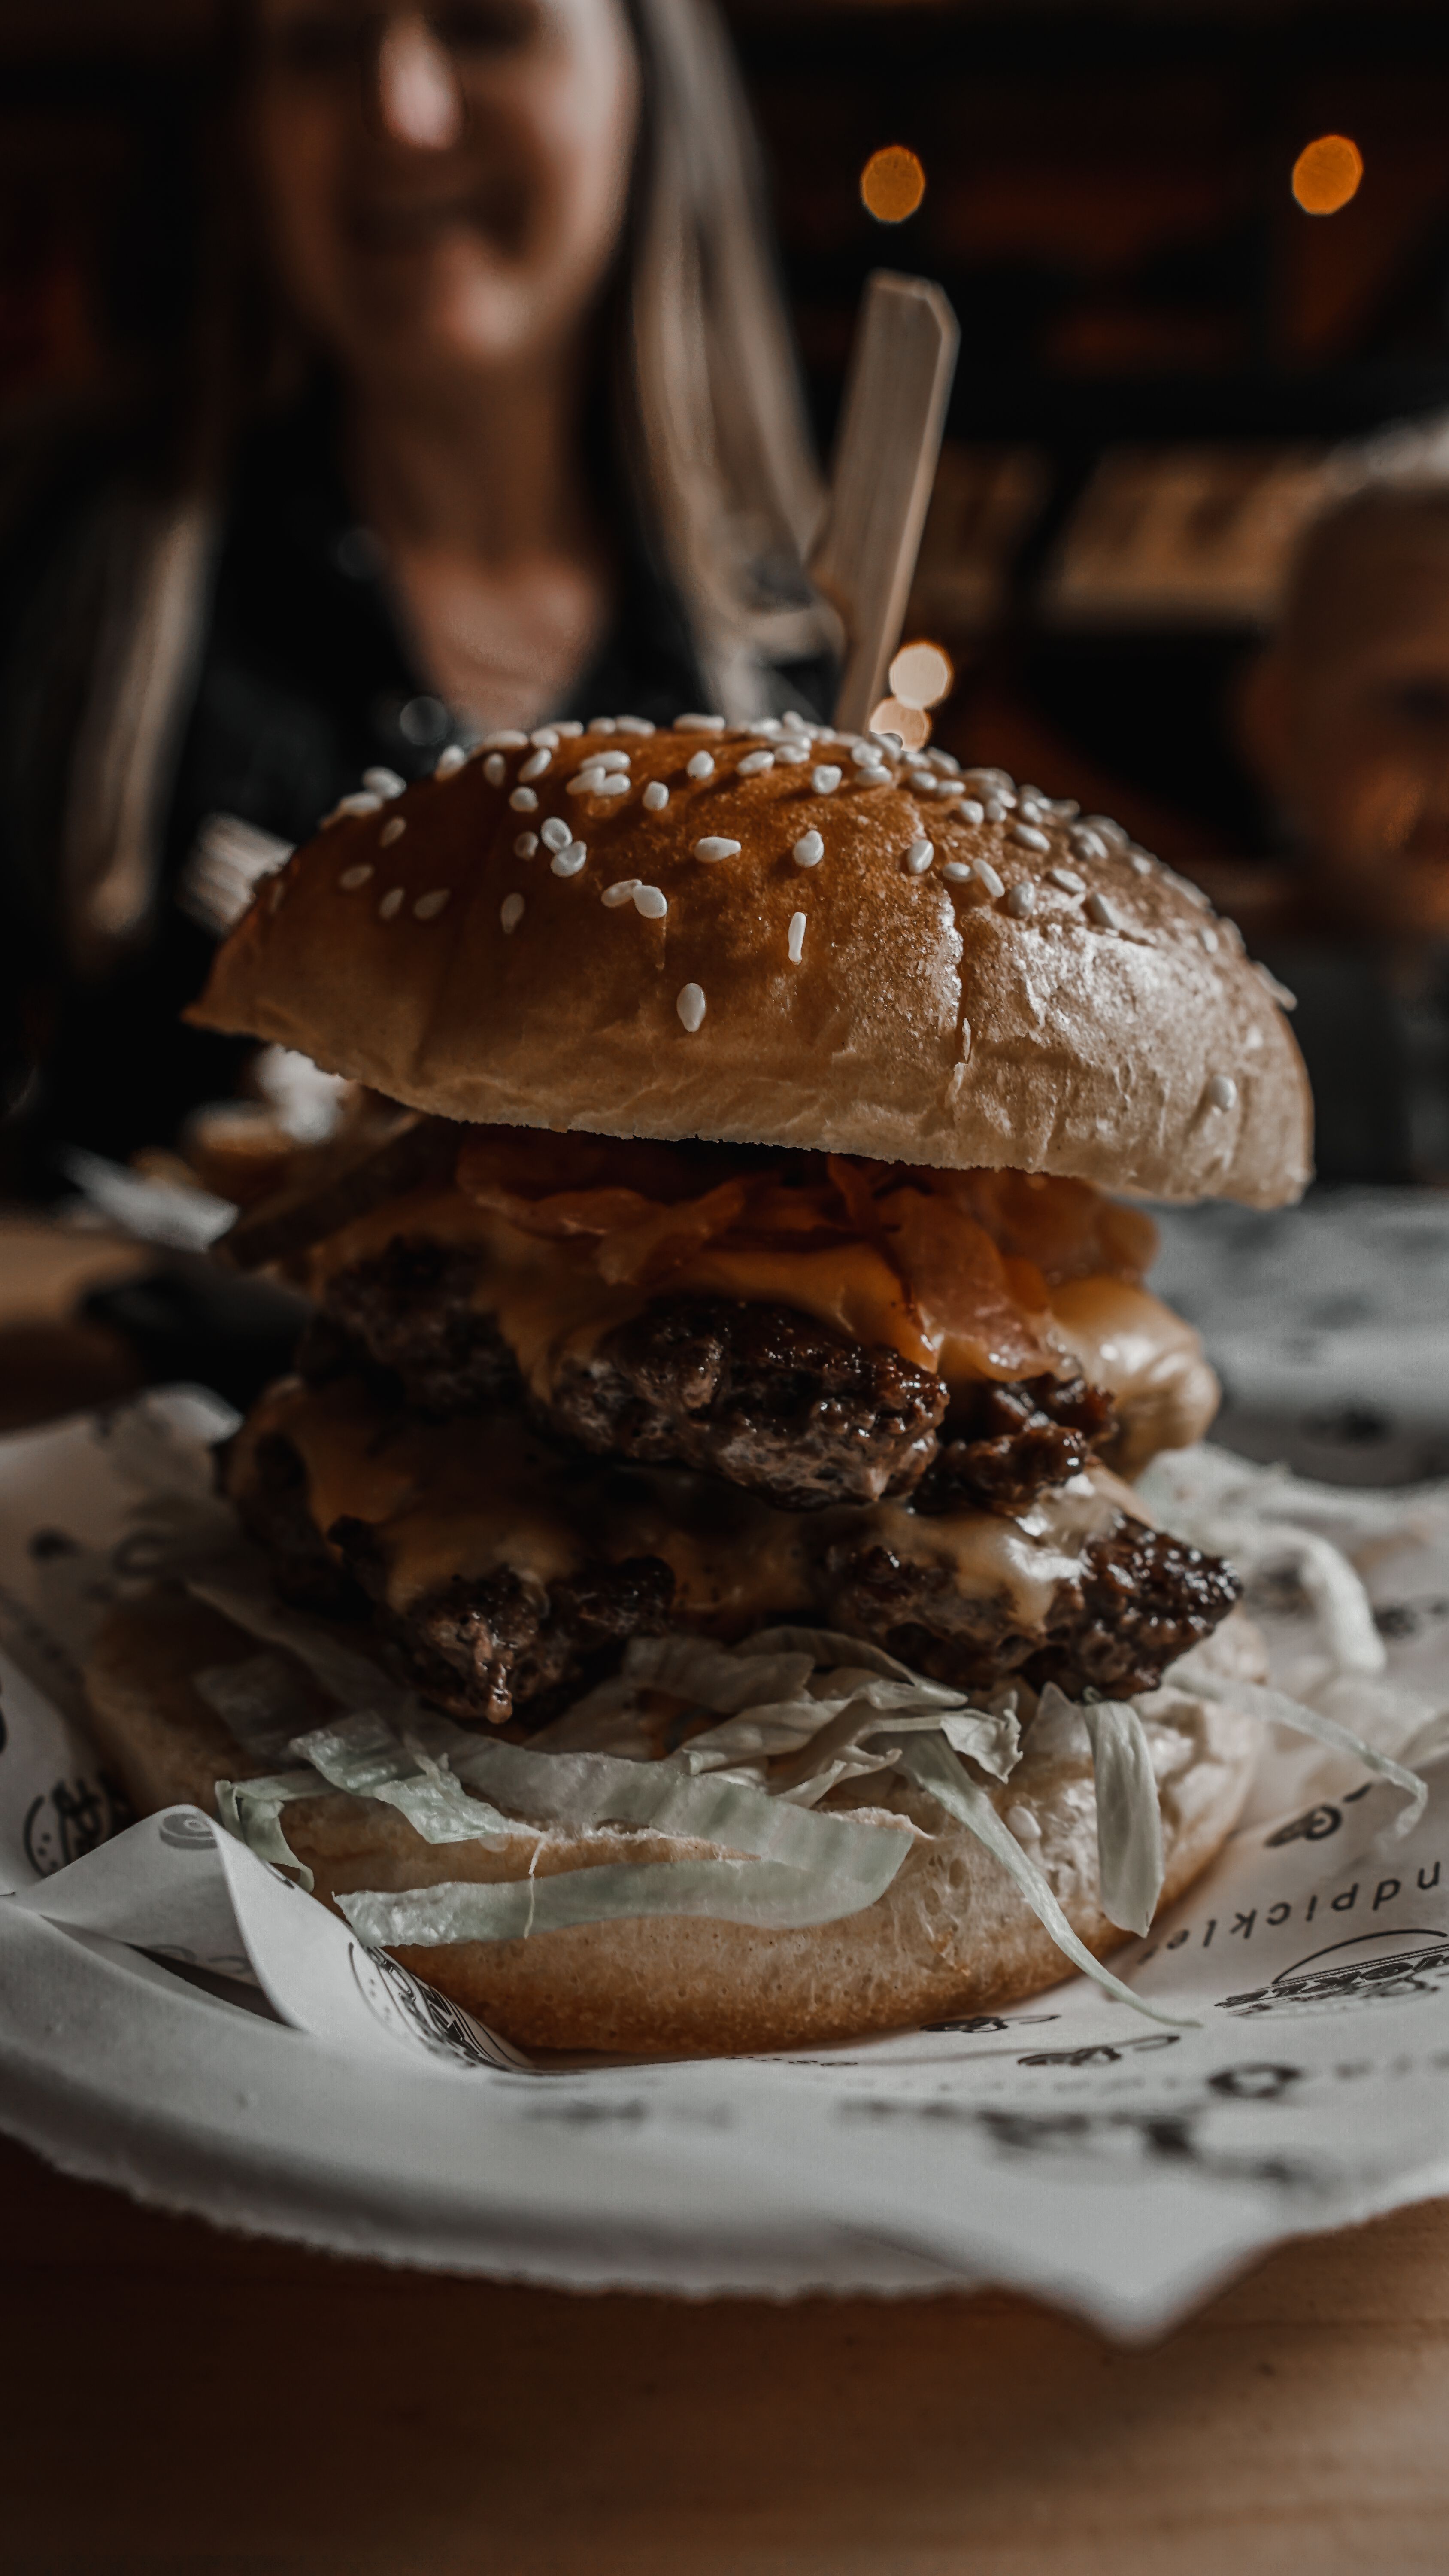
Place the first sauced bun, fresh crunch, cheese-covered patty, bacon and second patty, then finish with pickles or onion and the top bun. Centre each layer to reduce sliding.
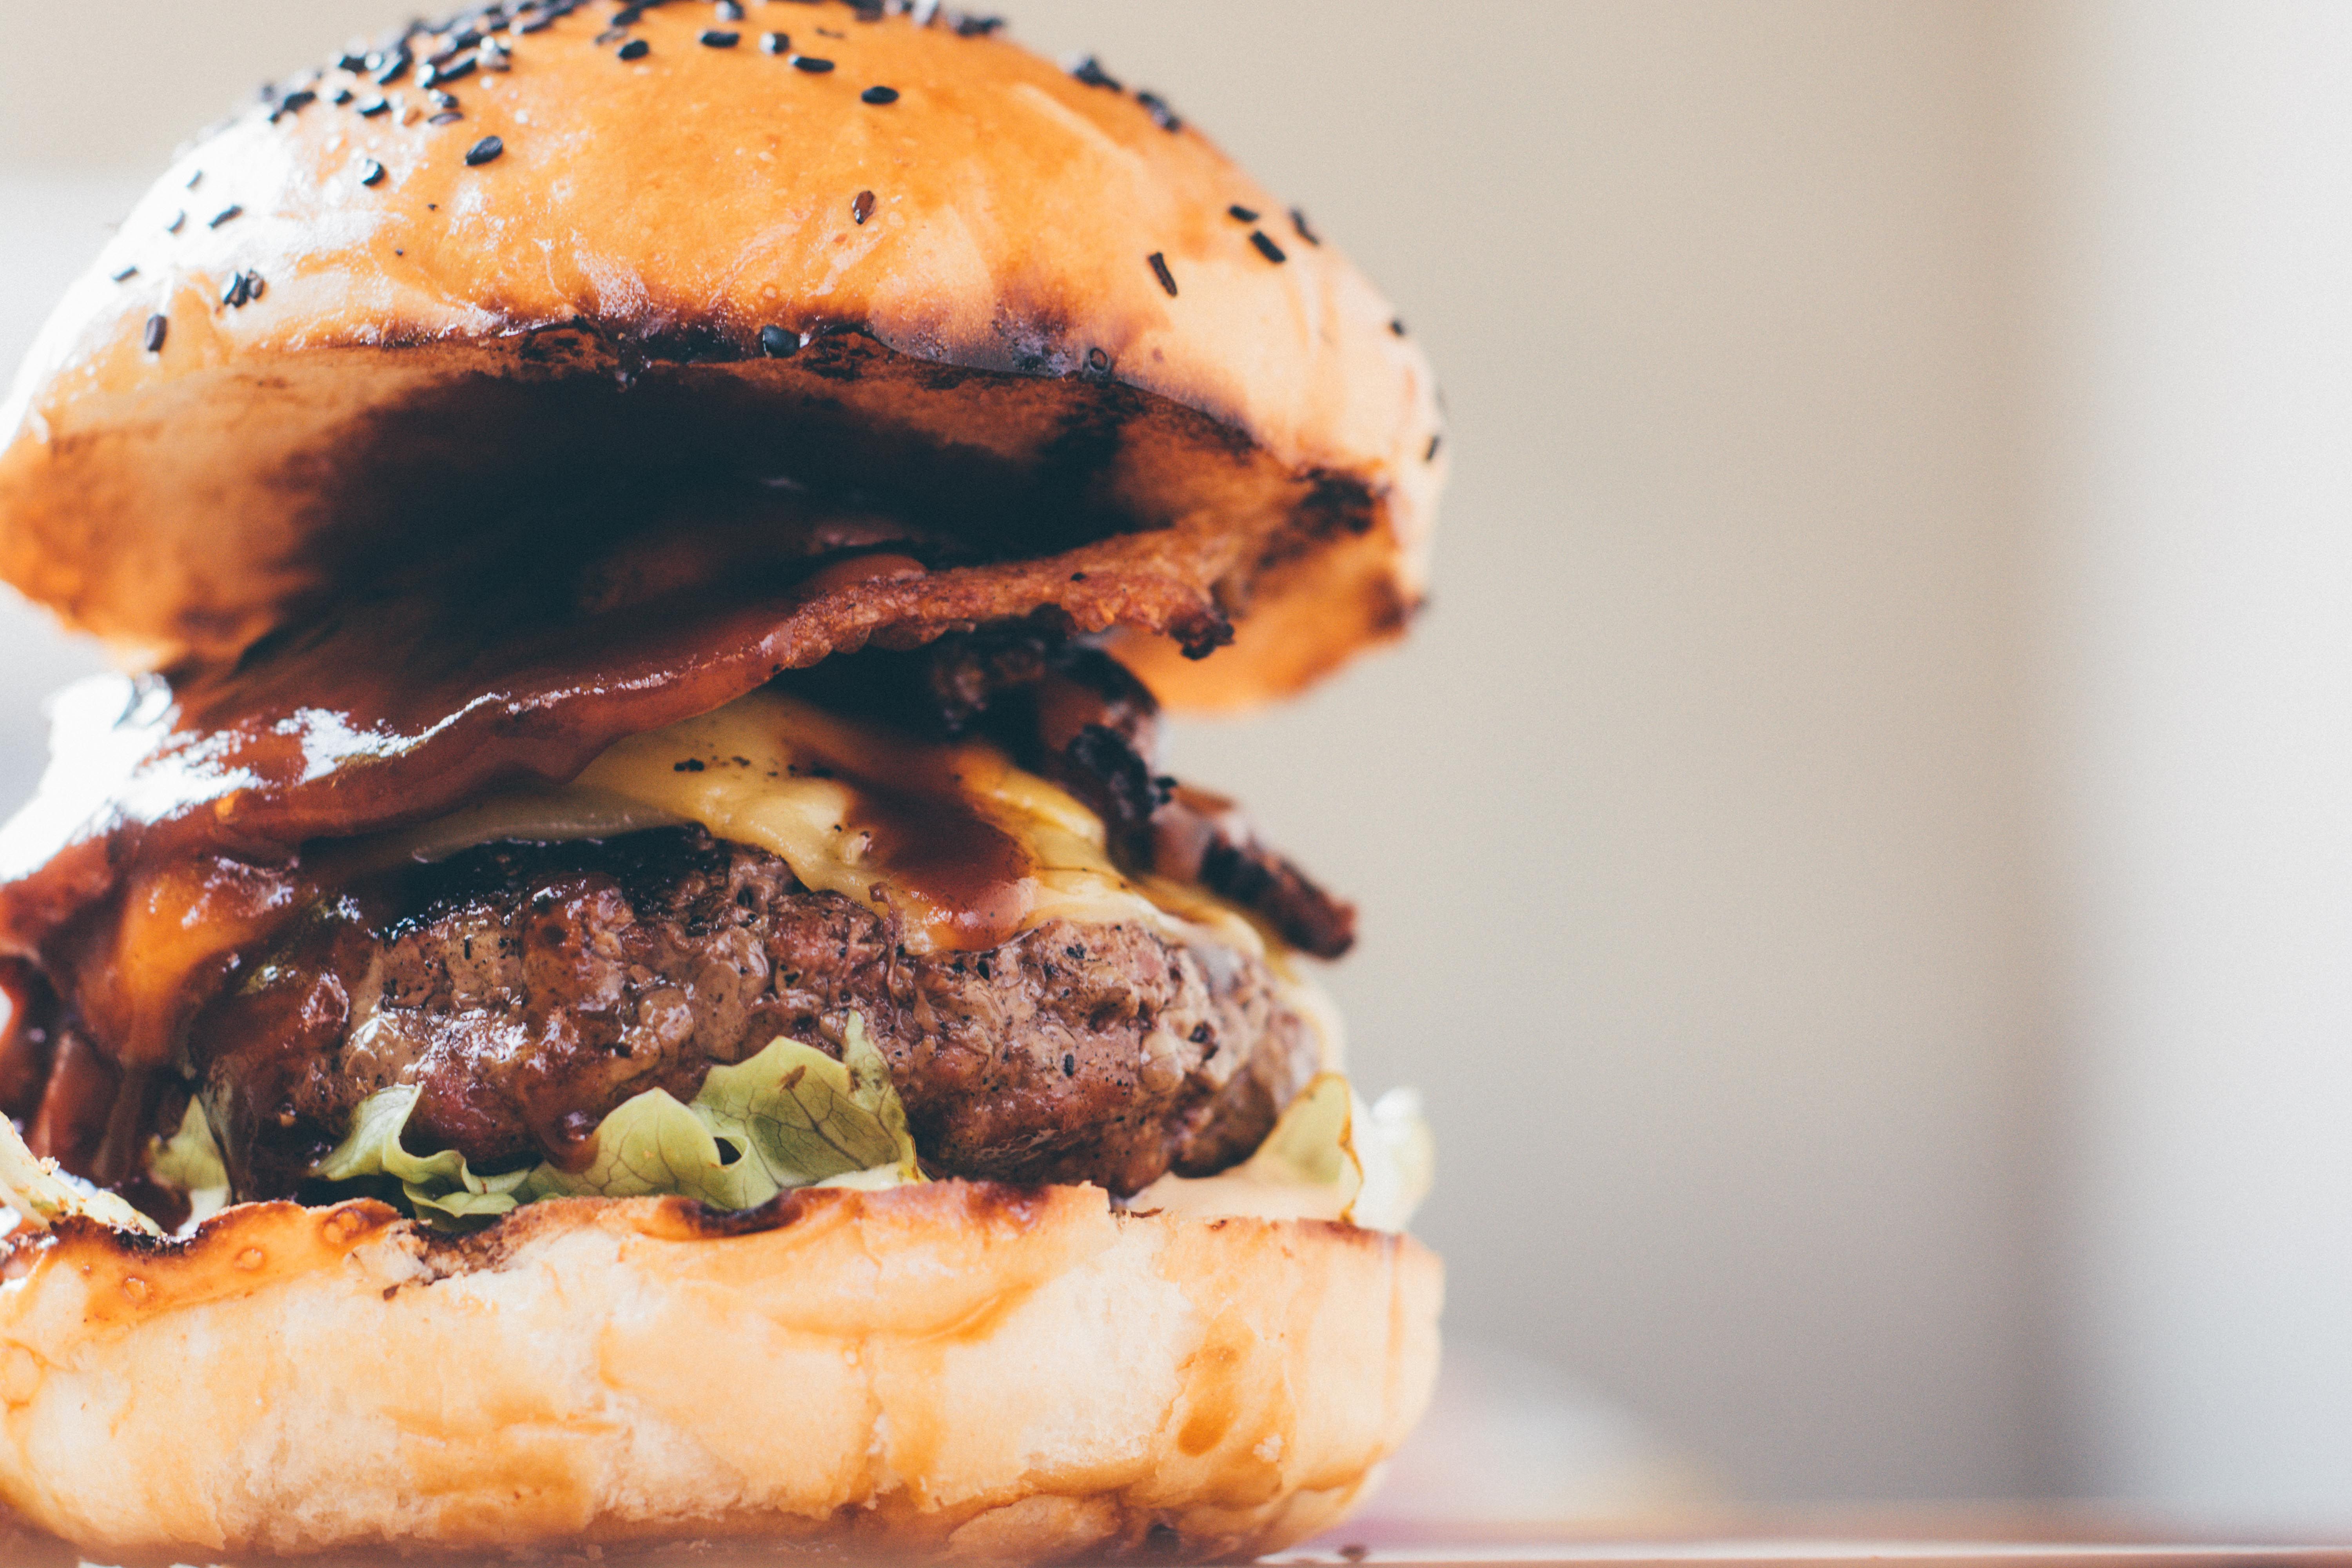
Check that the burger holds together, the cheese is melted, bacon remains crisp and sauce is controlled. Verify beef doneness with a food thermometer and follow applicable food-safety guidance.
Pass: browned patties, melted cheese, crisp bacon, toasted but tender bun, measured sauce, fresh contrast and a stable tall stack. Fail: dry beef, burnt cheese, soggy bun, limp bacon, excessive sauce or toppings that slide out immediately.